


I Begin…
The 1st of August has arrived bringing with it the start of Effy’s challenge to blogalong with her for 30 days in August. There’s still time to join in if you haven’t already, just click on the link below.
Being a little slow off the mark, I have just decided to join in Effy’s Inner Excavate Along where she is going through Liz Lamoreux’s book Inner Excavation. Effy has nearly finished, but I’m just starting …. O well as Effy says, I own the book so I can work through it whenever I like :).
Anyhow… after reading all the ideas and suggestions in chapter 1, I decided to create a word poem using a few of the words on the pages of my recycled journal. Originally I thought I’d add some joining words between the words on the page, but on reflection, I decided that would be overkill and have bravely left them stark and suggestive. I hope you like them.
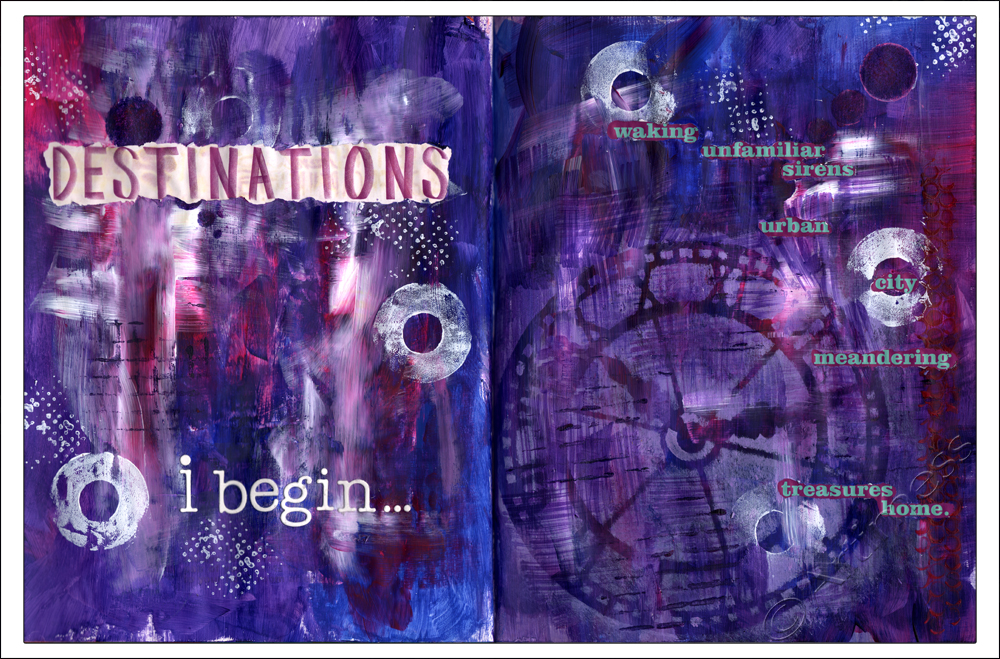
I started out by very careful covering the words I wanted to use in masking fluid. Once that was dry, I covered the pages with a thick layer of gesso, then started adding layers of acrylic paint, stencilling and stamping. When I was happy with the result, I carefully peeled off the masking fluid to reveal the words, then added my theme ‘I Begin…’ using die cut letters.
I’m off to see what everyone else has been up to now. See you tomorrow!
![]()
Recycled Journal

Ever since I saw Rae Missigman’s ‘Go Green’ class on 21 Secrets 2013 I have been longing to have a go at making a recycled journal following her instructions. I have been an avid recycler for many years and have made use of many books in art projects, but I have never before taken one apart and reconstructed it, so this was a new adventure for me! My first step was a trip to my local Charity Shop to find a suitable hard back book to turn into my journal. These are the before and after pics!.
As usual I couldn’t quite bring myself to follow all the instructions…

… plus I didn’t have all the recommended ingredients, so I improvised a bit! The biggest change I made was to the binding. Because I had 7 signatures and my pages were quite heavy, I thought it better to use a different binding format to the one Rae taught. I used this brilliant tutorial from Sarah to learn how to do the binding the way I wanted.
But I digress! Having chosen and purchased my book for the princely sum of £1, the first task was to very carefully take it apart, removing all the signatures. Next came the fun part of decorating the cover, followed by the much trickier part of reassembling it into a book again! I started the decorating process with lots of layers of gesso, clean and painty tissues, and coloured inks dripped and sprayed. Once I was happy with that I added some scraps of material which I machine stitched very carefully to the cover – I only broke one needle in the process! Then came the embellishments which I added using hot glue and a material wrap to keep it closed. I am always envious of my American peers who seem to be able to purchase waxed bookbinding thread in assorted colours quite easily. I always end up waxing my own thread – and getting melted wax all over my cooker! With most of the book pages safely restitched within the covers I moved to inside the book.
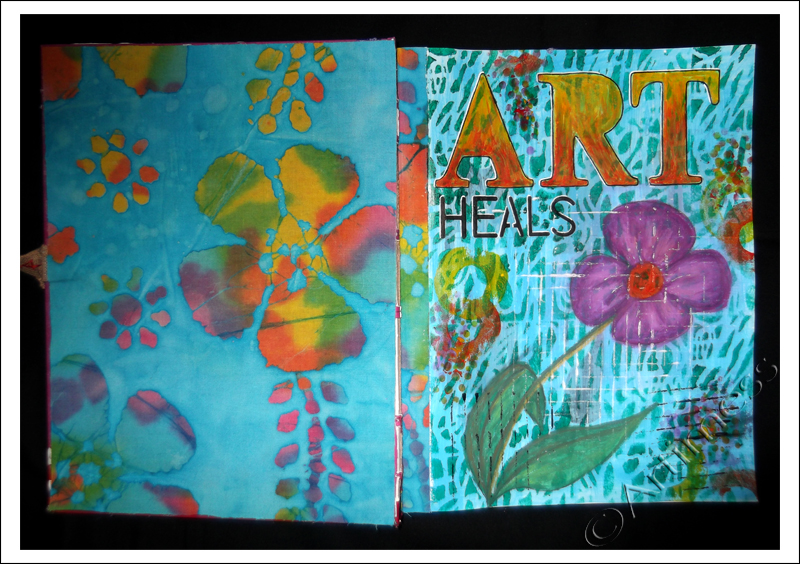
I covered the inside of the covers back and front with fabric which I stuck in using iron on fabric glue, then set to work creating a title page for the book. I started off with a layer of gesso, then added several layers of acrylic paint using a mixture of stencils and assorted stamping implements. I used letter stencils to create the titles and neocolour crayons to draw the flower.
I’m really pleased with the way the book has turned out and can’t wait to work on some more pages! Thank you Rae for a really inspiring Class.
![]()
Collage Lady
As you may have noticed, I’ve got very behind with my Life Book 2013 classes. So I thought this week was time to rectify the situation and try to catch up a little! Rather than go back to where I got stuck, I thought I’d start with this weeks lesson from Joann Loftus and then move backwards in time!

I created the background using 3 layers of journaling, white gesso, an acrylic paint wash and a variety of stencils. Joann gave us the template for the lady silhouette which I covered in a collage of torn magazine images and stuck to the background using sticky pads. I added die-cut butterflies coloured using Twinkling H2O’s and a silver marker pen and added highlights and shadows using white paint pens and Pitt Artist pens. I really enjoyed the lesson and love how my lady turned out!
![]()
Playing Games
I’ve been busy altering tins and making game cards for Diana Trout’s class on the 21 Secrets 2013 course.

I took two old cough lozenge tins, sanded them and primed them with gesso, then painted them with acrylic paint. It was not a success – the paint started to flake off! So I covered the paint with tissue paper glued on with gel medium. Success! I still wasn’t happy with the way they looked, so I added several more layers of acrylic paint in different colours and another layer of gel medium. Once I was happy with the tins I created their labels using a stamped flower and a digital label. I coloured both of these using Twinkling H2O’s. I made the game cards from double-sided scrapbooking paper, then used the same stamped flower and digital label for the instructions.
I found this class to be quite a challenge, but I’m glad I did it – I learned a lot. Thank you Diana.
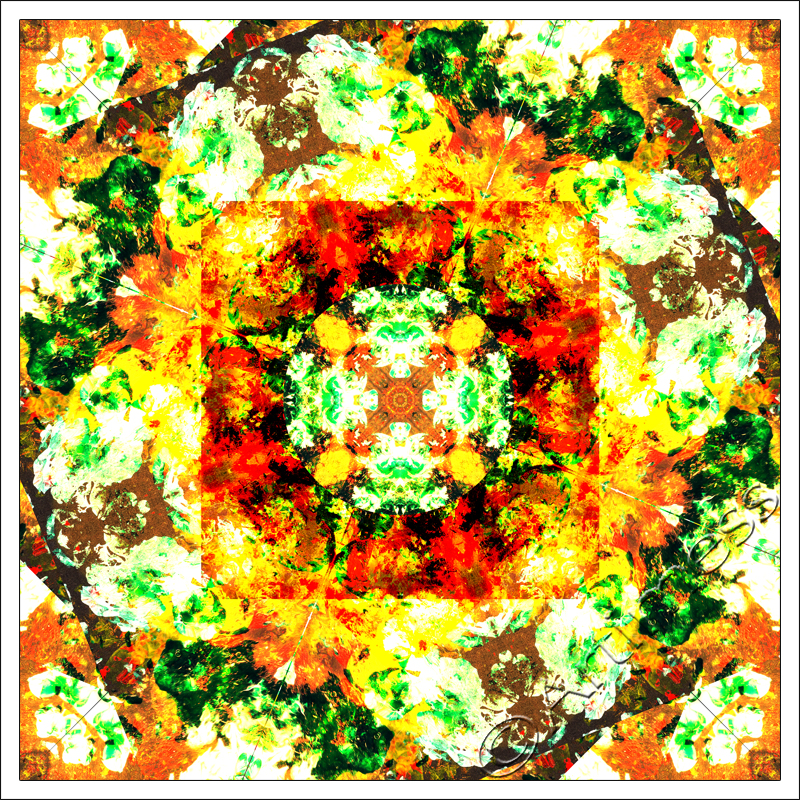
About a week ago I posted this blended image and said I didn’t think I was quite finished with it yet. This is why – I just turned it into a kaleidoscope! I love the colours and all the faces in the patterns. How many faces can you find? I keep losing count!
![]()
Playing with Stencils
Since finishing my postcards, I have been busy playing with the new stencils I got last weekend. I always start my playing in my everyday notebook/journal, which is not quite big enough for the whole stencil.

I had a tiny bit of Light Molding Paste left in my pot so I thought I’d try it out with this Creative Expressions stencil. When it was dry, I painted it with acrylic paint, then added some green Perfect Pearls using a Versamark ink pad. Just to finish it off I added a shadow to the circles with a Unipin fine line pen. The scan really doesn’t show the lovely sparkly finish of the perfect pearls.

As I’d run out of texture paste, I thought I’d try creating a texture using some black gesso with this TCW stencil. At first I thought it had worked, but when it dried, it went rather flat! So I decided to add some colour to it using acrylic paint. I’m quite pleased with the way it turned out.

This last image is a digital blend of two scans of earlier acrylic paint prints using the two stencils above. I just love how many different effects it’s possible to get using stencils!
![]()
60 Goals!
I just read this post from Samie (Journal Girl) and (having just passed a major milestone) was inspired to create a similar piece for myself. Only trouble is – I have more than double the goals to create. But I did it!!
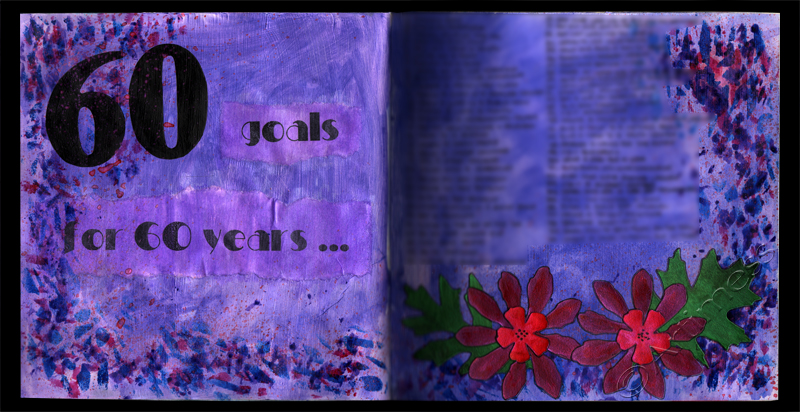
I had great fun! I started off with a gesso base, then added a wash of acrylic colour. I created the text using a mixture of Stencils with acrylic paint and computer generated text washed with Twinkling H2O’s. Next came a border using stencils and Twinkling H2O’s. I added my 60 goals using a Unipin fine line pen. Lastly, I splattered a bit more colour with some paintbrush flicking and collaged some die cut flowers and leaves coloured with Twinkling H2O’s.
I’ve blurred out my goals for now, but will reveal them in a years time when I review them to see how many I’ve achieved!
![]()
29 Faces – # 11
Today was the first time in ages that I had a page with no gesso to work on. It was great not to have the smudging problem!
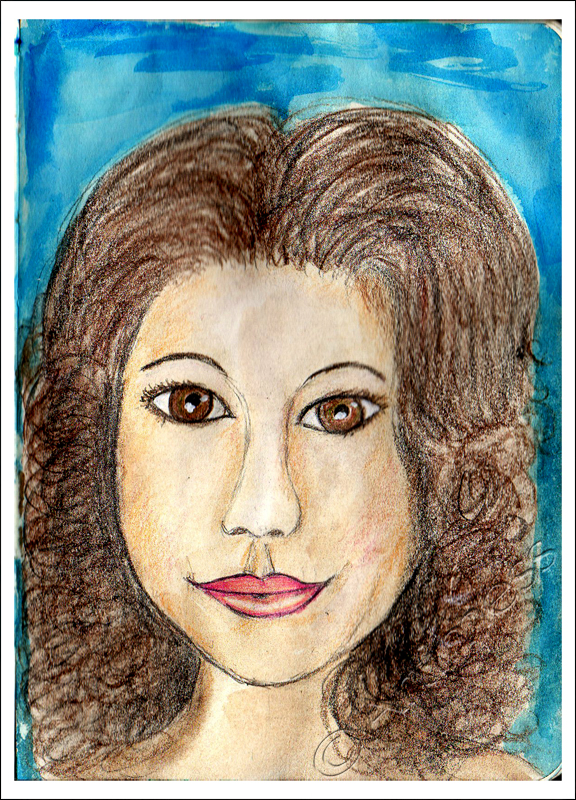
I drew her in pencil, then coloured her using a mixture of acrylic paint and watercolour pencils. Unfortunately when I came to paint the background, the paint leached straight through the page and left its mark on the next several pages in the book! So I’ll be back to a gesso page tomorrow!
Blending and Faces!
Today I played digital blending as well as faces.

This started as an abstract created using Twinkling H2O’s. Then I scanned it and played digital blending with a photo of sand patterns. This is the result.
Todays face got the works!

I was so determined she wouldn’t have any strange paint marks today that I gessoed the page before I started! Then I had to draw her face on the gesso. I hate pencil drawing on gesso! – it smudges everywhere!Luckily the putty rubber does a good job of cleaning up! To stop further smudging I started off with an acrylic wash base, then coloured her face and hair using watercolour pencils. I added some background colour using Twinkling H2O’s. I must admit – I’m quite pleased with the final result. What do you think?
![]()
Finally finished!
Yes! – I have finally finished my game board for last weeks Life Book lesson from Kelly Hoernig.
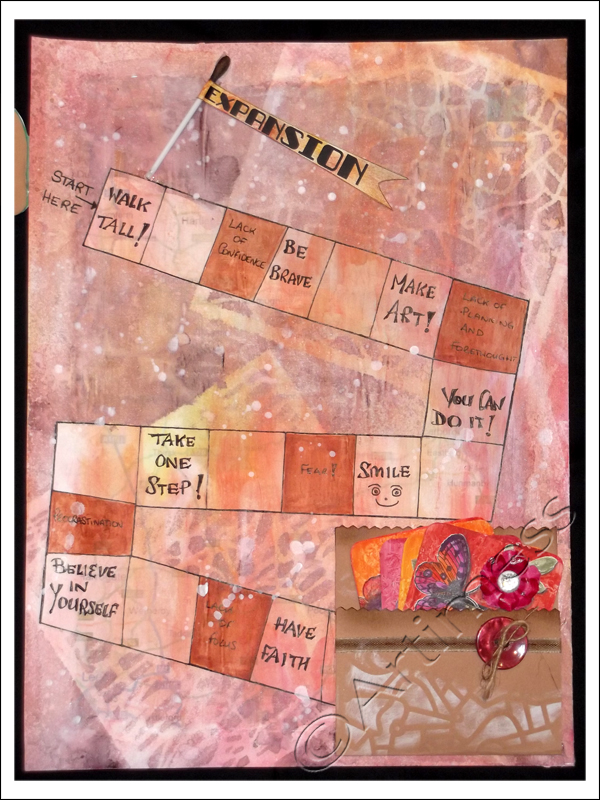
I ran out of space on my board to glue my car, so I attached it to a hinge so that it could be flipped to see the board underneath.

I may add some flowers to the roadside later – I can’t decide at the moment!
Meanwhile the ingredients list! I used collage, white gesso, acrylic paint, Artist Cellar stencils, a home made mask, some ribbon, a button, a little jute, a uniball eye pen, some digital text, most of a cotton bud, plus some ink and hot glue.
I really enjoyed making this – thank you Kelly for a great lesson.
![]()
Landscape
The leaf I used to print with on the post Newspaper Collage created a rather unusual pattern which I thought looked rather like a tree. So I thought I’d have a go at creating a landscape made from leaf prints.

This is the result! I started off with a layer of white gesso to which I added a wash of colour using neocolour crayons.Then I added acrylic paint leaf prints to create my landscape, finishing off with with some tree trunks created using an old credit card. Quite effective I thought!