Two More Pages!
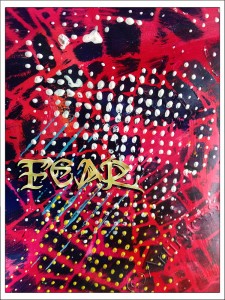
Two more pages to add to the steadily growing collection! Another painted postcard for journalling on…
…created using acrylic paint, a stencil and acrylic ink. The black blots remind me of seahorses or maybe glow-worms. What do you think?
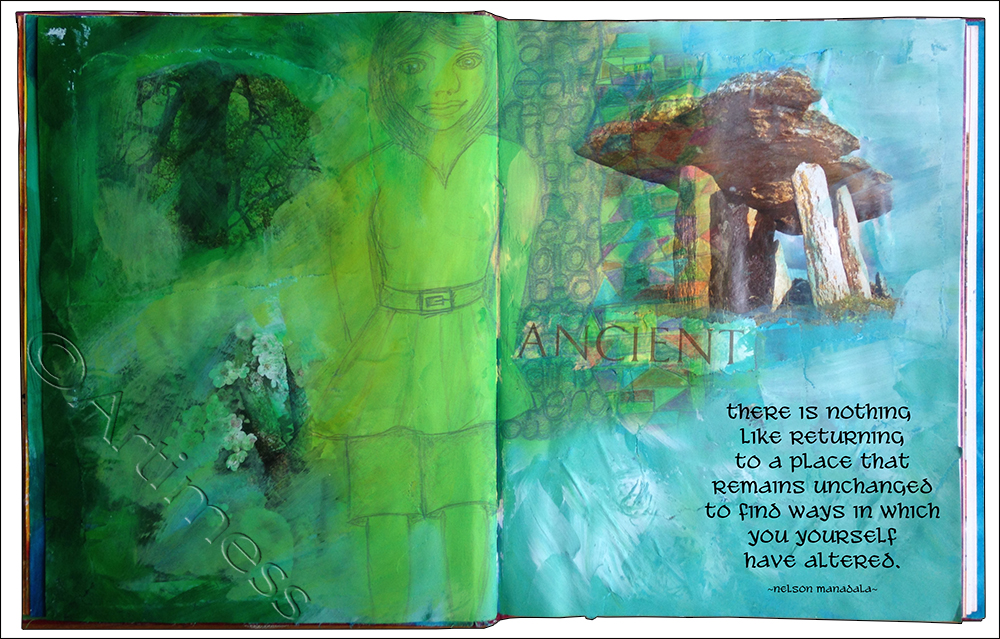
And another page in my recycled journal. This started out as a collage with acrylic paint. I added the scanned person doodle and blended her in, then chose and added the Nelson Mandala quotation using digital text.
![]()
Filling the Journal!
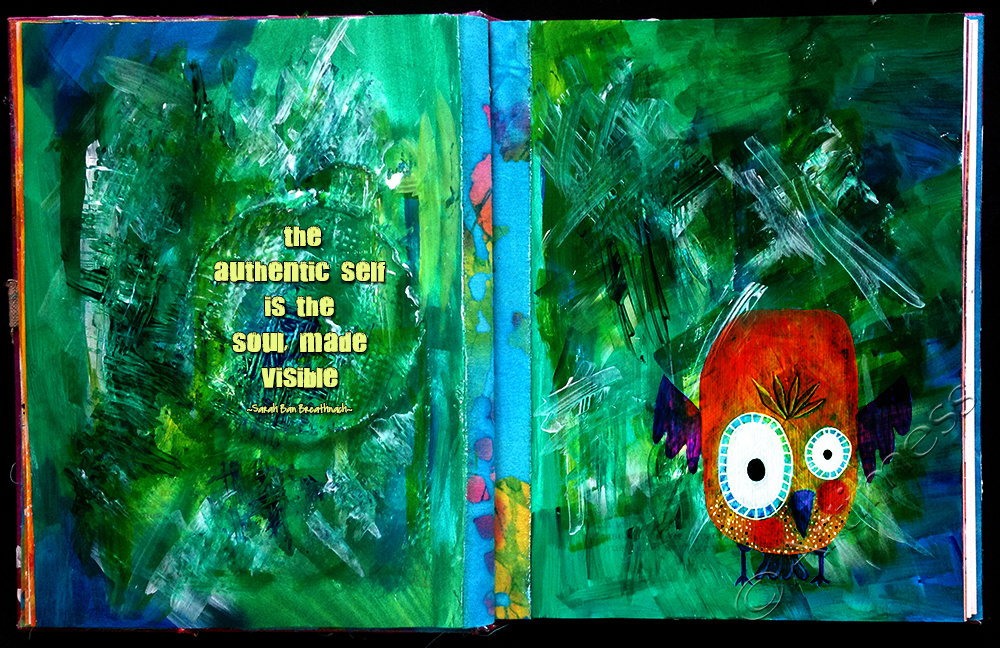
I’m slowly filling my recycled journal! If you look closely you can see the fabric strips down the centre of the page marking the end of one signature and the beginning of another.
I created the background using acrylic paint in layers and used an old credit card to scrape the final layer on which gave it a more textured look. Some of you may recognise the quirky bird on the right. I originally painted it some time last year, but thought it would look good on this page so I added it digitally and blended it in a bit. Lastly I added the quotation using digital text. I love how the coffee creamer lid shape from the previous page makes a perfect frame for the quotation!
![]()
Journalling Every Day
In a new effort to inject some discipline into my art making, I’ve joined Lani Gerity’s Morning Pages Daily Art Practice eCourse and am attempting to start journalling every day! But as usual with these things, Im already behind with posting the images, so here goes for a catch up.
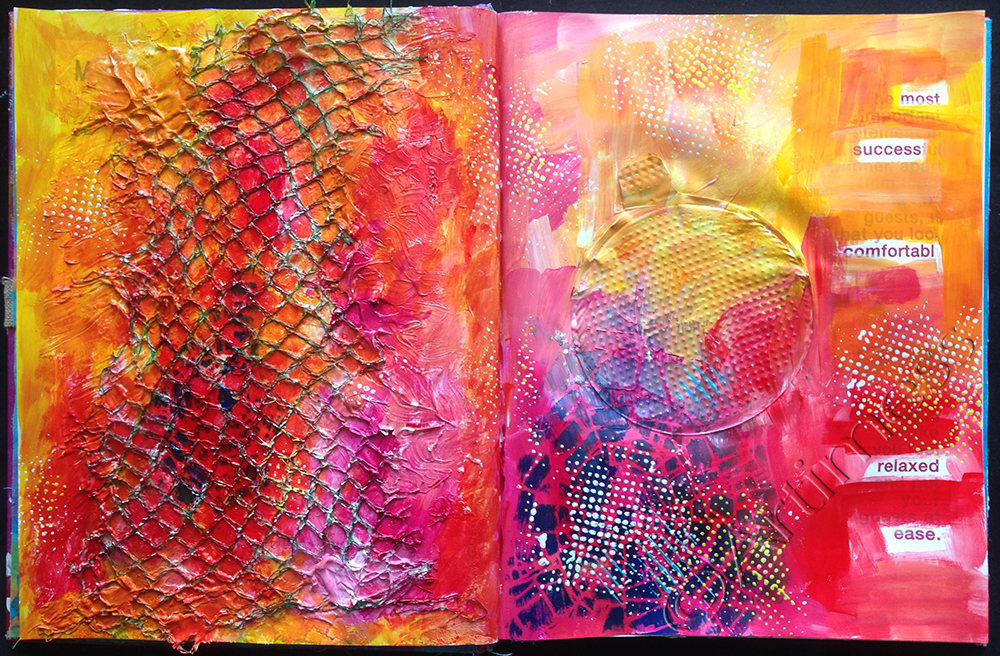
I started by creating this journal background in my recycled journal using acrylic paint, stencils, a coffee creamer seal, a net bag from the grocery shopping, some molding paste and a few homemade stamps
Next I used a photograph of some of the detail from the background (can you spot it?) and added some digital text to it.
After reading Soul Mate Dolls: Dollmaking as a Healing Art by Noreen Crone-Findlay, I just had to have a go at making one of her paper dolls. I created her using card, fabric scraps, washi tape and wool, added her to the journal background above with a digital face, then added some digital text to the found text.
This last image was created in my handmade journal using leftover acrylic paint, a stencil and some digital text. Watch out for more journalling tomorrow!!
![]()
Word for the Year – 2014
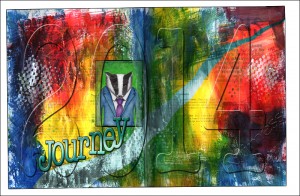
Ive been wanting to keep a Journal for a long time now but haven’t managed to get started. So when I saw Rhomany’s ‘When Frogs Sing’, Journalling course I signed up for the year! I had to smile to myself while watching todays video – I have this little problem – I love making mixed media backgrounds, but I’m not so good at adding the journalling. But then I thought “why don’t I add it digitally” – so that’s what I’m doing!
This is the scan of the first page which I created in my altered book/journal using acrylic paint and a home made stamp.
And this is the page after adding digital text and images. Journey is my word for the year and Badger is my totem animal for 2014. My colour for the year is Phtholo Blue Green Shade.
Yeah – my first journal page complete!
![]()
Bloom Like Flowers
“The most precious gift we can offer others is our presence. When mindfulness embraces those we love, they will bloom like flowers.”
I thought this quotation from Thich Nhat Hanh was very appropriate for my journal spread inspired by Cathy Bluteau’s class on the 21 Secrets 2013 course.
Why is it that whenever you want a specific sort of image in a magazine you can never find what you want? I ended up sourcing my flowers online from Five5Cats who very kindly allows her images to be used for private artwork. Thank you Cindy!
I collaged the background using old papers and flowers, then added doodling using Pitt Artist Pens. I coloured my doodles using Inktense pencils and filled in with more collage using various tapes and pieces of old artwork. I created the quotation using digital text and finished off by adding details with Pitt pens, an Edding 780 paint marker, neocolour crayons and distress ink pads.
I’ve never done anything quite like this before, but I really enjoyed it and will definitely do some more pages using these techniques. Thank you Cathy for a great class!
![]()
Just Let Go…
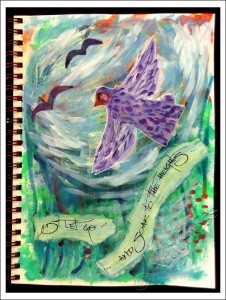
“Just let go… … and soar to the heights …” was inspired by the second part of Carissa Paige’s class on the 21 Secrets 2013 course.That’s me painted over to look like a bird soaring in the sky – Oh how I envy the birds their ability to soar on the wind!
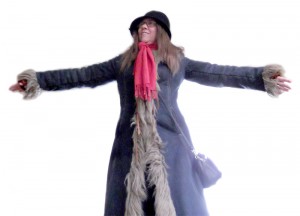
I created a background using a mixture of acrylic paint and spray ink then glued on this silly picture of me with my arms outstretched pretending to fly! I painted over the photo with acrylic paint, turning my arms into wings and giving myself some nice purple feathers and an orange beak, then added the digital text which I coloured using neocolour crayons. I finished it off by adding a couple of friends for me to fly with cut out from old paint stained tissues!

The arrival of this wonderful card from Australia has left me very sad. iHanna’s postcard swap 2013 is finally over! But I have got some beautiful reminders and some of the lovely people I’ve met want to keep in touch, so hopefully there’ll be some more artwork winging it’s way around the world. Meantime, if you hear of any more swaps – please let me know!
![]()
60 Goals!
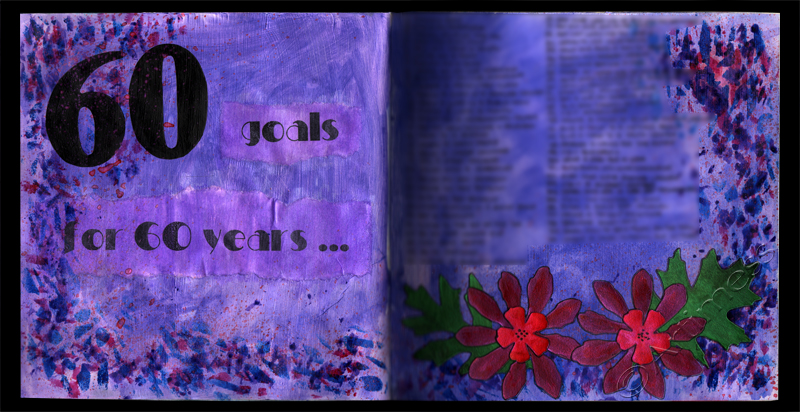
I just read this post from Samie (Journal Girl) and (having just passed a major milestone) was inspired to create a similar piece for myself. Only trouble is – I have more than double the goals to create. But I did it!!
I had great fun! I started off with a gesso base, then added a wash of acrylic colour. I created the text using a mixture of Stencils with acrylic paint and computer generated text washed with Twinkling H2O’s. Next came a border using stencils and Twinkling H2O’s. I added my 60 goals using a Unipin fine line pen. Lastly, I splattered a bit more colour with some paintbrush flicking and collaged some die cut flowers and leaves coloured with Twinkling H2O’s.
I’ve blurred out my goals for now, but will reveal them in a years time when I review them to see how many I’ve achieved!
![]()
Finally finished!
Yes! – I have finally finished my game board for last weeks Life Book lesson from Kelly Hoernig.
I ran out of space on my board to glue my car, so I attached it to a hinge so that it could be flipped to see the board underneath.
I may add some flowers to the roadside later – I can’t decide at the moment!
Meanwhile the ingredients list! I used collage, white gesso, acrylic paint, Artist Cellar stencils, a home made mask, some ribbon, a button, a little jute, a uniball eye pen, some digital text, most of a cotton bud, plus some ink and hot glue.
I really enjoyed making this – thank you Kelly for a great lesson.
![]()
Celebration Journey!
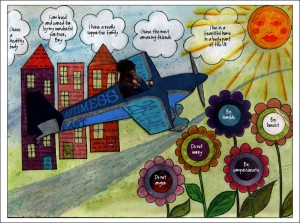
I have finally finished part two of Life Book Week 1! I had so much fun creating this – thank you Tam for such a great lesson! I chose an aeroplane as my mode of travel as I have have only just got my passport and have never yet flown. I intend to take my first flight in 2013!
I created my background using watercolour paint and rock salt, then added a collage of the plane, which I coloured using neocolour crayons, combined with a picture of me. I created the flowers using circles punched from old magazines then added the details using a uniball eye pen and watercolour pencils. Having already stuck the plane to the page, I then decided I wanted some buildings behind it! Nothing like planning for getting things in the right order! I photocopied a book drew the buildings using the uniball eye pen, then coloured them using watercolour pencils. Then I had to cut them to fit round the plane! Next came the clouds, using the uniball pen and white gesso, and the sun using the uniball pen, yellow acrylic and neocolour crayons. Lastly I added the text digitally after scanning.
Phew! All done just in time to start Week 2. Roll it on!
![]()
Life Book 2013!
Yes! – the first Life Book class for 2013 is up and is not disappointing. As always – Tam gives such excellent value for money. This weeks lesson has two parts to it! This is my interpretation of the first part.
I created the background using neocolour crayons, then drew my Fairy Art Mother in pencil and coloured her using more neocolour crayons. I liked the way she looked on the page so rather than adding my text to the physical page, I added it digitally after scanning her.
I’m off to get on with the main project now – see you later!
![]()


