Hand Made Art Journal
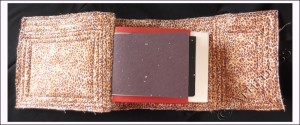
Phew! – I finally finished my latest project, a hand made art journal!
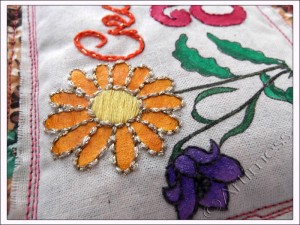
I started out by following Joanne Sharpe’s class in 21 Secrets 2013. As usual, I didn’t quite follow the instructions! Joanne taught us six embroidery stitches to use on our panels – I used three of them plus two of my own. Our design was supposed to be all embroidery, but I got rather carried away with using Twinkling H2O’s to colour my shapes! While I was busy painting and embroidering my panel, I got a newsletter from Effy Wild which gave me a link to her free Bookbinding course. Well, I had to watch it didn’t I! As a result, the journal I made is a combination of Joanne’s and Effy’s classes with a few of my own little quirks thrown in for good measure.
I drew the design for my book panel on some scrap paper then traced it onto calico using a homemade light box (a desk light pointed up through my glass topped coffee table) and a Pitt Artist Pen. I coloured it using a mixture of Twinkling H2O’s over clear gesso and embroidery stitches.
After I chose the fabric for my book cover I sat and hand tacked my wadding sandwich together so that it didn’t move about too much when I machine stitched it. I don’t know anything about quilting, but the wadding I bought was really thick, so the only way to make it manageable was to ‘quilt’ it! – I’m sure it’s not the right way to quilt, but I think it turned out alright.
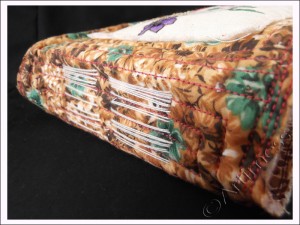
Next came the pages for the journal. I started off with five signatures of watercolour paper but decided that wasn’t enough. So I added another six signatures of assorted handmade paper in a variety of sizes. I now had a small problem. Neither of the binding methods suggested would work with my enormous pile of signatures. To make matters even worse I decided to add some spacers between the signatures to allow room for expansion. My spine measured 1.5″ deep! I decided the only thing to do was to sew the signatures together in traditional binding style then somehow attach them to the cover afterwards.
I knew how I wanted the finished book to look, but had no idea how to achieve it. Once the signatures were sewn together it was easier to see what I had to do, but the technicalities of it baffled me for a while. After a lot of head scratching I decided the only way to do it would be to sew each signature into the spine individually – no mean feat with them all sewn together! But I did it, and I got the stitching to look the way I wanted it to!! Now I just have to decide what I’m going to use the journal for!
![]()
Playing with Stencils!
Yesterday, Christmas came early! I got these Texture Stencils from “artistcellar” in the post! So much fun!
I started out by adding colour washes with Inktense pencils to some watercolour paper to create an under layer to the stencils. I used the Inktense pencils because once they’ve been activated they become permanent. When the colour wash layers were dry I got out the acrylic paint and started playing with the stencils! It was very messy – but the stencils are great!
I have no idea at the moment what I’ll use these backgrounds for, they’ll probably get obscured by additional layers of something else, but for now I’m just enjoying them as they are!
![]()
Digital Wizardry!
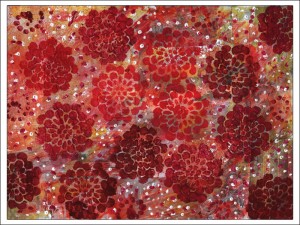
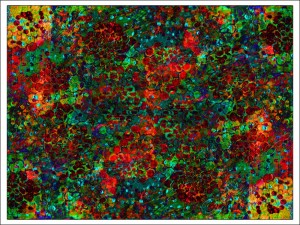
Today I started out by sticking a mixture of all kinds of paper to a sheet of watercolour paper. I followed this with a light brayering of white acrylic paint to blend everything together. Then decided I would play some more with the flower stencil I used yesterday and ended up with this image.
I couldn’t decide what to do with it next. So I scanned it into the computer and stated playing. This was my favourite of all the blends I came up with.
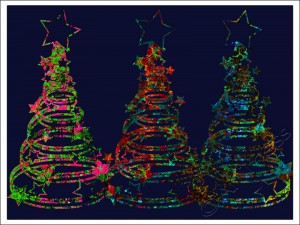
I liked it, but I wanted to take it further. It occurred to me that it would look cool as the pattern on a christmas tree shape, so I set off on a hunt for some Christmas tree brushes. I found some beauties here at Photoshop Graphics
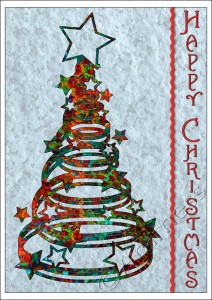
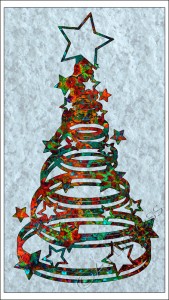
Of all the Christmas Tree shapes in the brush set, this was my favourite! But I still wasn’t finished!I decided to create my first Christmas card of the year – well two actually! I think I prefer the one without the writing on the front. What do you think?
Quite a productive day really from one simple piece of artwork!
![]()
More Winter Flowers!
It must be the effect of all the dull winter days at the moment, I just keep wanting to play with flower images, so here are some more winter flowers!
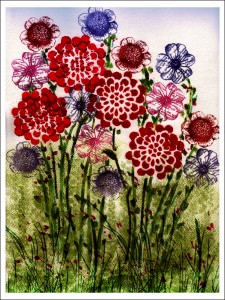
I started off by stencilling the big flowers onto the watercolour paper using acrylic paint – messy, but fun! Then I added some more flowers using clear stamps and a mixture of Staz-on ink pads and distress ink pads. Lastly I scanned the image into the computer, added some more greenery with digital brushes and some more background colour using gradients and blending.
![]()
Tree of Life
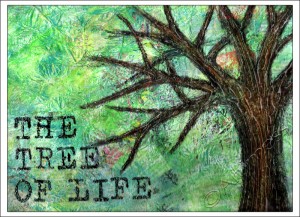
Browsing through blog posts in my rss reader a while ago, I came across a beautiful image called ‘Ablaze’ by Kathryn Dyche Dechairo. I was totally inspired!
This is where the inspiration took me! I started with a torn magazine collage on watercolour paper. I covered that with a sheet of crumpled tissue paper stuck down with lots of semi-gloss gel medium. When that had dried I used my neocolour crayons to add some colour to the mix. Next I drew the outline of my tree using water soluble graphite pencils and coloured it in using the trusty neocolours. The next part involved covering the tree with hot glue! The last bit was adding the text using letter stamps which I then embossed.
I toyed with the idea of adding some collaged leaves, but decided to keep it as a winter tree for now. Maybe I’ll try adding some digital leaves later!
![]()
Newspaper Collage
Newspaper is one of my favourite materials – it is so versatile! You can use it to protect your work areas, you can cut it up and make things with it, you can build things with it, you can use it for papier mache, you can take prints from it, you can use it in collages – and those are just a few of its craft uses!
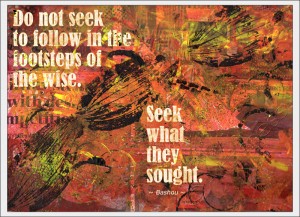
To create this image I completely covered a sheet of watercolour paper with torn newspaper, then added acrylic paint using a variety of implements including bottle lids, bubble wrap, sequin waste and old credit cards. Next I added some carefully chosen, strategically placed leaf prints and a few stencilled footprints. Finally after scanning the image into the computer, I added a quotation using distressed digital text.
I love the way the newspaper peeps through the layers in places!
Coming Home!
After my travels over at Face of Love, I’ve decided to return to Artimess to continue my messy exploration of all things creative.
Since I completed my Wreck this Journal book I’ve been through a slightly more structured phase in my creativity, but I’ve decided it’s time I came home to Artimess and started having fun again!
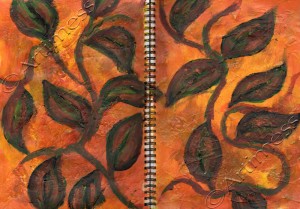
I signed up for Tamara Laporte’s Life Book Course back in January and have been joining in rather haphazardly throughout the year. Last week’s lesson by Connie Hozvicka from Dirty Footprints Studio caught my imagination. The picture above is my interpretation of the lesson. Created on watercolour paper (2 x A4 sheets), using glossy gel medium as a base to build texture followed by lots of layers of acrylic paint to add depth and more texture. I had great fun creating this – thank you Connie!


