Creativity Rocks!
Creativity rocks! I’ve been so busy writing my dissertation that I haven’t had time to do anything else. But I took a couple of days off last week and did a bit of catching up!
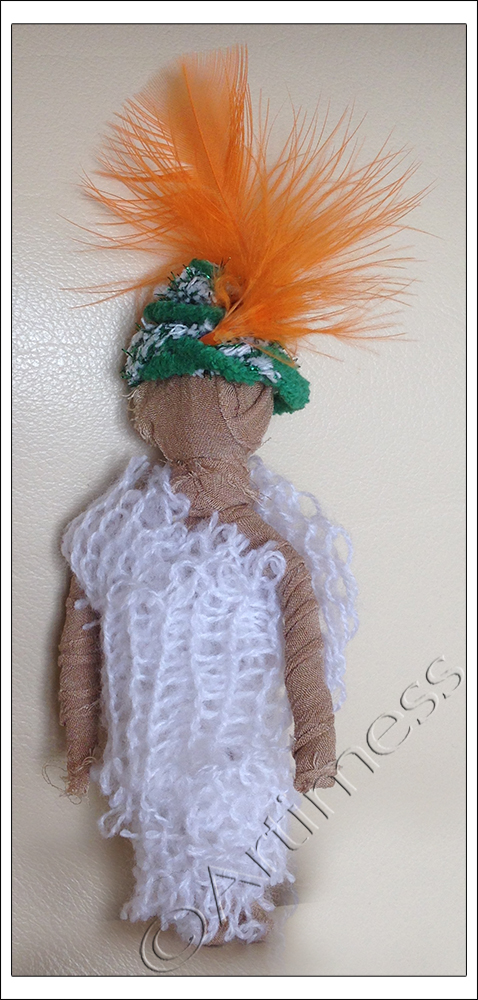
A couple of weeks ago we had our dissertation tutorials and as part of the tutorial, our group were asked to create an image to represent our finished dissertation. I knew I had to create a doll, but as we didn’t have much time for the art work I knew she had to be simple. So I made a wrapped pipe cleaner doll and called her “All wrapped up with a feather in her cap!” Do you like her?
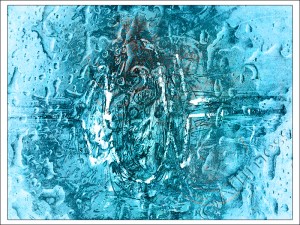
This image started out as a photograph of the kitchen sink with splashes of water all over it. Then I blended a painting into it – et voilá!
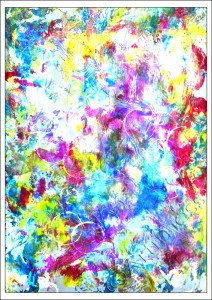
This one is a blend of two paintings created during a recent painting workshop.
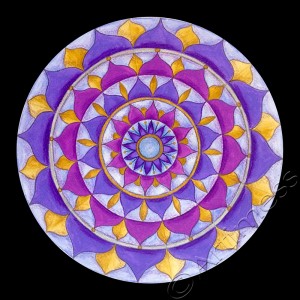
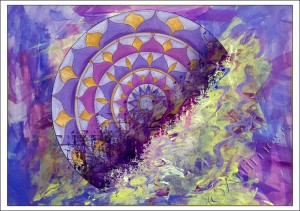
I’ve been fascinated by mandalas for a long time as any of you who have followed my blog or flickr stream will know. So when I saw Julie Gibbons was running a five day free course, I just had to sign up and play along. I must say, the course is one of the most comprehensive mandala courses I have ever seen and I am learning so much. Thank you Julie. This is my first mandala created on day two using a pencil drawn grid, neocolour crayons and watercolour pencils.
And I just couldn’t resist playing digital with the mandala after I scanned it!
![]()
Breathing space!
I’ve finally finished handing in my written work for this academic year and have a little bit of breathing space before the next marathon of academic writing begins!! I haven’t done any painting yet, but I have been playing digital and making dolls!
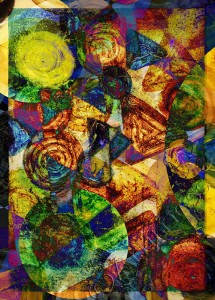
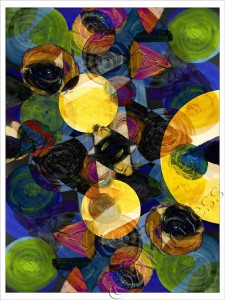
It never ceases to amaze me how many variations it’s possible to create from one image simply by copying and blending.
The problem comes with knowing when to stop – tricky one that!! Both these images were created from one original piece of artwork which I played with digitally to achieve more depth and interest.
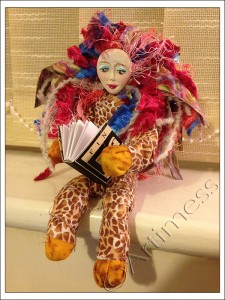
Ever since we had a doll making workshop on the course, I’ve been obsessed with doll making and have been reading about the history and researching well known doll makers. I bought this Art Doll Instructional Zine from Lani Gerity a while ago, and finally managed to have a go at making one of the dolls.
She’s called “Study’s Over” and if you want to know how I made her you’re going to have to splash out $9 to buy the zine from Lani, but I can tell you I used pipe cleaners, fabric, yarn, air drying clay and acrylic paint. She was very simple and great fun to make!
I’m working on some more dolls and am hoping to get the paint out very soon, so keep watching!
![]()
Just in case…
Just in case you thought I’d forgotten to play digital, I had a little break from essay writing tonight and played with gradients and blending.
First I made it in colour…
… and then I desaturated it to turn it black and white. I can’t decide which one I like best. Which one do you prefer?
![]()
Another Journal Page!
Following on from yesterday’s success, I’ve managed to create another journal page using the scanned digital technique. Yay!
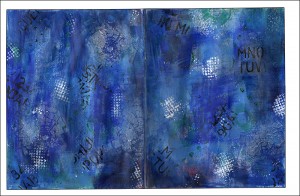
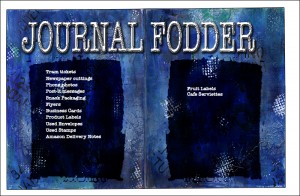
This is the background I created in my altered journal using acrylic paint, home made stamps and stencils.
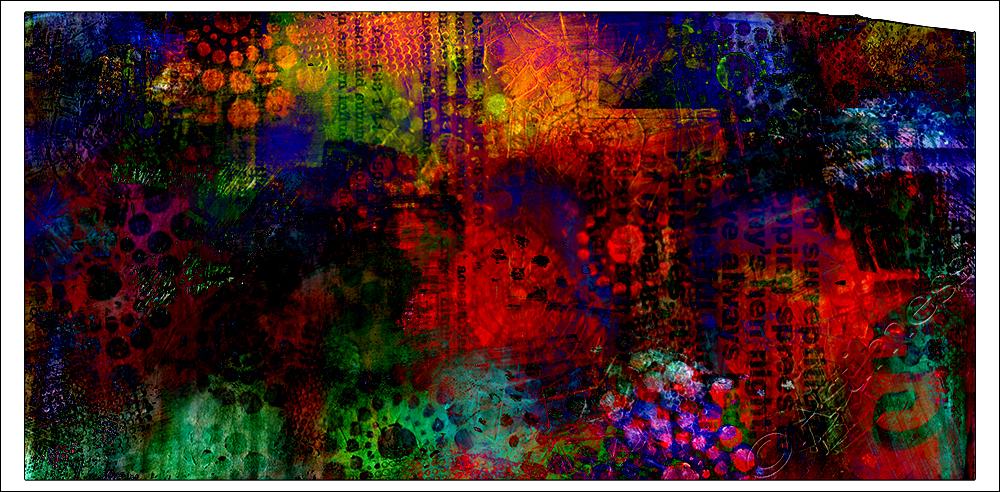
And this is my digital interpretation of todays ‘When Frogs Sing’ journal prompt.
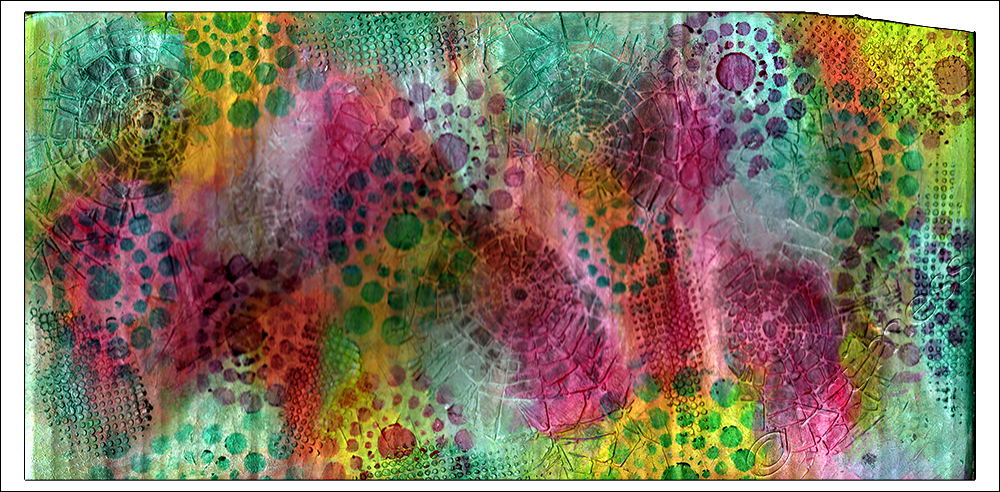
I finally got around to processing the second of my recycled cardboard paintings from the other day. I created it using acrylic Paint, acrylic ink, stencils and moulding paste.
You can’t really see the relief on the big picture so I took a couple of detail pictures to show it off. It makes a lovely textured surface – I really love texture!
And you know what – I haven’t played blending for ages! So I just had to try a little blend here! I really like how this one turned out. What do you think?
![]()
Colour and Light
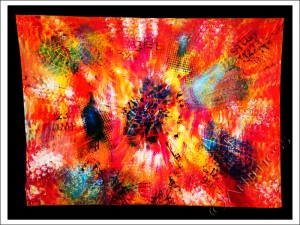
In contrast to yesterday’s post, and just to prove that I have been creating some of my more usual bright work, here are the latest two – digitally altered of course!!
This is my favourite – I love the softness of the colours and the textures which the tissue collage adds to the image. I created the collage using home made background papers, torn paint tissues, acrylic paint, stencils and some Krylon webbing spray. After photographing, I digitally altered the image using filters and blending.
This one is Bry’s favourite – he loves the bright colours, and yes, it is meant to make your eyes go funny!. I created this using acrylic paint, stencils and Krylon webbing spray, then digitally altered it using filters and blending.
I’ve been playing digital with yesterdays images, but you’ll have to wait till tomorrow to see what I’ve done to them!
![]()
Time Flies!
Doesn’t the time just fly by! I can’t believe it’s a week since I last posted here. In between a very special birthday, the celebration of which got delayed by snow over the entire country, followed by a nasty tummy bug which laid me out for a day, I’m only just catching up with myself now!
It all began when I had some leftover paint from creating cards for this week’s Life Book lesson. As usual I painted a page in my notebook with what was left of the paint. Then the postman brought me some very special paint that I’ve been coveting for a very long time – some Golden fluid acrylic paint! Well – I just had to try that out didn’t I? Isn’t it lush!
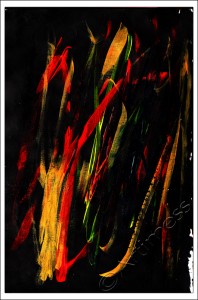
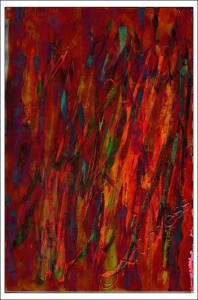
With two pages of abstract paint marks scanned I just had to play digital! So much fun and such beautiful colours!
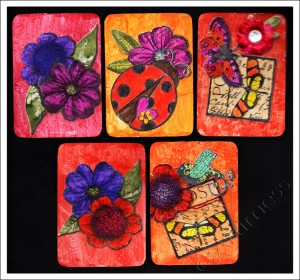
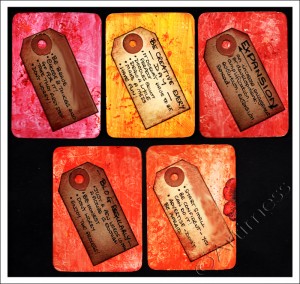
Today I finally finished my game cards, the first part of Kelly Hoernig’s Lesson from Life Book this week.
I created my own playing card size cards using glossy white card, then painted them using acrylic paint (the old paint!). I used collages of stamped images coloured using watercolour pencils to decorate the front of the cards, and luggage tags coloured using distress ink pads to write my goals on the back. I obscured the titles of a couple of them as I am not ready to share them at the moment.
So now I’d better get back to completing the rest of Kelly’s Lesson! I hope to be able to post it in the next day or so.
![]()
Scary Stuff!
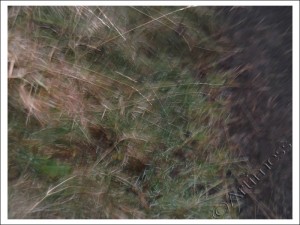
Yesterday I got the fright of my life. I was totally absorbed in capturing this shot when a dog barked right behind me. What made it worse was that I was precariously perched on the edge of the cliff path, and I suffer from a fear of heights! This was the result.
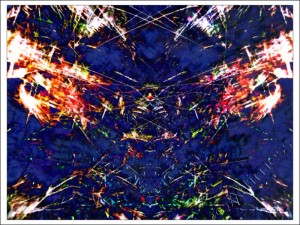
Not being one to waste anything, I set about playing blending games with this image.
What do you think?
![]()
Altered Railings!
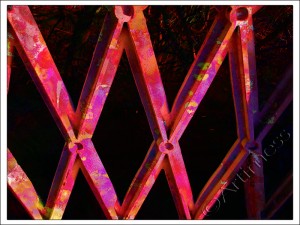
Yesterday’s photo shoot for this picture took place on a road bridge through some railings. Needless to say I took pictures of the railings, and although they didn’t feature in the day’s picture, I thought they’d be fun to play blending with.
Do you like the result?
![]()
Rose Blend
I’ve decided to try and take a photo every day this year to improve my photography. Yesterday I took a photo of my Christmas roses, but you know me … I can’t help but play blending games with my photos!
I just love the way it turned out! What do you think? You can see all of the originals here.
![]()
Ink Blots and Stars
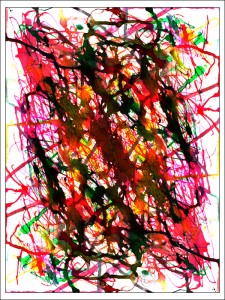
I treated myself to a set of drawing inks a while ago and created this background with them.
I played around with it a bit to give it a bit more depth and have used it a few times already, including on the inside cover of my new notebook.
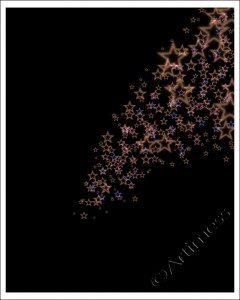
But you know me – never miss a chance to do a bit of blending, so when I made this star image on my iPad, I thought I’d just have a go and see what happened.
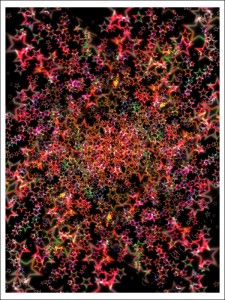
I added it to the ink blots, did a lot of copying and blending …
… and ended up with this! What do you think?
![]()


