Made it ….
Yeah! – I made it through the month …. and to celebrate I created this poster!
I coloured the background using Derwent Inktense Pencils, then drew, cut out and stuck the large ‘Made It’ letters to the background. I drew the rest of the letters, outlined them using a uniball eye pen, and coloured them using the Inktense pencils. Lastly I inked the edges using distress ink pads and stuck on some snowflake and star confetti.
It’s been a fun month. I’ve really enjoyed being inspired by everyone’s amazing work. A great big thank you to Leah for providing the opportunity, and a special thank you to everyone who has visited and left me comments.
![]()
Playing Digital!
Today I felt like having a digital day. I started with an image of a feather and turned it into a digital brush. Then I played with brush settings, altering its spacing, randomising it, and flipping its axes. I put each new variation on a new layer then added coloured layers and blending into the mix. Finally I topped all the layers off with a leaf print image taken from my stash of images created in September. Then I played with some serious blending!
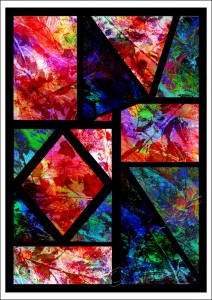
This is my favourite of the resulting images, but they all looked so nice that I thought I’d try something different. I created a window containing bits of all of them.
Do you like it?
![]()
Painty Tissue!
Today I created a batch of coloured backgrounds in different colours using inktense pencils and neocolour crayons. I often do this when I can’t think what to do as I find it generally sets me off on a new creative path. Today was no exception! During the background process I ended up with several very painty tissues, but one in particular caught my eye.
I carefully separated the three layers of tissue then tore and arranged them before glueing them to the background with a healthy dose of gel medium. When it was all dry I scanned the image into the computer, added the quotation and chose some digital brushes to frame the words.
![]()
Green Mandala!
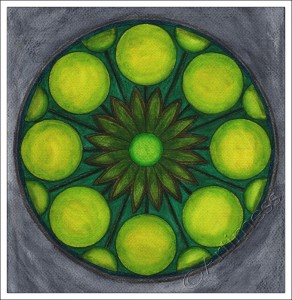
Today I felt like drawing a mandala – they’re so meditative to create!This one decided it wanted to be green.
I drew the outline in pencil, then inked it using a uniball eye pen. I coloured the mandala using Derwent Inktense pencils. I originally planned to add some doodling at the end, but I rather like it just as it is. What do you think?
![]()
Leftover Paint!
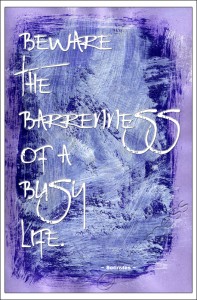
Whenever I have any leftover paint on my pallet at the end of a project, I brush and /or apply it randomly to a page in my notebook then scan it into the computer.
Today I started off with a scan of some leftover acrylic paint then added the Socrates quotation using digital text. A nice easy day after yesterdays mammoth effort!
![]()
Digital Wizardry!
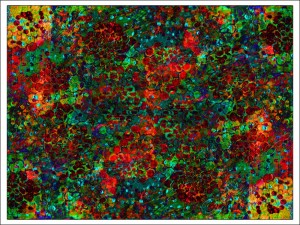
Today I started out by sticking a mixture of all kinds of paper to a sheet of watercolour paper. I followed this with a light brayering of white acrylic paint to blend everything together. Then decided I would play some more with the flower stencil I used yesterday and ended up with this image.
I couldn’t decide what to do with it next. So I scanned it into the computer and stated playing. This was my favourite of all the blends I came up with.
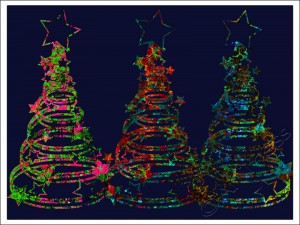
I liked it, but I wanted to take it further. It occurred to me that it would look cool as the pattern on a christmas tree shape, so I set off on a hunt for some Christmas tree brushes. I found some beauties here at Photoshop Graphics
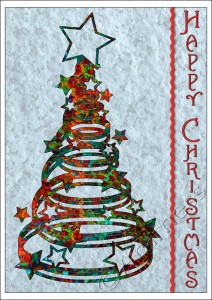
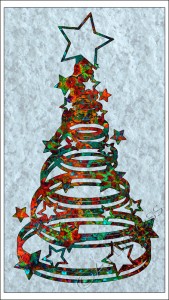
Of all the Christmas Tree shapes in the brush set, this was my favourite! But I still wasn’t finished!I decided to create my first Christmas card of the year – well two actually! I think I prefer the one without the writing on the front. What do you think?
Quite a productive day really from one simple piece of artwork!
![]()
More Winter Flowers!
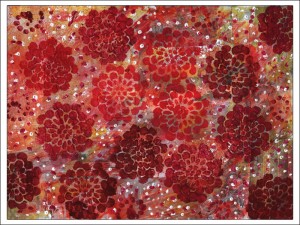
It must be the effect of all the dull winter days at the moment, I just keep wanting to play with flower images, so here are some more winter flowers!
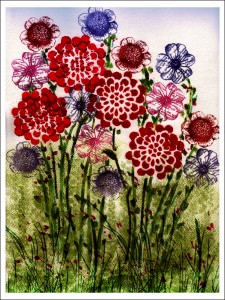
I started off by stencilling the big flowers onto the watercolour paper using acrylic paint – messy, but fun! Then I added some more flowers using clear stamps and a mixture of Staz-on ink pads and distress ink pads. Lastly I scanned the image into the computer, added some more greenery with digital brushes and some more background colour using gradients and blending.
![]()
Monochromatic!
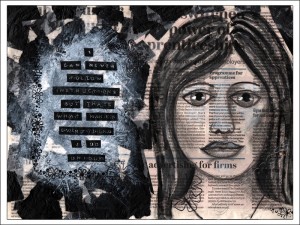
I got a bit behind with the Life Book 2012 classes and have only just finished Rhomany’s monochromatic lesson from last week.
One of the disadvantages to having given away most of my craft supplies at the end of last year (read more about that here) is that I don’t have a lot of the supplies that Rhomany used, but I’m very good at improvisation!!
I started off with a collage of newspaper pages then drew the face using a black biro. I didn’t have any ink so I used a mixture of graphite pencils and neocolour crayons to colour and define the face. I used a tiny bit of white gesso for the highlights.
On the left hand side of the page Rhomany used black and white scrapbook paper. As I didn’t have any of that I used layers of black and white tissue paper to create my pattern. Then I used white gesso to create a lighter area on which to add my words which I created using my dymo machine, black paper and a white oil pastel.
Lastly I added some stamping using a Staz-on ink pad.
![]()
Thanksgiving Leaves!
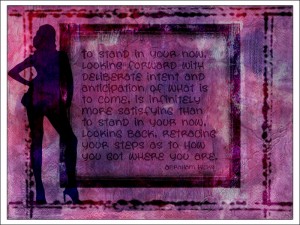
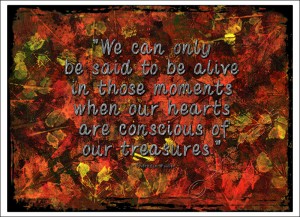
Remember me saying I had loads of leaf print images to use up? – well here are two more! Although we don’t celebrate Thanksgiving here in the Uk, I kind of wish we did. So I added a quotation which I think says it all.
I used my home-made font, ‘Handwritten’, from yesterday for the quotation. In case you missed it yesterday, here’s the link again HANDWRITTEN if you want to download it :).
The background is a digital blend of two more of my leaf print images which I created using acrylic paint.
![]()
Font Fun!
I’ve been playing with the iFontMaker app again – it’s just so much fun!
Today I used a stylus instead of my finger, so I got slightly less wobbly results than last time. This font is called “Handwritten” and you can download it by clicking HERE if you like it 🙂
I created the background using my favourite Inktense pencils on water-colour paper.
![]()


