I just couldn’t resist…
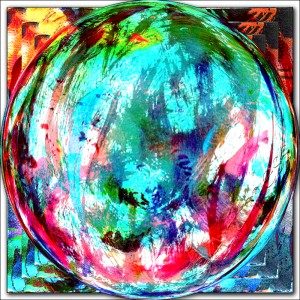
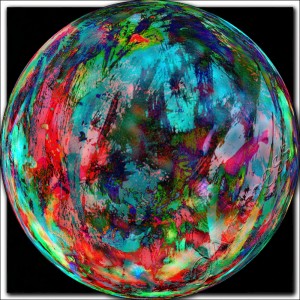
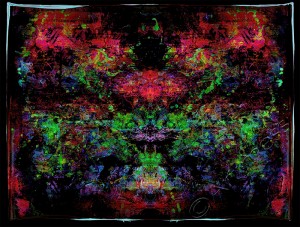
I just couldn’t resist! There I was closing down my computer for the night, when I had this thought, “I wonder what the Swirls image would look like as a mandala?” And, being me, I couldn’t wait till tomorrow to try it out – so here are the results!
This is the first one…
…and this is the second one after a bit of digital blending. Do you like them?
And now I really am going to shut the computer down and go to bed!
![]()
Old Photo Rummaging!
The other day, while rummaging through my photo files looking for an old remembered image, I came across three images which caught my attention: a bag of grapes, a string sculpture, and some old seed heads.
They looked like they might work well together…
…so I just had to try them out with some digital blending! I love the 3D effect of this one…
…and the mosaic effect on this one. But as usual I can’t decide which one I like the best. How about you?
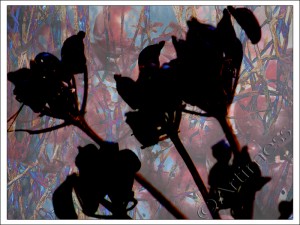
Finally – I just couldn’t resist playing with this flower!
No blending on this one, just a few digital adjustment layers, some grunge brushes and a layer mask. What do you think?
![]()
Filling the Journal!
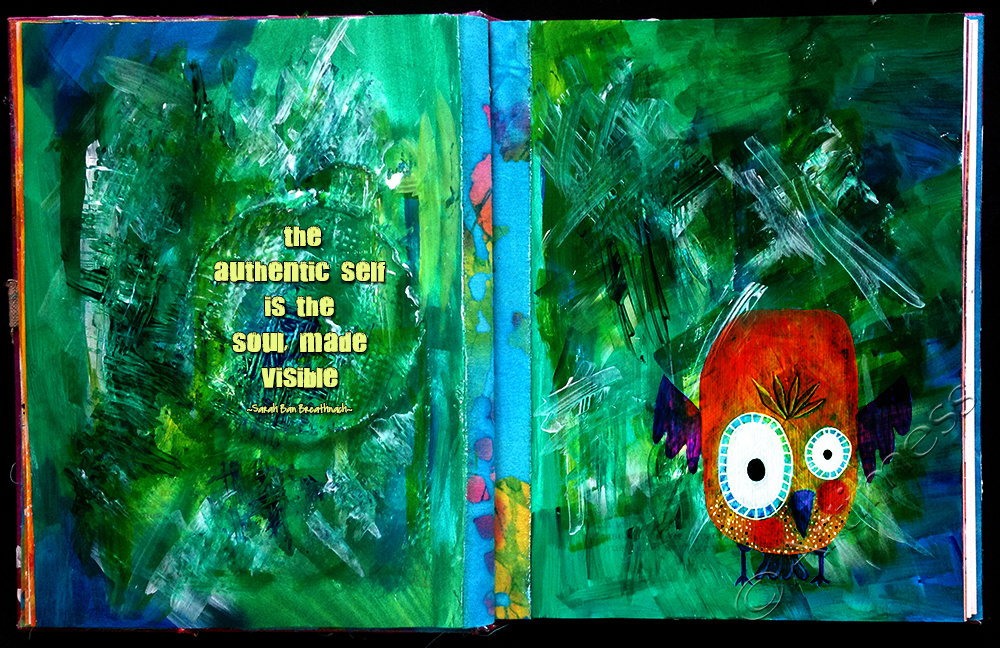
I’m slowly filling my recycled journal! If you look closely you can see the fabric strips down the centre of the page marking the end of one signature and the beginning of another.
I created the background using acrylic paint in layers and used an old credit card to scrape the final layer on which gave it a more textured look. Some of you may recognise the quirky bird on the right. I originally painted it some time last year, but thought it would look good on this page so I added it digitally and blended it in a bit. Lastly I added the quotation using digital text. I love how the coffee creamer lid shape from the previous page makes a perfect frame for the quotation!
![]()
Therapy Journalling
This morning I woke up with a head full of thoughts related to my personal therapy yesterday which I wanted to record.
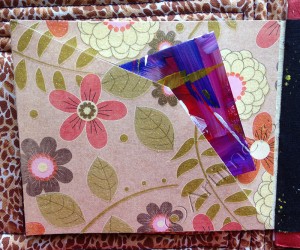
I wrote the thoughts on the back of a postcard, then painted the other side using acrylic paint.
To keep my thoughts private, I made this little pocket using scrapbooking paper in my handmade journal.
Then I had a little fit of digital madness!
I started out cutting and blending several detail images from the ‘Most Success’ journal page…
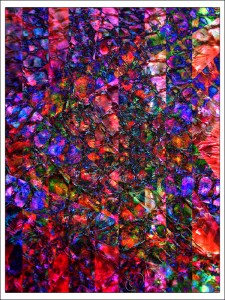
…took pieces of the ‘Cut and Blend image and created this Kaleidoscope…
…but I had to have one last fiddle and changed the colour to purple. Which one do you like best? I think I like the first one. It reminds me of the patterns and colours in my kaleidoscope when I was a little girl.
![]()
Inter–connected–ness–
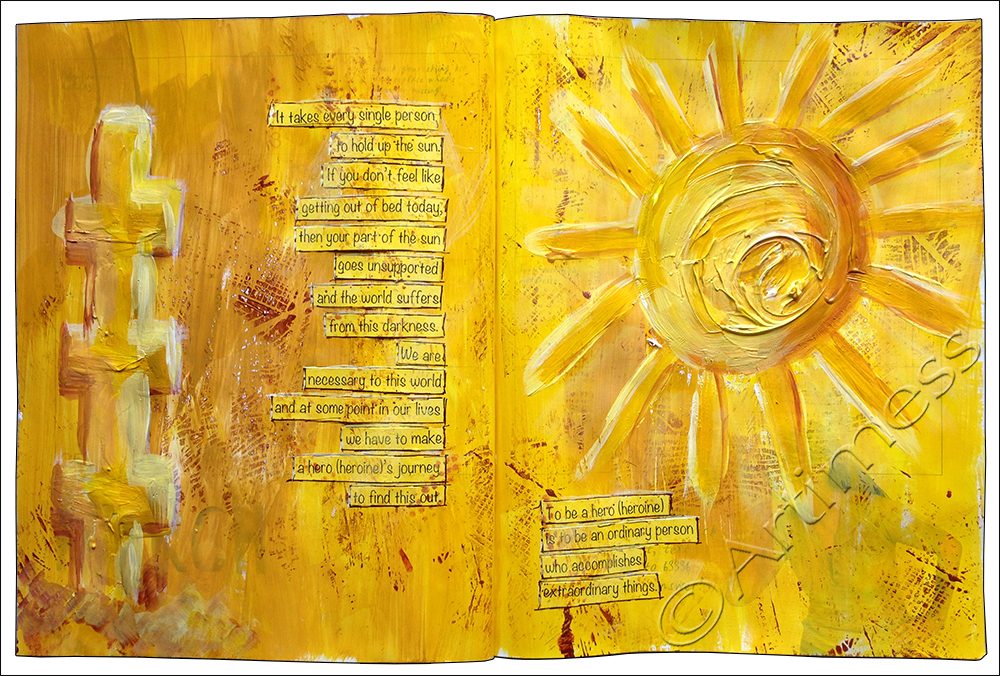
Ever since I can remember I have always believed in the interconnectedness of everything. So when I came across this Pueblo Indian saying in Way of the Doll: Art and Craft of Personal Transformation by Cassandra Light, I couldn’t help but feel a journal page needed to be created.
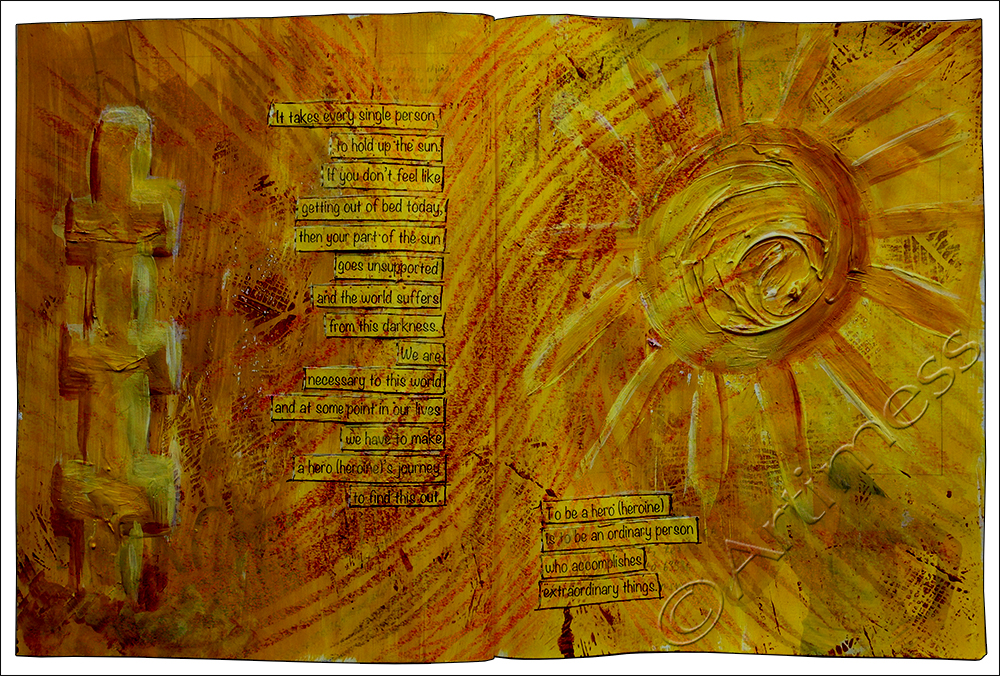
I decided to use my recycled journal, and created this double page spread using acrylic paint, moulding paste and a linocut stamp. I added the quotation by cutting up a digital printout of it, glueing it down then adding paint, stamping and permanent marker to help it to blend into the page. Did I mention that I printed it on yellow paper?
And talking of blending…
…I just couldn’t resist the digital kind!
![]()
Addicted to Doll Making!
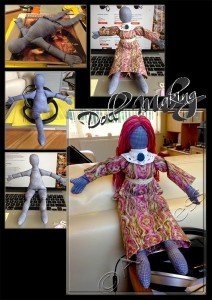
Did I mention that I am becoming addicted to doll making? This one’s taking a bit longer than the others have, and she’s still not quite finished, but I thought you might like to see her anyway.
The pattern came from Elinor Peace Bailey’s book Mother Plays With Dolls … and Finds an Important Key to Unlocking Creativity. It’s a generic pattern which can be adapted to make any number of variations – there are some amazing examples in the book. I stuck pretty much to the basic pattern, but wanted to add some wool hair. I searched online for some tutorials and finished up using a combination of these two tutorials: this one from Gillian Wynn Grimm at Dried Figs and Wooden Spools; and this one from Gillian Austin at Astableulah. I haven’t decided whether to paint or embroider her face, and I may add some other bits and pieces while I’m at it, but I’ll post another picture when she’s finally finished.
In between playing with dolls, I’ve also been playing with paint.
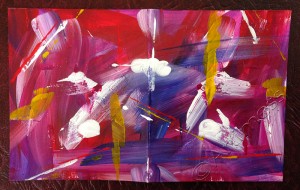
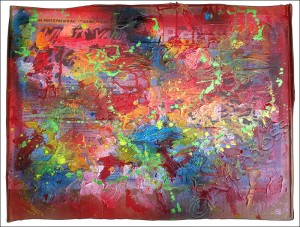
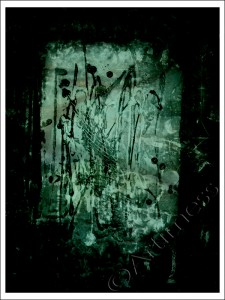
I started off with some recycled cardboard and a double page spread from a newspaper, added some blobs of moulding paste then swirled them about. I added acrylic paint, acrylic ink and spray paint to the mix, then left it all to dry. But that wasn’t the end! After scanning it I had to play digital blending…
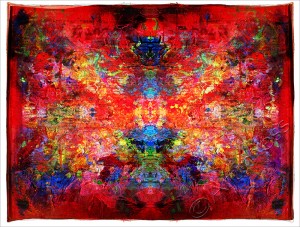
…I thought this one was quite nice, but then I thought I’d try inverting the colours…
…and came up with this which I rather like. What do you think?
![]()
Postcard Swap
Life has been a little manic since my last post. But I couldn’t resist the call to the latest iHannah’s DIY Post Card Swap. If you love mail art and receiving beautiful works of art through the mail then you really should try it! Just click on the link above or the link button in my sidebar to join in the fun.
Since I started the Art Psychotherapy course just over a month ago, I haven’t managed to do very much art work at home – I’ve been too busy trying to get to grips with all the new information my brain has been receiving. But we do create art at uni as part of the course, and I photograph it. I still take photos on the occasional days out we have. And I still can’t resist the urge to do a spot of digital blending to see what happens.
This is the result of a digitally altered piece of artwork blended with a photo of an piece of underwater paving. But I have ten hand made postcards to create for the swap – so I’d better get busy creating! Keep watching!
New Start!
Today I have been getting ready for a new start. Tomorrow I start my Art Psychotherapy Masters Degree! I was hoping to do some painting today, but last minute form filling and organisation took over leaving me just enough time for a little digital blending but not much else!
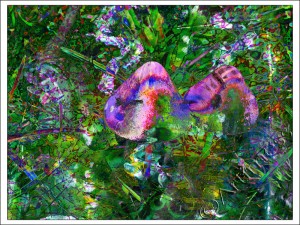
A little digital blending and some photo manipulation created these wonderful psychedelic magic mushrooms!
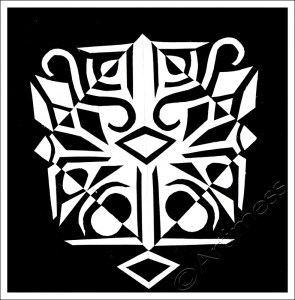
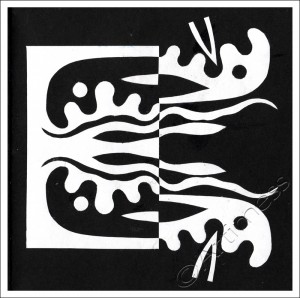
Yesterday I played with another Notan design. This one has lots of faces in it. How many can you see?
![]()
More Notan!
I’m finding this Notan quite addictive… so here’s another one.
I cut this one a bit differently. Instead of folding the paper into four before cutting, I only folded it in half; and rearranged a couple of the pieces to break the symmetry. I wasn’t sure which way up it should go, but I think I prefer it with the straight edge to the left. What do you think?
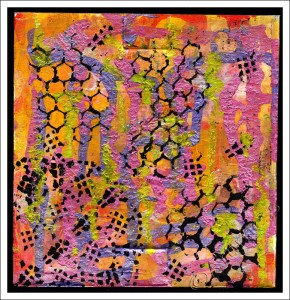
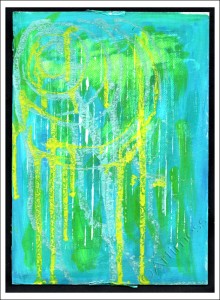
I’m still busy scanning some of the smaller cardboard pieces I created a while ago, so here’s a couple more.
I created this piece on recycled cardboard using acrylic paint, acrylic ink, stencils and homemade stamps.
This is another piece on recycled cardboard created using acrylic paint and acrylic ink. But this one was calling to be blended…
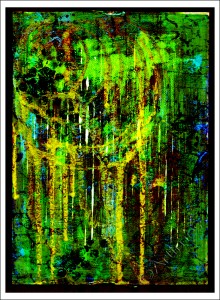
…this is the result – quite dramatic, don’t you think?
![]()
Painting Big!
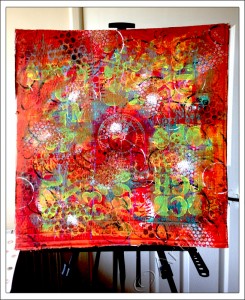
Up until the advent of the new easel, the biggest I had ever painted was a double page in my 12″x9″ Strathmore journal! To be honest, I had never had the courage to try anything bigger. But that’s all changed now! With all the recycled cardboard from moving, I have lots of larger canvases to play on, and because they’re made from recycled cardboard I don’t have the fear of spoiling them that I might have if I’d invested lots of money in expensive canvases! And I’m really loving the freedom of painting big! Every day so far I’ve been adding some more to my 25″x25″ recycled cardboard.
I’ve added more acrylic paint using letter stencils and home made stamps and am loving how it’s looking so far, but have a feeling it still wants some more layers!
Meanwhile, I’ve been playing with some rather smaller pieces as well!
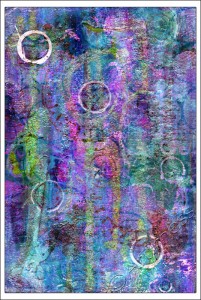
I created this one on recycled cardboard using acrylic paint, stencils, homemade stamps and a paint covered mopping up tissue to add the highlights…
…and this one on salvaged plywood using acrylic paint, acrylic ink and homemade stamps. The only problem with the plywood was that it had quite a pronounced curve from being used to protect the corners of something (I can’t remember what!) and when I tried to flatten it for the scanner it cracked across the top and had to be mended 🙁 …
…and lastly – a little bit of sparkly digital blending – you need to look at the larger version to really see the sparkles.
![]()


