Playing with Layers
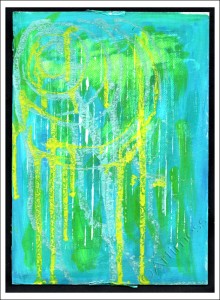
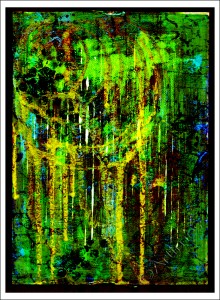
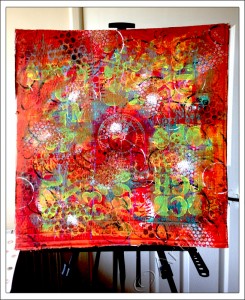
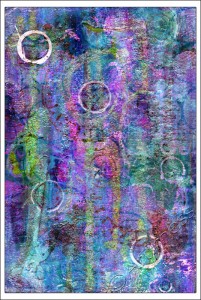
I really enjoyed all the mixed media work I’ve been doing recently, so I decided to do some more playing with layers, both physical and digital.
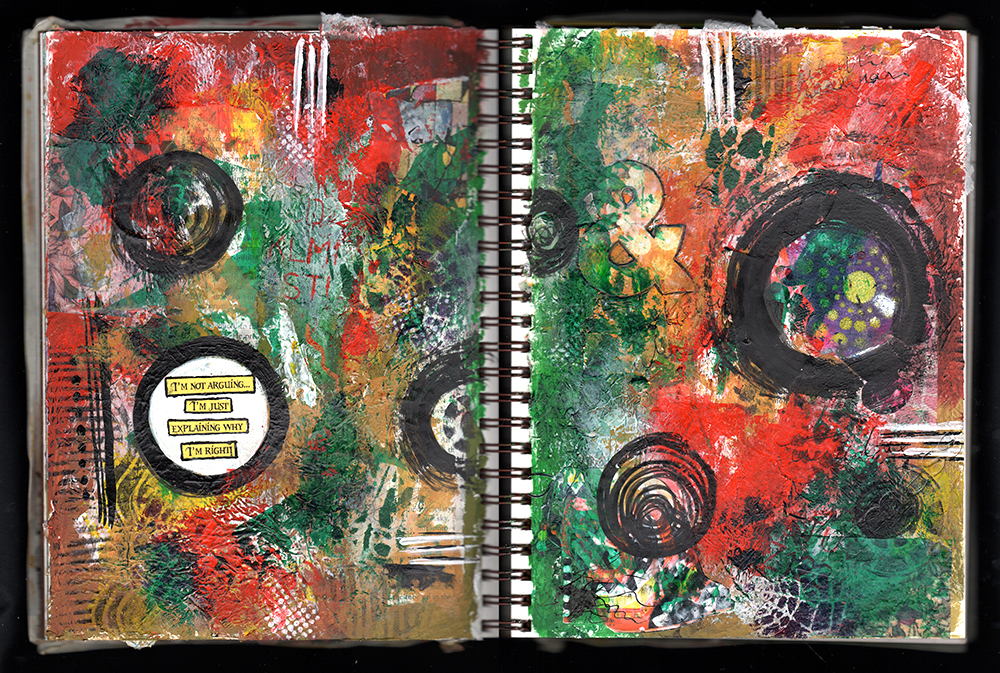
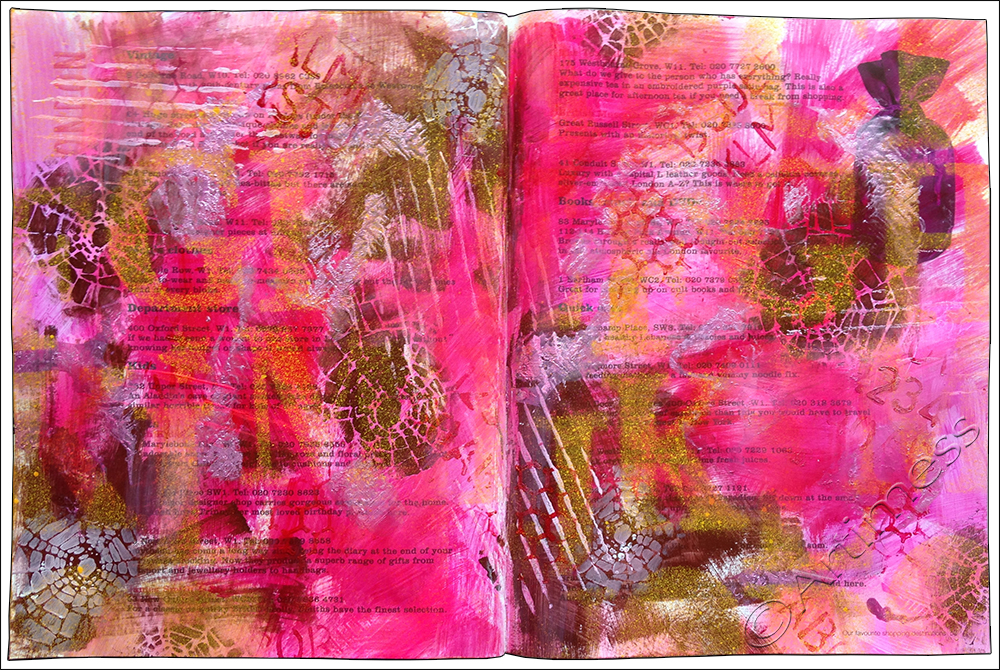
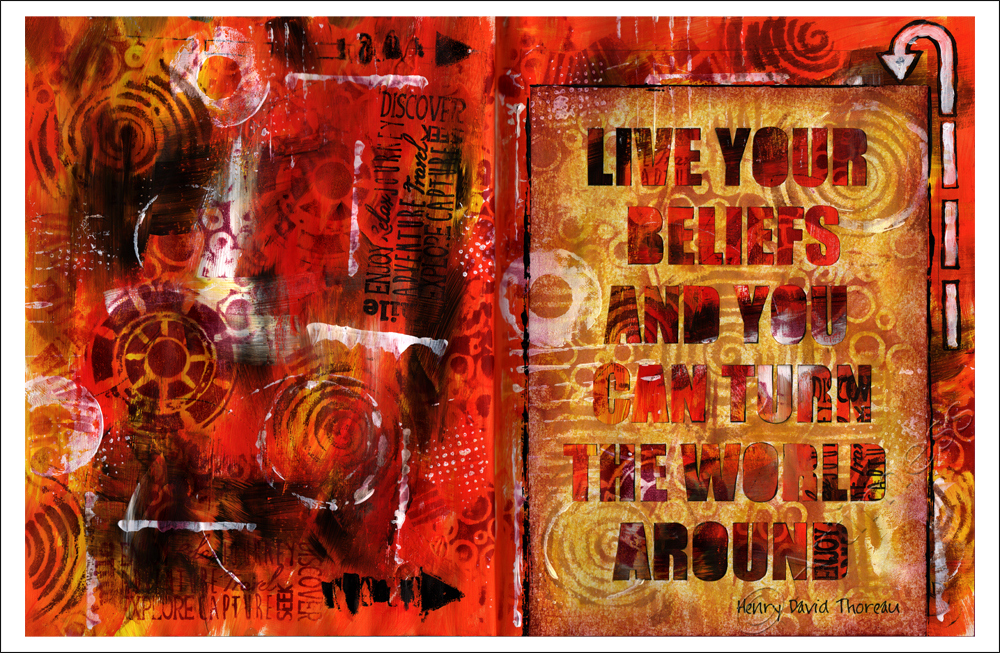
This first image started out as a collage using a mixture of old papers, book pages, old paint stained tissues, and magazine clippings. This was followed by a liberal application of acrylic paint, stencilling, homemade stamps, washi tape, and more collage. The quotation made me smile, as it’s the kind of thing I say all the time!
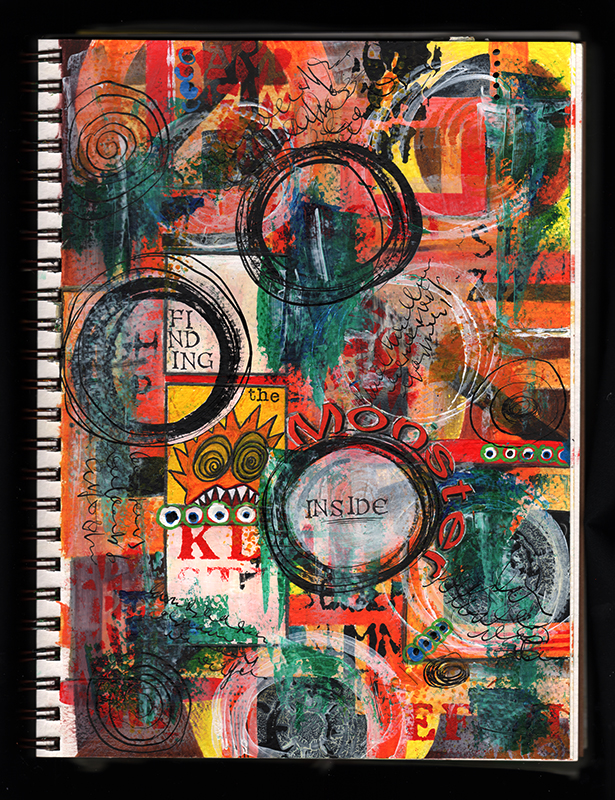
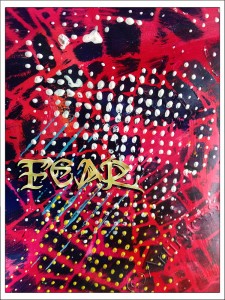
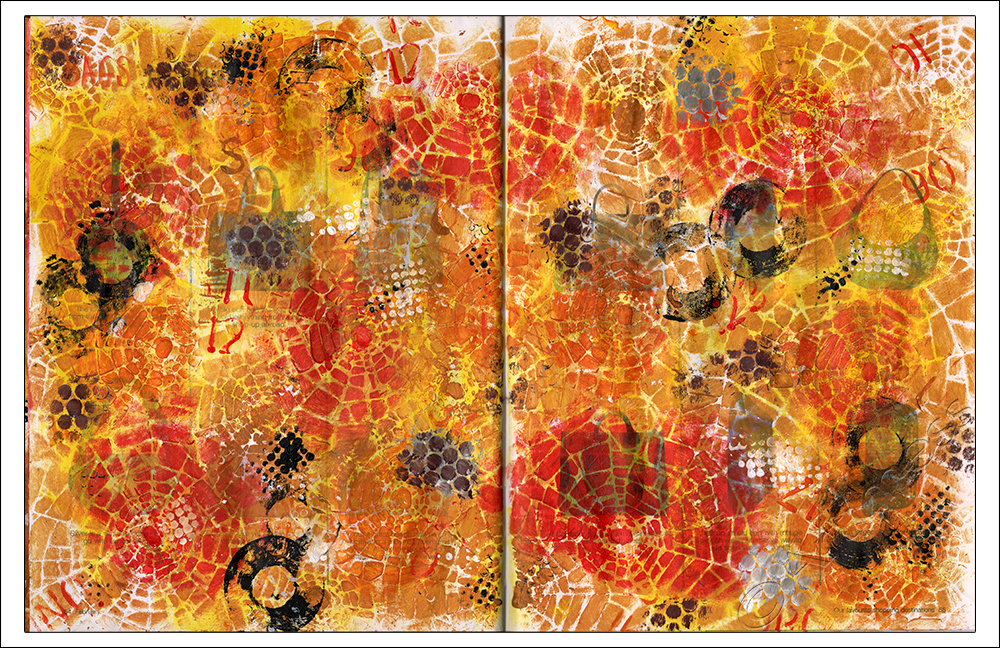
This second image was inspired by some work I did at the weekend on the Person Centred Expressive Arts workshop that I attended run by Dinah Brown and Nuala Eden. It began life as a geometric abstract created using watercolour pencils. Although it was quite colourful, it looked a bit flat, so I gave it the mixed media treatment. I added acrylic paint, stencils, homemade stamps, paint markers and indian ink, then finished it off with some letter stamps and collaged letters.
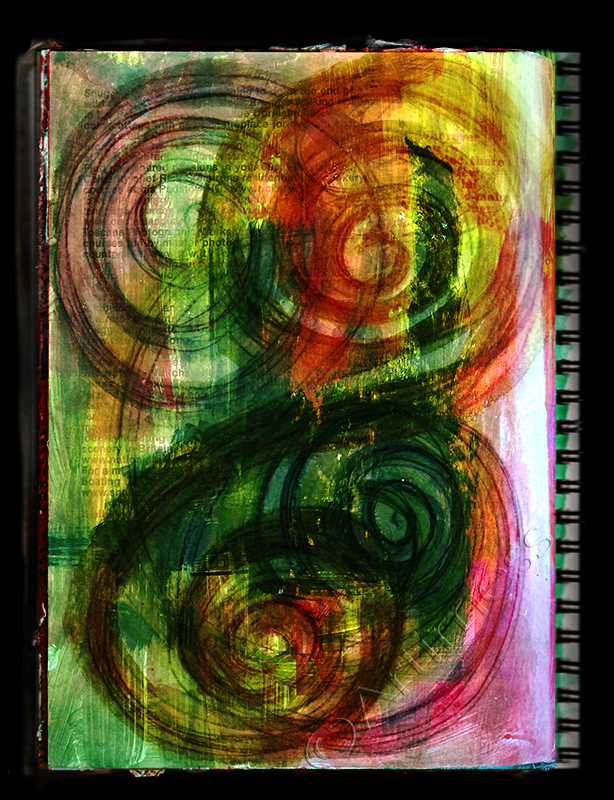
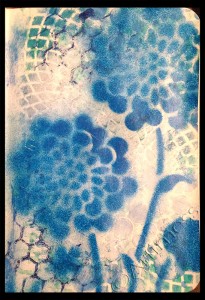
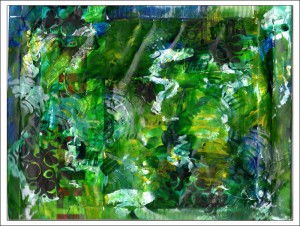
Its been a while since I played with any digital layers, so this last image is a digital blend of two journal pages – a series of swirls drawn with watercolour pencils, and a page created to use up some leftover paint.
Only five days left before the start of 21 Secrets Fall 2015 – I’m really looking forward to working and learning with all the amazing teachers Connie has gathered together.
Fresh Start!
The 1st September, time to make a fresh start! As you might have noticed over the last day or so, I’ve been busy giving my site a face lift, playing around with some new colours and a different header. It feels like it’s time to do some serious creating!
August has been a kind of limbo month for me, the time between the end of my studies, and the beginning of my new professional practice as an Art Psychotherapist, so I’ve been playing in my art journals exploring ideas and materials.
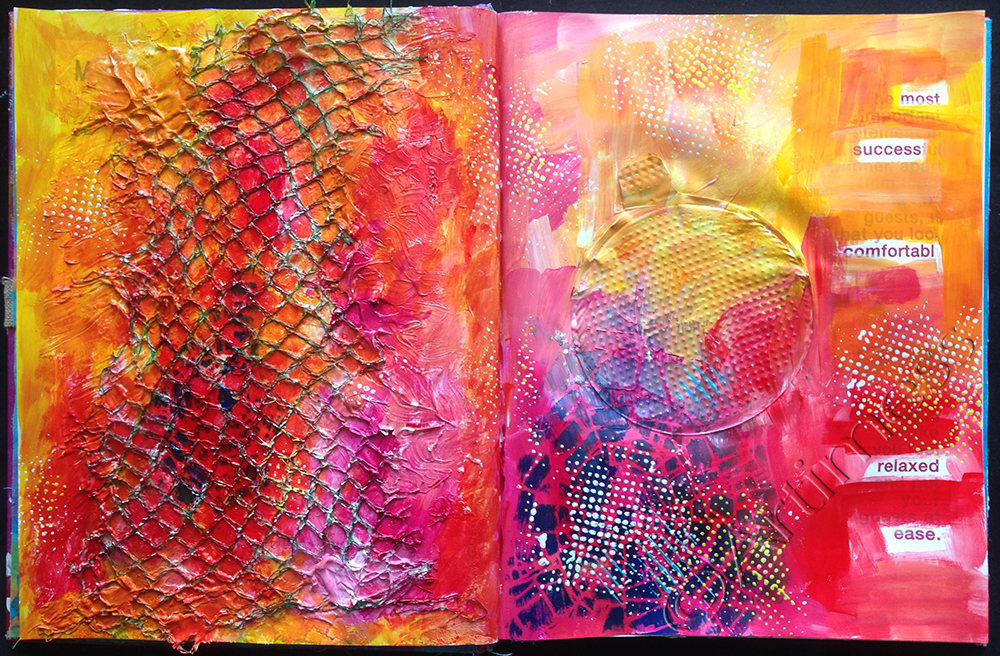
This journal page spread was created in my recycled Journal using torn magazine pages, fibres, gouache and homemade stamps created from repurposed rubbish.
August has also been a time for getting out and about, visiting new places and discovering wonderful bargains to add to my creative supplies.
I got this wonderful fabric from a lovely lady on a market stall in Bradford …
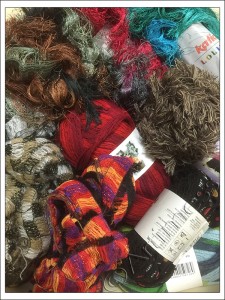
… and just look at all this amazing yarn that I found in the wool shop in Buxton!
September is going to be a month of new beginnings, so to mark my intention to create more art, I’ve signed up to Connie Solera’s 21 Secrets course due to start on 28th September.
I’ve got lots more artwork from August which I’m looking forward to sharing with you. But for now I think I’d better get myself to bed as it’s gone 2:00 am.
Journalling Every Day
In a new effort to inject some discipline into my art making, I’ve joined Lani Gerity’s Morning Pages Daily Art Practice eCourse and am attempting to start journalling every day! But as usual with these things, Im already behind with posting the images, so here goes for a catch up.
I started by creating this journal background in my recycled journal using acrylic paint, stencils, a coffee creamer seal, a net bag from the grocery shopping, some molding paste and a few homemade stamps
Next I used a photograph of some of the detail from the background (can you spot it?) and added some digital text to it.
After reading Soul Mate Dolls: Dollmaking as a Healing Art by Noreen Crone-Findlay, I just had to have a go at making one of her paper dolls. I created her using card, fabric scraps, washi tape and wool, added her to the journal background above with a digital face, then added some digital text to the found text.
This last image was created in my handmade journal using leftover acrylic paint, a stencil and some digital text. Watch out for more journalling tomorrow!!
![]()
“Paint, Glorious Paint…”
“Paint, glorious paint…” a slight misquote I grant you – but after a long absence (at least a week!) its so good to be slinging paint again!! Even in my little journal!
The colour’s not very good in the photo, the original is a more peacocky colour! I created it with some acrylic paint, stencils and a bit of spray paint!
Then I went back to my recycled journal to make some more background pages.
I don’t really like pink… I know girls are supposed to, but I never have! So it was really quite a surprise for me to create such a pink page! I used a lot of different types of paint; acrylic paint, acrylic ink, fluorescent paint, spray paint, a few stencils and a homemade stamp.
I reverted to type and went back to my more usual colour palette.
That’s better… Sigh! All that pink… very worrying! I used acrylic paint, stencils and homemade stamps to make this page.
Last but not least, I dug out a piece of recycled cardboard for a change.
I do like working on recycled cardboard – it’s such a forgiving medium. It just sits there and takes whatever you throw at it! In this case it was acrylic paint, spay paint and stencils.
I really think I’m overdue for a Big piece of cardboard. So watch this space!
![]()
More Notan!
I’m finding this Notan quite addictive… so here’s another one.
I cut this one a bit differently. Instead of folding the paper into four before cutting, I only folded it in half; and rearranged a couple of the pieces to break the symmetry. I wasn’t sure which way up it should go, but I think I prefer it with the straight edge to the left. What do you think?
I’m still busy scanning some of the smaller cardboard pieces I created a while ago, so here’s a couple more.
I created this piece on recycled cardboard using acrylic paint, acrylic ink, stencils and homemade stamps.
This is another piece on recycled cardboard created using acrylic paint and acrylic ink. But this one was calling to be blended…
…this is the result – quite dramatic, don’t you think?
![]()
Painting Big!
Up until the advent of the new easel, the biggest I had ever painted was a double page in my 12″x9″ Strathmore journal! To be honest, I had never had the courage to try anything bigger. But that’s all changed now! With all the recycled cardboard from moving, I have lots of larger canvases to play on, and because they’re made from recycled cardboard I don’t have the fear of spoiling them that I might have if I’d invested lots of money in expensive canvases! And I’m really loving the freedom of painting big! Every day so far I’ve been adding some more to my 25″x25″ recycled cardboard.
I’ve added more acrylic paint using letter stencils and home made stamps and am loving how it’s looking so far, but have a feeling it still wants some more layers!
Meanwhile, I’ve been playing with some rather smaller pieces as well!
I created this one on recycled cardboard using acrylic paint, stencils, homemade stamps and a paint covered mopping up tissue to add the highlights…
…and this one on salvaged plywood using acrylic paint, acrylic ink and homemade stamps. The only problem with the plywood was that it had quite a pronounced curve from being used to protect the corners of something (I can’t remember what!) and when I tried to flatten it for the scanner it cracked across the top and had to be mended 🙁 …
…and lastly – a little bit of sparkly digital blending – you need to look at the larger version to really see the sparkles.
![]()
Finally All Done!
I can’t believe how long its been since I last posted here! I’ve decided that unpacking is a lot more stressful than packing … but it’s finally all done – including the 5 boxes which my brother returned to me (after looking after them for the last 18 months) during his visit last week!
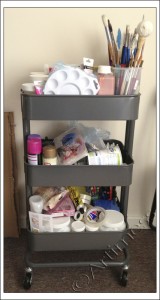
So… what have I been up to? I got my paint trolley from Ikea…
I broke up all the packing boxes and saved a big pile of assorted shapes to use as canvases, then started painting some of the smaller ones.
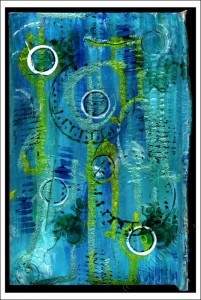
I painted this on recycled cardboard using acrylic paint, acrylic ink and various homemade stamps.
I painted this on a scrap of plywood salvaged from some packaging using acrylic paint, acrylic ink, clear stamps and a staz-on ink pad.
There are lots more to show you, but I haven’t finished scanning them all yet, so I’ll post pictures of them during the week.
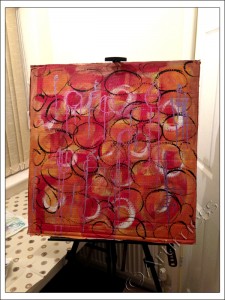
I also got a brilliant easel for painting big …
… as you can see – I’ve already started playing with it. This is just the first few layers – I’ve added two more since I took this picture!! I’ll post another picture when it’s finally finished.
I’ve also been playing digital … but you’ll have to wait till tomorrow to see them or I’ll never get this posted.
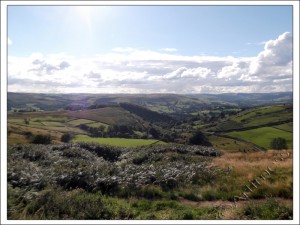
I’ll leave you with this beautiful view taken on a trip to the Peak District, half an hour from our new home, yesterday.
![]()
Purple Mail Art!
Four days left and counting! The packing is done except for the last few bits, all the boxes are taped up except for three of my art supply boxes, so we’re almost there!!
Carrying on the addiction, here’s another recycled padded envelope. This one originated from my pen supplier!
I started out with the ‘Fragile’ tape again – I do like how that looks through the paint! Then I added a couple of small gel medium transfers, and followed it up with lots of acrylic finger painting, recycled stamping, homemade stamping and stencilling. I finished off with a little metallic paint drippage. I think this one may have a face lurking in its depths … keep watching to find out!
![]()
More Mail Art!
Moving day is less than 5 days away. Almost everything is in boxes, but I keep delaying sealing them up so that I can keep painting! We’re moving into deep clean mode now – cleaning out cupboards, washing down paintwork and stuff like that. I ache all over from all the unaccustomed exercise!
I think I may be getting addicted to painting on recycled padded envelopes! They are so much fun, plus they’re about the only things I can find to paint on at the moment! After the move I’ll have loads of recycled cardboard – but for now I’m really enjoying my mail art.
I began by adding some “Fragile” tape to the envelope to get it started, then added lots of layers of acrylic paint with my fingers. I originally intended to use ink pads to do my stamping, but they are packed too deep for me to get to them right now, so I used some more acrylic paint on my homemade stamps. I finished off by adding a bit of drippage – very watered down acrylic paint. I’m not sure if it’s totally finished yet, but it felt like the right place to stop for now.
![]()
Finished Page!
At last all the layers have dried and it’s safe to scan the finished page.
I love how the finished page turned out, and I had such fun making it. The only tricky part was managing the wet media on the thin pages of my new journal, but I managed that by starting with a thickish layer of white gesso and using the acrylic paint with a dry brush. What I love is that you can still see some of the original pages through the layers in places!
Just for a change my ‘ingredients’ list is quite short! I started with white gesso, added layers of acrylic paint, and stamped using various clear and homemade stamps with a staz-on ink pad and some distress ink pads. I printed the quotation onto plain white copy paper then cut out the letters by hand, leaving me with a stencil affect. I coloured this using distress ink pads, then stuck it to the page using a glue stick. Lastly I added some more acrylic paint using an assortment of household items!
![]()


