60 Goals!
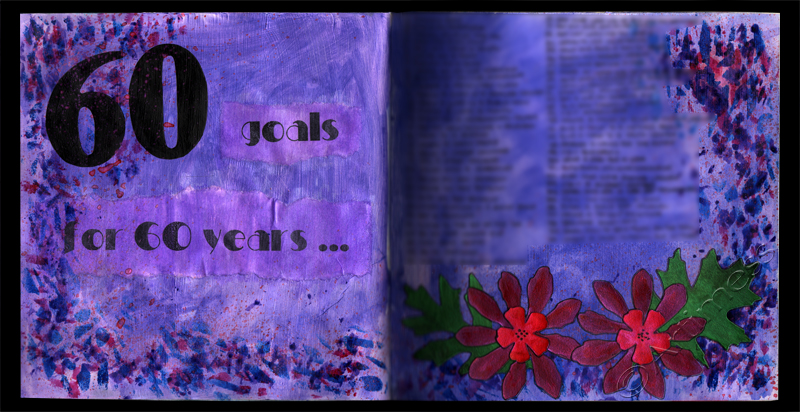
I just read this post from Samie (Journal Girl) and (having just passed a major milestone) was inspired to create a similar piece for myself. Only trouble is – I have more than double the goals to create. But I did it!!
I had great fun! I started off with a gesso base, then added a wash of acrylic colour. I created the text using a mixture of Stencils with acrylic paint and computer generated text washed with Twinkling H2O’s. Next came a border using stencils and Twinkling H2O’s. I added my 60 goals using a Unipin fine line pen. Lastly, I splattered a bit more colour with some paintbrush flicking and collaged some die cut flowers and leaves coloured with Twinkling H2O’s.
I’ve blurred out my goals for now, but will reveal them in a years time when I review them to see how many I’ve achieved!
![]()
More Zentangles!
I’ve rather got hooked on these Zentangle doodles – looks like I’m going for a series!
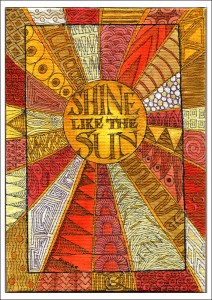
I chose to use the sun as my central image this time. Everything is drawn freehand, which is why the box is not quite square to the page on this one – just call it artistic license!
Once again I used my Unipin Fine Line pen – I think I’m going to have to bulk buy these if I do many more of these zentangles!
I just wish the scan could show the wonderful shimmer that the Twinkling H2O’s add to the image!
![]()
Doodling and H2O’s!
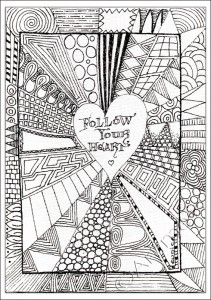
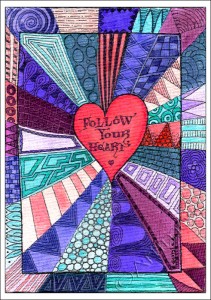
Still inspired by Jodi Ohl’s Just do it – Free Art Friday post, I decided to create another stained glass image, but to cover it in doodles in the style of my zentangle drawings. I used a 5″x7″ canvas board to draw it on.
I doodled using a Unipin fine line pen which claims to be ‘water and fade proof’. “Hmmm, we’ll see about that!” … I thought. My record with so called waterproof pens is not very good!
Wow – I’m impressed! Not a smudge or a smear anywhere! These pens are good! I used Twinkling H2O’s to add the colour, so the ink got verrry wet! Now that it’s finished, I think it looks kind of mandala-ish – the way it pulls your eyes in to focus on the heart. It wasn’t intentional, but I rather like it. What do you think?
![]()
Blending and Faces!
I’ve been playing blending again! I made a stained glass window image inspired by Jodi Ohl’s Just do it – Free Art Friday post.
But unlike Jodi, I didn’t doodle on my painting, I scanned it and played digital blending with it!
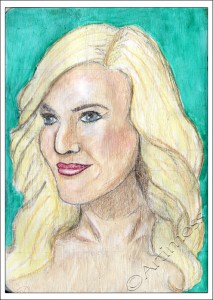
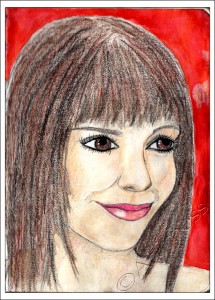
Then I thought it might be a good idea to finish face #16 which has been lurking accusingly for a while now!
I’m glad I did – I’m quite pleased with how she turned out – she’s definitely one of my better faces! I drew her in pencil and coloured her using acrylic paint and watercolour pencils. Now what shall I do next?
![]()
Dance!
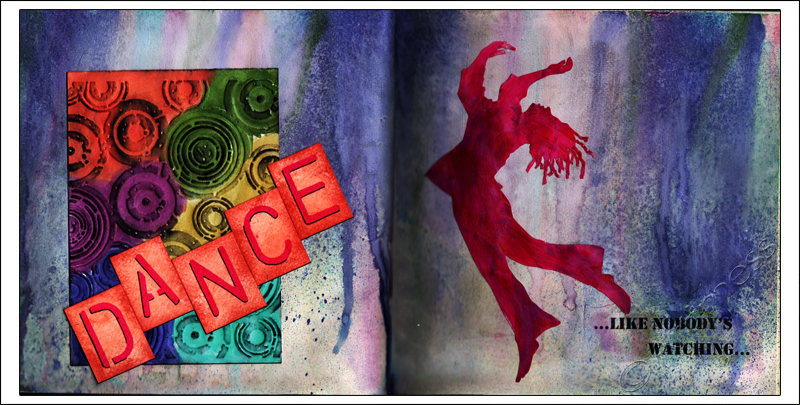
I’m still having great fun playing with Carolyn Dube’s free Use Your Words workshop. Today I finished Wednesdays assignment.
I started by printing the quotation and gluing it to the page, then added colour using a mixture of dripped and sprayed Twinkling H2O’s – very messy! Using the same colours, I painted a panel which I’d embossed using a gear embossing plate, then brushed it with a black staz-on ink pad to give it some extra depth. I created the word dance using a plastic letter stencil then cut the letters up and taped them together. The dancer I cut out from a computer image and painted using acrylic paint.
It was a very messy project, but I had great fun with it!
![]()
Colour!
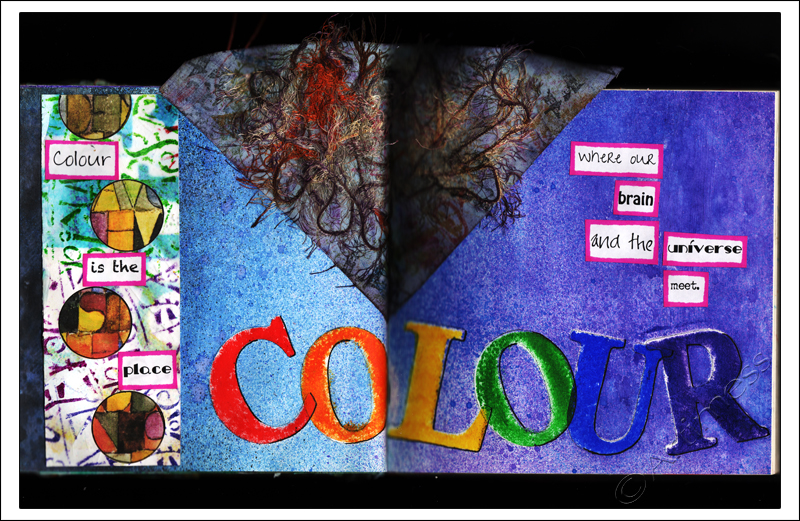
I’ve been having fun with Carolyn Dube’s Use Your Words workshop again. This is Mondays project.
I started off creating the word ‘colour’ using my homemade stencil and acrylic paint, then masked the letters while I created the background using spray inks. Next I took a piece of yesterday’s background sheet with circles punched out of it and added a computer generated image behind to add depth. I created my quotation on the computer and cut up the words. I added shadows and outlines using a uniball eye pen and a sharpie marker.
Lastly I added a material and thread piece with has been sitting in my cupboard waiting for a new home for about three years (how’s that for using up odd bits!). It’s a bit bigger than the page, but I quite like how it sticks up at the top! What do you think?
Being Brave!
I have managed to get behind with virtually all my self-imposed deadlines at the moment, so I have decided to be very brave, not to even try playing catch up, but just to do the things I feel drawn to! So… today I finished last Friday’s assignment from Carolyn Dube’s Use Your Words workshop. This is such a cool workshop!
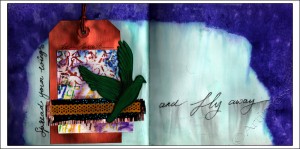
The first part of the assignment was to create a background sheet for cutting up. I used homemade letter stencils, white gesso, an Artist Cellar letter stencil, and gel medium. After I scanned it, I cut it up into five pieces.
The second part was to create a journal page incorporating a collage made using a piece cut from the background sheet. My collage is made up of a hand cut tag painted with acrylic paint, the piece of background sheet, two scraps of material, some paper lace painted with acrylic paint, and a bird cut from foam and coloured using acrylic paint. The words were added using a uniball eye pen – which is supposed to be waterproof – but as you can plainly see, didn’t survive the background sprays without joining in the colour runs! (the sprays were ink and twinkling H2O’s). But I wasn’t too upset as I think the runs just add to the feeling of movement on the right hand page. What do you think?
![]()
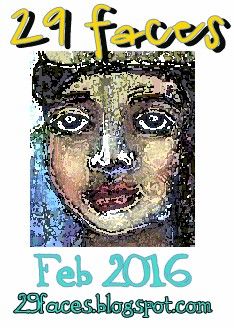
29 Faces – # 15
Still playing catch-up…
… but I think she’s my favourite so far!
![]()
29 Faces – # 14
I’m still behind with my faces, but here is number 14.
Once again she’s drawn in pencil and coloured with acrylic paint and watercolour pencils. I really must try drawing with paint one of these days – I’m sure I would learn a lot from it – it just a case of plucking up the courage!
![]()
Thank You!
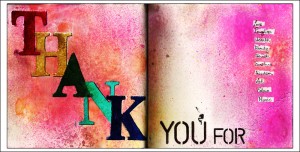
I knew it was a mistake mentioning how well I was doing with my faces yesterday – I’m now officially running late! But I did finish this piece for the second lesson in Carolyn Dube’s Use Your Words workshop. This workshop is just so much fun!
I used my home made stencils combined with Twinkling H2O’s to create the word ‘Thank’ then used some plastic stationery stencils to create ‘you and for’. I hand wrote my thank you list using a uniball eye pen. Carolyn’s supply list called for Dylusion spray inks for the next stage which I didn’t have, so I made my own using drawing inks in my ranger mini misters! I think they worked quite well.
Hopefully tomorrow I’ll manage to catch up with my faces. Watch this space!
![]()


