Colour!
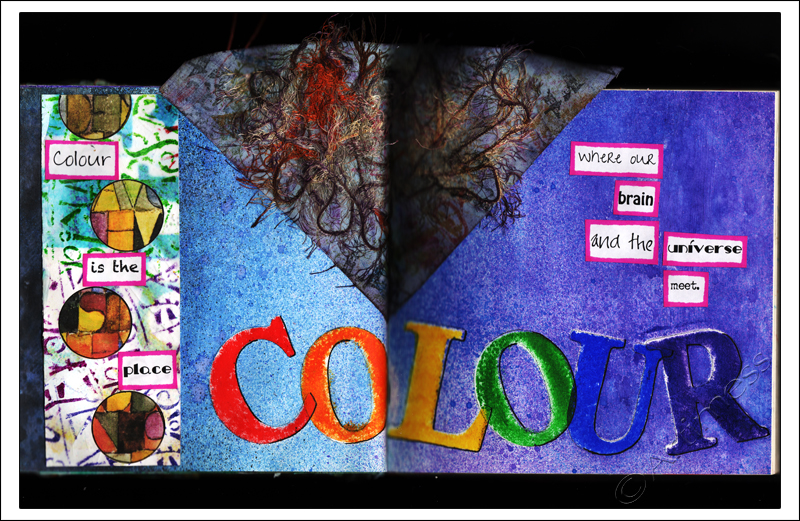
I’ve been having fun with Carolyn Dube’s Use Your Words workshop again. This is Mondays project.
I started off creating the word ‘colour’ using my homemade stencil and acrylic paint, then masked the letters while I created the background using spray inks. Next I took a piece of yesterday’s background sheet with circles punched out of it and added a computer generated image behind to add depth. I created my quotation on the computer and cut up the words. I added shadows and outlines using a uniball eye pen and a sharpie marker.
Lastly I added a material and thread piece with has been sitting in my cupboard waiting for a new home for about three years (how’s that for using up odd bits!). It’s a bit bigger than the page, but I quite like how it sticks up at the top! What do you think?
Being Brave!
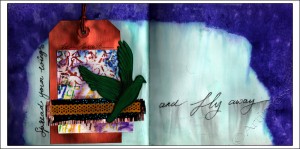
I have managed to get behind with virtually all my self-imposed deadlines at the moment, so I have decided to be very brave, not to even try playing catch up, but just to do the things I feel drawn to! So… today I finished last Friday’s assignment from Carolyn Dube’s Use Your Words workshop. This is such a cool workshop!
The first part of the assignment was to create a background sheet for cutting up. I used homemade letter stencils, white gesso, an Artist Cellar letter stencil, and gel medium. After I scanned it, I cut it up into five pieces.
The second part was to create a journal page incorporating a collage made using a piece cut from the background sheet. My collage is made up of a hand cut tag painted with acrylic paint, the piece of background sheet, two scraps of material, some paper lace painted with acrylic paint, and a bird cut from foam and coloured using acrylic paint. The words were added using a uniball eye pen – which is supposed to be waterproof – but as you can plainly see, didn’t survive the background sprays without joining in the colour runs! (the sprays were ink and twinkling H2O’s). But I wasn’t too upset as I think the runs just add to the feeling of movement on the right hand page. What do you think?
![]()
Thank You!
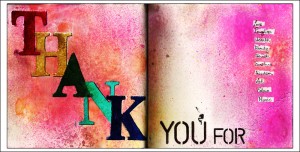
I knew it was a mistake mentioning how well I was doing with my faces yesterday – I’m now officially running late! But I did finish this piece for the second lesson in Carolyn Dube’s Use Your Words workshop. This workshop is just so much fun!
I used my home made stencils combined with Twinkling H2O’s to create the word ‘Thank’ then used some plastic stationery stencils to create ‘you and for’. I hand wrote my thank you list using a uniball eye pen. Carolyn’s supply list called for Dylusion spray inks for the next stage which I didn’t have, so I made my own using drawing inks in my ranger mini misters! I think they worked quite well.
Hopefully tomorrow I’ll manage to catch up with my faces. Watch this space!
![]()
Finally finished!
Yes! – I have finally finished my game board for last weeks Life Book lesson from Kelly Hoernig.
I ran out of space on my board to glue my car, so I attached it to a hinge so that it could be flipped to see the board underneath.
I may add some flowers to the roadside later – I can’t decide at the moment!
Meanwhile the ingredients list! I used collage, white gesso, acrylic paint, Artist Cellar stencils, a home made mask, some ribbon, a button, a little jute, a uniball eye pen, some digital text, most of a cotton bud, plus some ink and hot glue.
I really enjoyed making this – thank you Kelly for a great lesson.
![]()
Catching Up!
I’m playing catch up today – it’s been a really busy week!
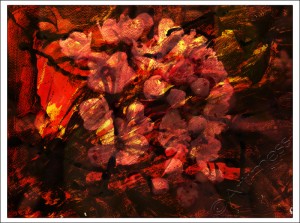
On Tuesday, I created a couple of backgrounds using a mixture of acrylic paint and ink. I scanned them both into the computer then added a photograph of some flowers and blended them to create this image.
On Wednesday I followed a video from Doll Dreams teaching us how to draw these cool doll birds! I tried it out in my everyday notebook using a uniball eye pen, then did the doodle later using my rapidograph pen while I was on the telephone! I didn’t plan for them to go together, but I think they do anyway! Do you agree?
Today I had fun playing with all sorts. I started by colouring the page with neocolour crayons, then collaged an embossed sheet which I had coloured with distress ink and the stamped image of the globe which I cut out. Next I added the text which I printed on the computer and coloured using a watercolour pencil and a gold marker pen. Finally, after scanning, I added a bit of digital shading and distressing. I really like how it turned out. What do you think?
![]()
Celebration Journey!
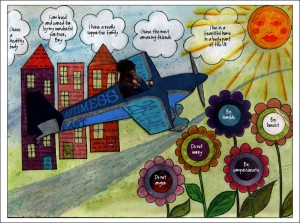
I have finally finished part two of Life Book Week 1! I had so much fun creating this – thank you Tam for such a great lesson! I chose an aeroplane as my mode of travel as I have have only just got my passport and have never yet flown. I intend to take my first flight in 2013!
I created my background using watercolour paint and rock salt, then added a collage of the plane, which I coloured using neocolour crayons, combined with a picture of me. I created the flowers using circles punched from old magazines then added the details using a uniball eye pen and watercolour pencils. Having already stuck the plane to the page, I then decided I wanted some buildings behind it! Nothing like planning for getting things in the right order! I photocopied a book drew the buildings using the uniball eye pen, then coloured them using watercolour pencils. Then I had to cut them to fit round the plane! Next came the clouds, using the uniball pen and white gesso, and the sun using the uniball pen, yellow acrylic and neocolour crayons. Lastly I added the text digitally after scanning.
Phew! All done just in time to start Week 2. Roll it on!
![]()
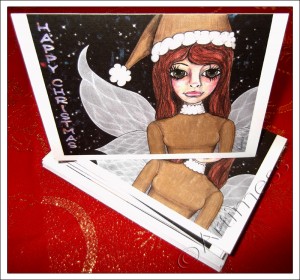
Christmas Angel
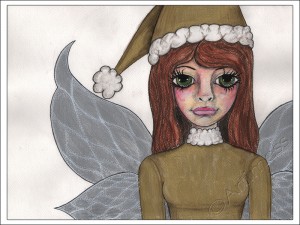
Seeing all the beautiful Christmas cards people have been making out there, I thought it was maybe time I put my newly learned skills to use making some Christmas cards to send to my friends. With that in mind, I set about drawing a Christmas Angel.
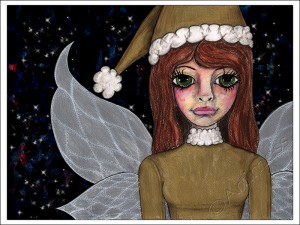
I drew her using pencil, then coloured her using a combination of Caran d’ache watercolour pencils, acrylic paint, a Sakura Pen-touch marker and a Uniball eye pen. When she was completed I scanned her into the computer to add a digital background.
I created the background using a blend of two of the stencil backgrounds I made last week together with a star brush.
Lastly I took the image, added a digital ‘Happy Christmas’ down the left hand side and created a printable Christmas card.
They’re all winging their way through the postal system at this moment and will hopefully arrive in time for Christmas!
![]()
Made it ….
Yeah! – I made it through the month …. and to celebrate I created this poster!
I coloured the background using Derwent Inktense Pencils, then drew, cut out and stuck the large ‘Made It’ letters to the background. I drew the rest of the letters, outlined them using a uniball eye pen, and coloured them using the Inktense pencils. Lastly I inked the edges using distress ink pads and stuck on some snowflake and star confetti.
It’s been a fun month. I’ve really enjoyed being inspired by everyone’s amazing work. A great big thank you to Leah for providing the opportunity, and a special thank you to everyone who has visited and left me comments.
![]()
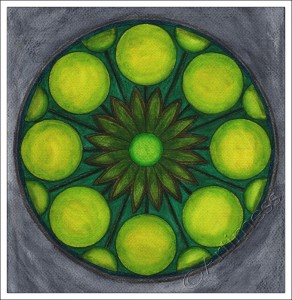
Green Mandala!
Today I felt like drawing a mandala – they’re so meditative to create!This one decided it wanted to be green.
I drew the outline in pencil, then inked it using a uniball eye pen. I coloured the mandala using Derwent Inktense pencils. I originally planned to add some doodling at the end, but I rather like it just as it is. What do you think?
![]()
Doodle Magic!
This catch-up on the Life Book Course came from Lesson 20 with Jodi Ohl.
I started out by colouring the background using Derwent Inktense pencils. For the doodling and text I used a uniball eye pen, then coloured the doodles using neocolour crayons and a graphite pencil. The two stamps were hand made using pieces of fun foam: I stamped the butterflies using a distress ink pad, and the star using a Staz-on ink pad.
I’m still toying with the idea of adding more doodling. What do you think – do you think I should?
![]()


