







29 Faces – # 10
Today I decided to have another try at an older face.

She still doesn’t look much like her original, but I’m beginning to be able to recognise the things that are wrong. I’m seeing more clearly! I definitely enjoy using a mixture of acrylic paint and water colour pencils for the colouring.

Blending and Faces!
Today I played digital blending as well as faces.

This started as an abstract created using Twinkling H2O’s. Then I scanned it and played digital blending with a photo of sand patterns. This is the result.
Todays face got the works!

I was so determined she wouldn’t have any strange paint marks today that I gessoed the page before I started! Then I had to draw her face on the gesso. I hate pencil drawing on gesso! – it smudges everywhere!Luckily the putty rubber does a good job of cleaning up! To stop further smudging I started off with an acrylic wash base, then coloured her face and hair using watercolour pencils. I added some background colour using Twinkling H2O’s. I must admit – I’m quite pleased with the final result. What do you think?
29 Faces – # 8
Back to a younger face today!

I’m quite pleased with the way she turned out, except for the blue shading round her mouth (paint bleed through from the next page!). I gave her a wash of acrylic paint under the pencils to try and hide the blue, but as you can see… it didn’t work!
Finally finished!
Yes! – I have finally finished my game board for last weeks Life Book lesson from Kelly Hoernig.
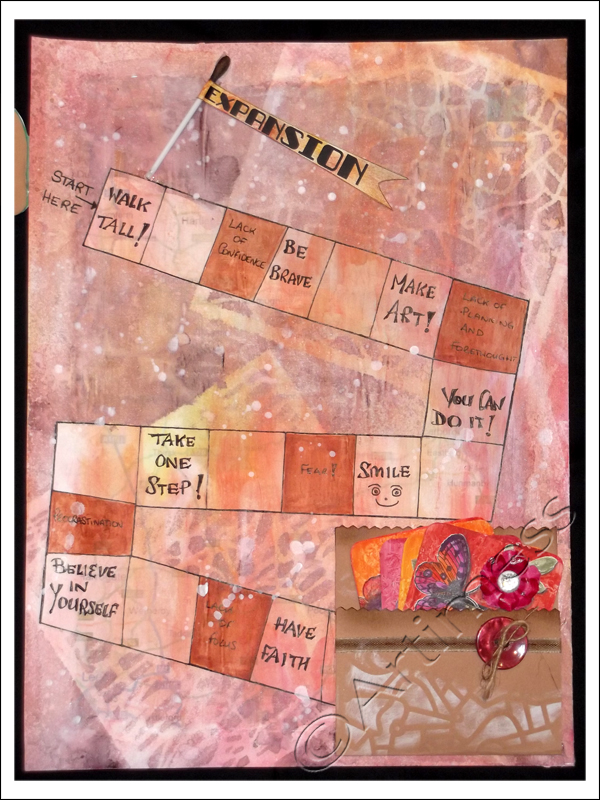
I ran out of space on my board to glue my car, so I attached it to a hinge so that it could be flipped to see the board underneath.

I may add some flowers to the roadside later – I can’t decide at the moment!
Meanwhile the ingredients list! I used collage, white gesso, acrylic paint, Artist Cellar stencils, a home made mask, some ribbon, a button, a little jute, a uniball eye pen, some digital text, most of a cotton bud, plus some ink and hot glue.
I really enjoyed making this – thank you Kelly for a great lesson.
29 Faces – # 2
Here’s my face number two.

I drew her in pencil, then coloured her using acrylic paint and watercolour pencils.
I’ve been busy finishing my game board for last weeks Life Book lesson and hope to post it tomorrow.
29 Faces 2013
February is the month Ayala Art challenges us to draw 29 faces. I missed the February challenge last year, but took part in the May and September challenges and was amazed how the discipline of drawing faces every day for a month improved my face drawing and painting skills.
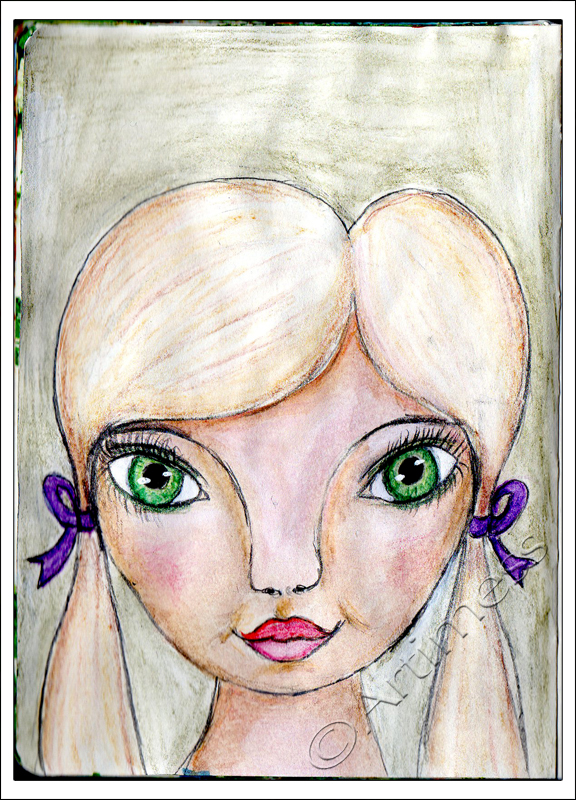
So here’s my first face for the challenge. Drawn in pencil then coloured using a mixture of watercolour pencils and acrylic paint.
New Blooms
Ever since Tam published this week’s Life Book 2013 Lesson from Christy Tomlinson, every spare minute I’ve had has been devoted to getting messy playing with the new techniques Christy taught us.

Along the way I had some leftover paint which I used with a flower stencil to create an image. I scanned this together with the sheet I prepared for making the flowers in the main project, then blended them. It’ll make a good background for something one day!

Finally – the finished product! I had so much fun! I started by creating a mixed media collage background using newspaper, old magazine inserts, bits of old envelopes, washi tape, white acrylic paint, inks, stamps and marker pen for the words. Then came the fun part of making the flowers. You’ll have to do the course if you want to know how, but I used kitchen roll, tissue paper, very runny acrylic paint, stencils, stamps, kitchen foil and lots of gel medium. I had to adapt some of the ingredients as I didn’t have everything on Christie’s list! It was great fun, and very messy! – Thank You, Christie!
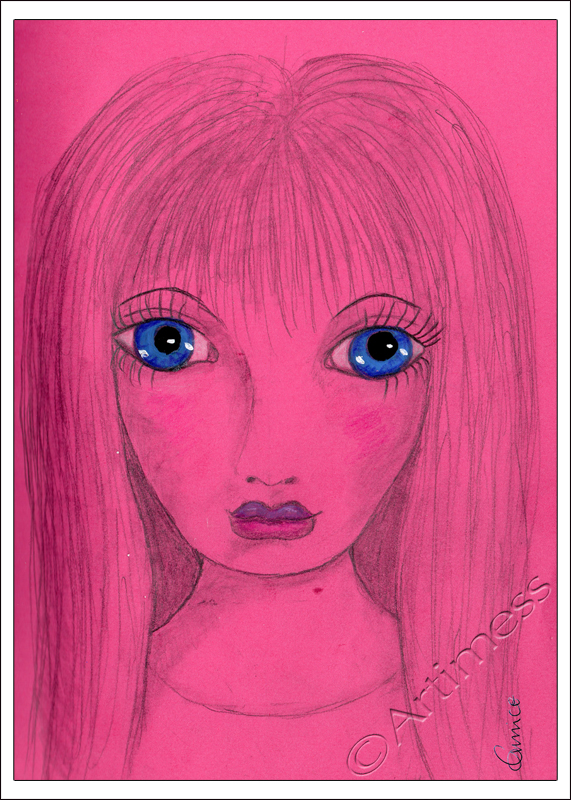
I’ve really been missing drawing this year, so today I drew the Pink Lady! I wasn’t going to colour her at all, but then I had an accident over her right eye with my white marker. So she now has blue eyes! Not a bad cover up job!
Getting Messy!
Once again I’m playing catch-up! I’ve been having so much fun getting messy, I just haven’t had the time to post the images!
On Friday I played with some embossed flowers, trying to colour them using a couple of ink pads. It didn’t work quite as I planned. Instead of nice clean colour on the raised areas, I ended up with a very dirty, grungy looking image (and a very dirty grungy me, covered in ink!). Not being one to let these things deter me, I stuck the image to a page in my notebook and created a grunge border round it using acrylic paint and an old credit card (getting covered in paint this time!). I think it looks alright now. What do you think?

Yesterday I finally got around to completing this week’s Life Book Lesson from Monica Zuniga. I was a bit apprehensive when I watched the video, but once I got started I had so much fun (I got covered in paint and glue with this one!)! I started by creating a painted background, but once I created my doll and put her on it she disappeared, so I decided to use a plain black background. I created the doll using a collage of a mixture of stamped and embossed images, with the exception of the face which I scanned from a magazine and altered digitally, then coloured her using watercolour pencils. I’m really pleased with the way she turned out. Do you like her?

Today I thought I’d play digital and mess free! I started with a photograph of sand patterns I took last week, then added a scan of an acrylic paint background I made a while ago and blended them together.

I really love how the colours draw you into the image.
Catching Up!
I’m playing catch up today – it’s been a really busy week!
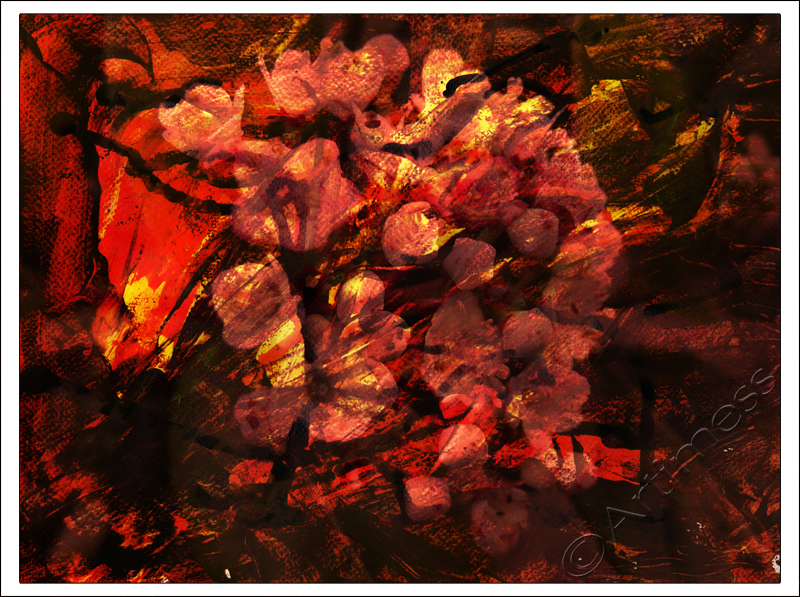
On Tuesday, I created a couple of backgrounds using a mixture of acrylic paint and ink. I scanned them both into the computer then added a photograph of some flowers and blended them to create this image.

On Wednesday I followed a video from Doll Dreams teaching us how to draw these cool doll birds! I tried it out in my everyday notebook using a uniball eye pen, then did the doodle later using my rapidograph pen while I was on the telephone! I didn’t plan for them to go together, but I think they do anyway! Do you agree?

Today I had fun playing with all sorts. I started by colouring the page with neocolour crayons, then collaged an embossed sheet which I had coloured with distress ink and the stamped image of the globe which I cut out. Next I added the text which I printed on the computer and coloured using a watercolour pencil and a gold marker pen. Finally, after scanning, I added a bit of digital shading and distressing. I really like how it turned out. What do you think?
Christmas Angel
Seeing all the beautiful Christmas cards people have been making out there, I thought it was maybe time I put my newly learned skills to use making some Christmas cards to send to my friends. With that in mind, I set about drawing a Christmas Angel.

I drew her using pencil, then coloured her using a combination of Caran d’ache watercolour pencils, acrylic paint, a Sakura Pen-touch marker and a Uniball eye pen. When she was completed I scanned her into the computer to add a digital background.

I created the background using a blend of two of the stencil backgrounds I made last week together with a star brush.
Lastly I took the image, added a digital ‘Happy Christmas’ down the left hand side and created a printable Christmas card.

They’re all winging their way through the postal system at this moment and will hopefully arrive in time for Christmas!