








Foam Embossing
Still playing catch up with Life Book 2012, Jodi Ohl showed us how to make these embossed foam embellishments – really cool!

They really are very simple and cheap to make and can be made into simple embellishments, buttons or anything else you can dream up! Heat up the foam with a heat gun and then press a rubber stamp into it to emboss the pattern. You need to press very hard, and the foam is quite hot so I don’t think it will work with clear stamps (they don’t like heat, and tend to go all squadgy if you press too hard). If you don’t like the result just heat and try again. When you are happy with the result you can colour them any way you want. I used a mixture of acrylic paint, perfect pearls and gel medium to give a nice glossy finish and seal them.
Like the backgrounds, I’m not sure what I’m gong to use them for yet … but keep watching … they’ll turn up on something soon!

Playing with Stencils!
Yesterday, Christmas came early! I got these Texture Stencils from “artistcellar” in the post! So much fun!

I started out by adding colour washes with Inktense pencils to some watercolour paper to create an under layer to the stencils. I used the Inktense pencils because once they’ve been activated they become permanent. When the colour wash layers were dry I got out the acrylic paint and started playing with the stencils! It was very messy – but the stencils are great!
I have no idea at the moment what I’ll use these backgrounds for, they’ll probably get obscured by additional layers of something else, but for now I’m just enjoying them as they are!
Hope Fairy
Phew! – that was one busy week!
But I’m back now and still playing catch up on the Life Book 2012 course – I’d better get a move on as I’ve just signed up for the 2013 course!
This is my interpretation of Adriana Almanza’s Hope Fairy lesson from Week 31. I had so much fun – I hope you like her!

I drew the fairy in pencil then outlined her using a permanent marker pen. Next I painted the background using acrylic paint. I coloured the fairy using a mixture of Caran d’ache watercolour pencils, acrylic paint and white paint markers. I stamped the flowers onto white paper using a black staz-on ink pad and coloured them using Caran d’ache watercolour pencils, cut them out and collaged them into the picture. Lastly, I added the text digitally after scanning the picture.
Lady Rosina
After the tension of posting something new every day it was nice to take things at a bit more leisurely pace when following last weeks Life Book 2012 lesson with Adriana Almanza. I was a bit apprehensive about it before I started because I’ve never been good at stylised faces like these – but I surprised myself and had a ball. Thank you for a great lesson Adriana, I learnt a lot!

Adriana provided us with a template to use for the face, but I decided it would be much more fun to draw my own. My witch has a much longer face than the one Adriana supplied – but that’s how you learn! I coloured her face using ordinary water colour pencils (the Intense one’s would’ve been a bit bright) then blended the colours using white acrylic paint – something I learnt from Adriana. I used acrylic paint to colour her clothes and neocolour crayons to colour the central background. I created the border using a mixture of collage, acrylic paint and marker pens.
I’ll definitely be having a go at some more of Adriana’s classes.
Leftover Paint!
Whenever I have any leftover paint on my pallet at the end of a project, I brush and /or apply it randomly to a page in my notebook then scan it into the computer.

Today I started off with a scan of some leftover acrylic paint then added the Socrates quotation using digital text. A nice easy day after yesterdays mammoth effort!
More Winter Flowers!
It must be the effect of all the dull winter days at the moment, I just keep wanting to play with flower images, so here are some more winter flowers!
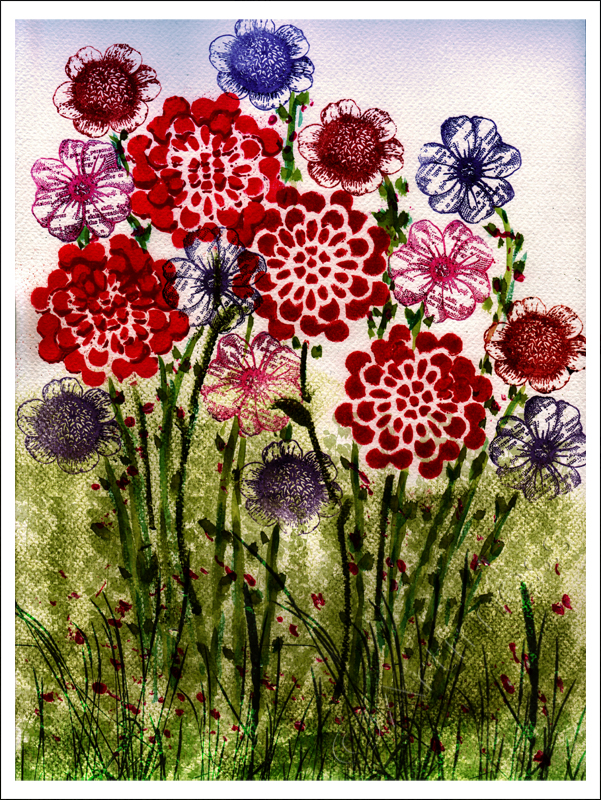
I started off by stencilling the big flowers onto the watercolour paper using acrylic paint – messy, but fun! Then I added some more flowers using clear stamps and a mixture of Staz-on ink pads and distress ink pads. Lastly I scanned the image into the computer, added some more greenery with digital brushes and some more background colour using gradients and blending.
Thanksgiving Leaves!
Remember me saying I had loads of leaf print images to use up? – well here are two more! Although we don’t celebrate Thanksgiving here in the Uk, I kind of wish we did. So I added a quotation which I think says it all.
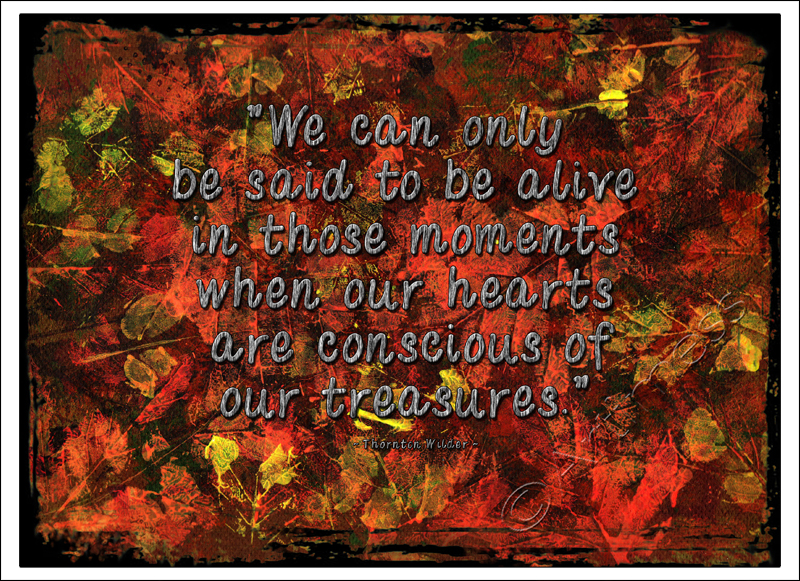
I used my home-made font, ‘Handwritten’, from yesterday for the quotation. In case you missed it yesterday, here’s the link again HANDWRITTEN if you want to download it :).
The background is a digital blend of two more of my leaf print images which I created using acrylic paint.
Purple Haze!
Today’s piece underwent radical transformation in it’s early stages. The first layer was a complete disaster – but it did add some texture to the piece.
It all started when I emptied my pencil sharpener and discovered amongst the wood shavings remnants of lots of beautiful colours of water soluble pencil lead. I had the bright idea that if I tipped them onto the page and added water, I would get a lovely rainbow effect. It didn’t work – what I actually got was a dirty brown/grey sludge! So much for bright ideas!

To cover up the mess, I added a thick and lumpy layer of gloss gel medium, then started adding layers of acrylic paint. The first paint layer was just added with a brush. Next I added some lines and shapes using a variety of implements including bubble wrap, old credit cards and bottle tops. The next layer was a black outline followed by a layer of coloured gel medium. Some more bubble wrap splodges followed finished off with a healthy dose of gold Krylon Webbing Spray.
I have no idea what I’ll end up using it for, but I love the colours and the textures it has ended up with!
Moving Forward
Today I played catch up with my Life book 2012 classes. I completed Lesson 29 from Jodi Ohl. The lesson started with a positive letter to my younger self which I then tore up and used as the basis for the piece. For the next layer I added some printed tissue paper followed by a thin wash of white gesso. Then I stamped a border using home-made foam stamps and acrylic paint – messy!

When it was all dry I drew the face using pencil and coloured it using a mixture of acrylic paint, gesso, Inktense pencils, uniball pen and pencil. Finally I added a set of positive affirmations around the edge.
I had so much fun making this and found the personal development element very useful – thank you Jodi!
Let us not…
I’m still ploughing my way through my pile of leaf prints from the end of September. Today I decided to add a quotation using digital text to this one, and a bit of digital blending for good measure!
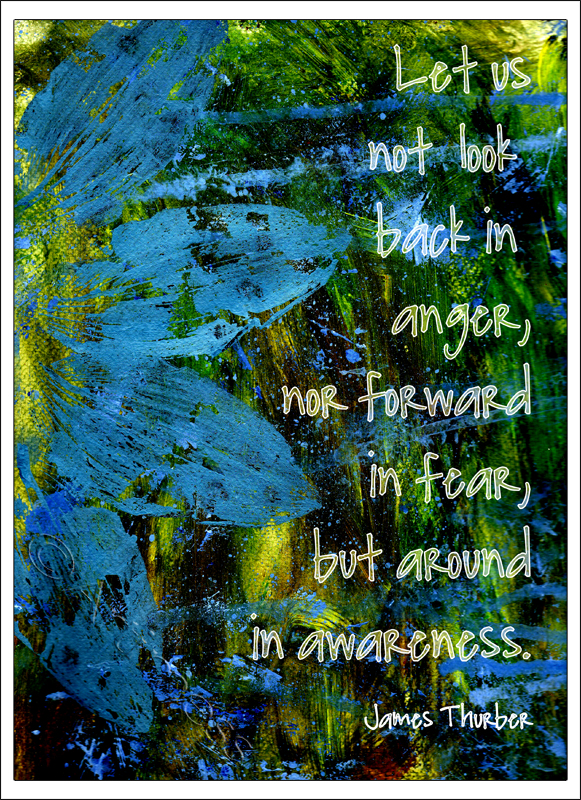
The original image had an acrylic paint background with acrylic paint leaf prints on top.