







Very Messy!
Late last night, about 1am, I decided to start Misi B’s Life Book 2013 lesson. I can always judge how much I’ve enjoyed something by the amount of paint I get all over me – I’m still picking the paint off my fingers now!! I only got as far as the first background, but I had so much fun and am really pleased with the result so far. So I scanned it to share with you.
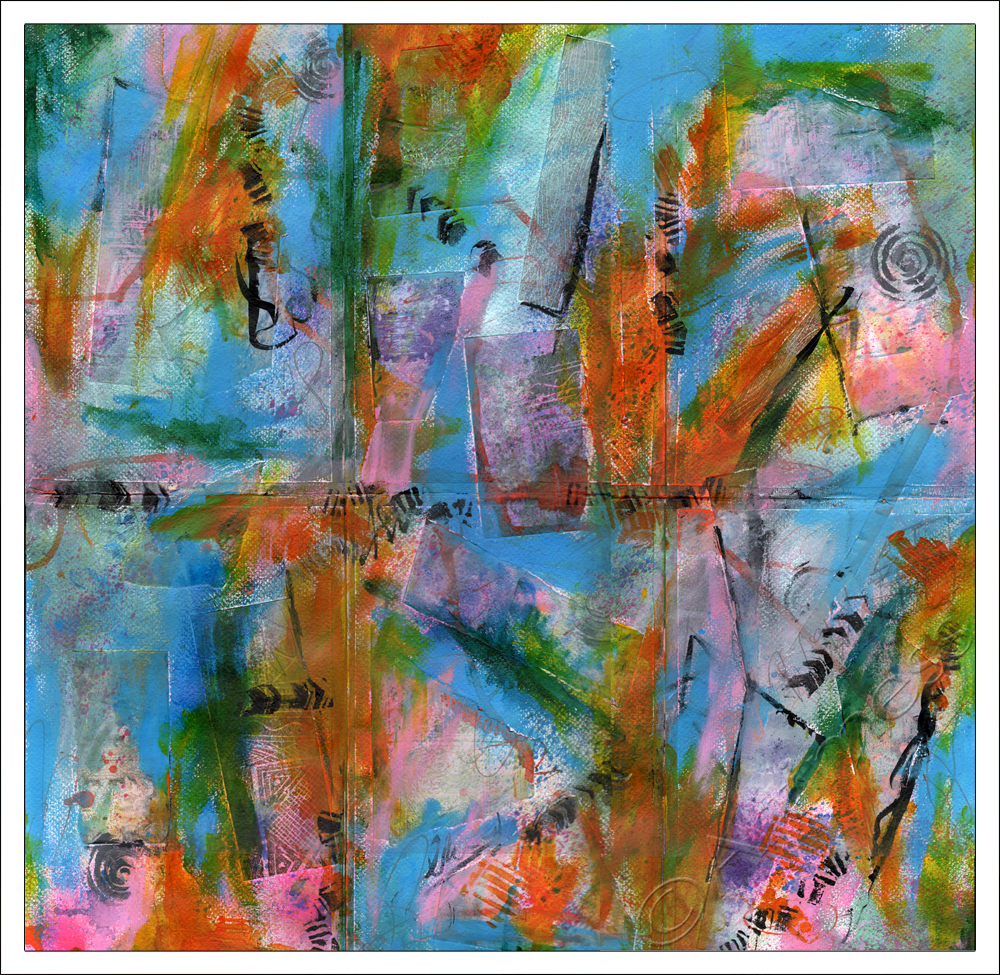
I started with a collage of leftover bits of artwork prints then added some glitter sprays and ink sprays. Next I added several layers of acrylic paint using my hands and some hand made stamps – very messy!! The next step is to search for faces in the background and paint them in. I can see two at the moment – how many can you see? I’ll show you the result when I’m done – see you later!!
Collage Lady
As you may have noticed, I’ve got very behind with my Life Book 2013 classes. So I thought this week was time to rectify the situation and try to catch up a little! Rather than go back to where I got stuck, I thought I’d start with this weeks lesson from Joann Loftus and then move backwards in time!

I created the background using 3 layers of journaling, white gesso, an acrylic paint wash and a variety of stencils. Joann gave us the template for the lady silhouette which I covered in a collage of torn magazine images and stuck to the background using sticky pads. I added die-cut butterflies coloured using Twinkling H2O’s and a silver marker pen and added highlights and shadows using white paint pens and Pitt Artist pens. I really enjoyed the lesson and love how my lady turned out!
Finally!
Finally! I’ve at long last finished projects #5 and #6 in Kate Crane’s 21 Secrets 2013 class.

I started project #5 with a collage of printed artwork covered with acrylic paint. I used handmade stamps to add more depth then added a computer printed quotation and some grungeboard keys covered with metallic flakes. Lastly I added a metal key.

I just loved Kate’s acetate sandwich for project #6 but had great problems getting my sandwich contents to stay still. In the end I decided to use some double sided tape to keep everything in place! The quotation is handwritten on strips of cut up painted background and the leaves are cutout prints of handmade stamps. Great fun to do, and so effective!
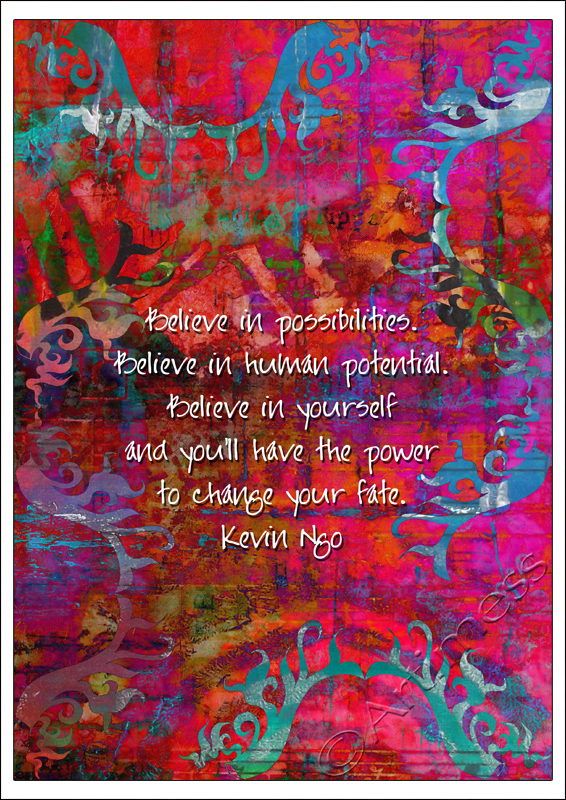
Last but not least, I thought it was time I played with digital blending again! The background is a digital blend of an artwork scan to which I added a blend of a digital brush I created from a hand drawn doodle. I really love this quotation – it’s so true!
Playing with Ink!
Project #4 in Kate Crane’s 21 Secrets 2013 class is all about playing with ink! I managed to make quite a mess and had wonderfully coloured fingers for a day!

I started off with a piece of recycled cardboard and covered it with a patchwork of torn music squares then covered that with white gesso. Next came the messy part – spraying ink. It took several layers to achieve the look I was after and Kate showed us a really cool technique which disappointingly didn’t work with my homemade ink sprays. Still I was pleased with the result I got. For the next layer I used an assortment of background stamps with colour co-ordinated distress ink pads. I have yet to add acrylic inks to my supplies, so I thought I’d have a go at making my own using golden fluid acrylics and water. It took a bit of juggling, but I managed to get quite a pleasing result which I used in a dropper to draw circles on top of the stamping. For the final layer I used Pitt Artist pens and an alphabet stencil to create my caption, and collaged a quotation from Carl Jung that I printed on my computer.
Just two more to go now!
Transitions and Changes
Project #3 in Kate Crane’s 21 Secrets 2013 class called for us to draw three people representations and journal on their bodies. Just prior to watching Kate’s video, I had been reading these articles by William Bridges about transition and change: their meanings, the differences between them and their relationship to each other. While William Bridges is writing about these terms in relation to the work environment, I was thinking of them in a personal environment, and thought it would be interesting to use project #3 to journal about these ongoing experiences in my life. As a result I ended up with five figures!
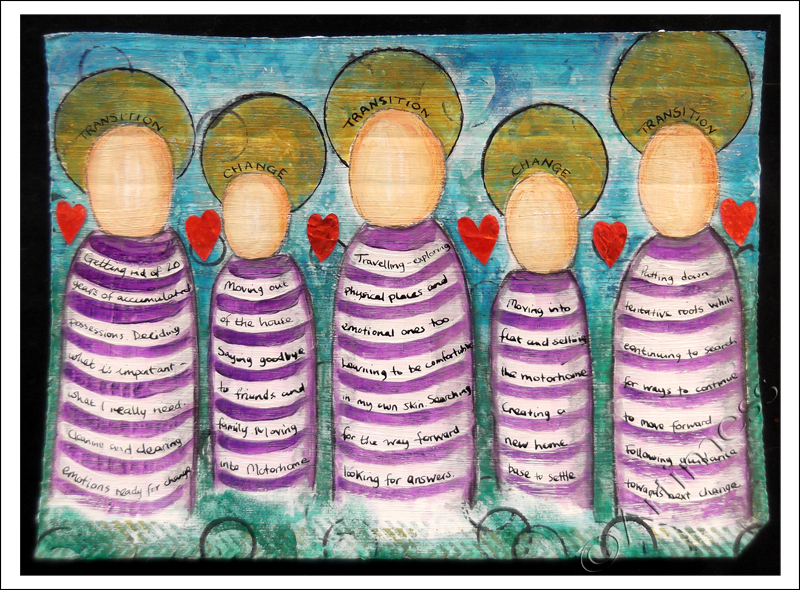
As before, I started off with a piece of recycled cardboard, but this time I began with two layers of white gesso. Next I positioned and lightly sketched my people, then painted the remaining background using acrylic paint and a variety of stencils, stamps and stamping junk (old bottle tops etc). I used more acrylic paint to paint my people, then added more depth to the colour using neocolour crayons. I added the journalling using a dip pen and black indian ink and finished the piece off with six hearts cut from leftover scraps from a previous project.
Three done, three more to go. Keep watching this space!
Recycled Packaging!
We seem to have bought a lot of books just lately, acquiring as a by-product lots of those cardboard sleeves that books come wrapped in. So when I looked at Kate Crane’s 21 Secrets 2013 Class and saw that it was about trying out lots of different techniques, I thought the book packaging would make an excellent base for these projects.

For the first project I started off using spray inks and stencils. Because I sprayed them directly onto the cardboard, the colour was not as bright as I was hoping for. I could have painted over with gesso and started again but I decided to go with it and see what happened. Next I added acrylic paint using a variety of stencils, bottle tops, cards and stamps (including one of my home made foam stamps). I decorated a “dinner money” envelope with strips of old scanned artwork and stitched it to the board then added some ribbon and some more stamping. Lastly I added some cut out quotations to the envelope, and stuck one of them to the card.

For the second project I started off with some old sheet music which I glued to the cardboard. I covered this with acrylic paint, then used a selection of hand made foam stamps to create more interest. I finished it off with a collage of a painted stamped image and a die cut butterfly joined using a tiny split pin, and a quotation which I outlined using a Pitt artist pen.
Four more projects to go – this is fun – I’m off to do some more. See you later!
Riot of Colour!
Today was such a beautiful day, I went out for a walk with my camera. Everywhere was a riot of colour: roses, bluebells, campions, clover, wild garlic, buttercups and daisies, to name the few flowers I know the names of, all showing off their vibrant colours in the long overdue sunshine. I took over 100 photographs! – but you know me, that wasn’t enough, when I downloaded them onto the computer I had to play digital blending with them!


These are the three flowers that I played blending games with. I started off with the rose, then added the dandelion seed head, finishing up with the red grass like plant whose name I don’t know. Each flower was blended separately before I blended them together. Can you spot them in the final blend?
Funky Foam Stamps
Today, just for a change, I thought I’d make some funky foam stamps to use in my backgrounds.


It’s been ages since I made any and I’d forgotten how much fun it is to make them and how versatile they can be. I know some people use wood burning tools to melt the foam, but I just use an ordinary biro pen and press really hard to make my patterns. I love the way the prints are never quite perfect – they always have a slightly distressed look from the texture of the foam. See if you can spot where I use them in my next layered background.
Hand Made Art Journal
Phew! – I finally finished my latest project, a hand made art journal!


I started out by following Joanne Sharpe’s class in 21 Secrets 2013. As usual, I didn’t quite follow the instructions! Joanne taught us six embroidery stitches to use on our panels – I used three of them plus two of my own. Our design was supposed to be all embroidery, but I got rather carried away with using Twinkling H2O’s to colour my shapes! While I was busy painting and embroidering my panel, I got a newsletter from Effy Wild which gave me a link to her free Bookbinding course. Well, I had to watch it didn’t I! As a result, the journal I made is a combination of Joanne’s and Effy’s classes with a few of my own little quirks thrown in for good measure.

I drew the design for my book panel on some scrap paper then traced it onto calico using a homemade light box (a desk light pointed up through my glass topped coffee table) and a Pitt Artist Pen. I coloured it using a mixture of Twinkling H2O’s over clear gesso and embroidery stitches.

After I chose the fabric for my book cover I sat and hand tacked my wadding sandwich together so that it didn’t move about too much when I machine stitched it. I don’t know anything about quilting, but the wadding I bought was really thick, so the only way to make it manageable was to ‘quilt’ it! – I’m sure it’s not the right way to quilt, but I think it turned out alright.

Next came the pages for the journal. I started off with five signatures of watercolour paper but decided that wasn’t enough. So I added another six signatures of assorted handmade paper in a variety of sizes. I now had a small problem. Neither of the binding methods suggested would work with my enormous pile of signatures. To make matters even worse I decided to add some spacers between the signatures to allow room for expansion. My spine measured 1.5″ deep! I decided the only thing to do was to sew the signatures together in traditional binding style then somehow attach them to the cover afterwards.

I knew how I wanted the finished book to look, but had no idea how to achieve it. Once the signatures were sewn together it was easier to see what I had to do, but the technicalities of it baffled me for a while. After a lot of head scratching I decided the only way to do it would be to sew each signature into the spine individually – no mean feat with them all sewn together! But I did it, and I got the stitching to look the way I wanted it to!! Now I just have to decide what I’m going to use the journal for!
More Paper Cutting!
I just couldn’t resist doing some more paper cutting today. I drew the design, a kind of flower mandala, cut it out then thought it might look good with some colour. I scanned the cut out to print it, but couldn’t resist playing digital blending with it first…

… I rather like how this one turned out. After that little detour I got down to trying out some colours and decided to go ahead with them.


I created the mandala design on some scrap white printing paper then painted it with Twinkling H2O’s. It looked a bit anaemic on the white so I painted the background with black gesso before sticking the whole thing to black card with lo-tack double sided tape. I love the way the Twinkling H2O’s contrast with the matt black of the gesso.