Finally Finished!
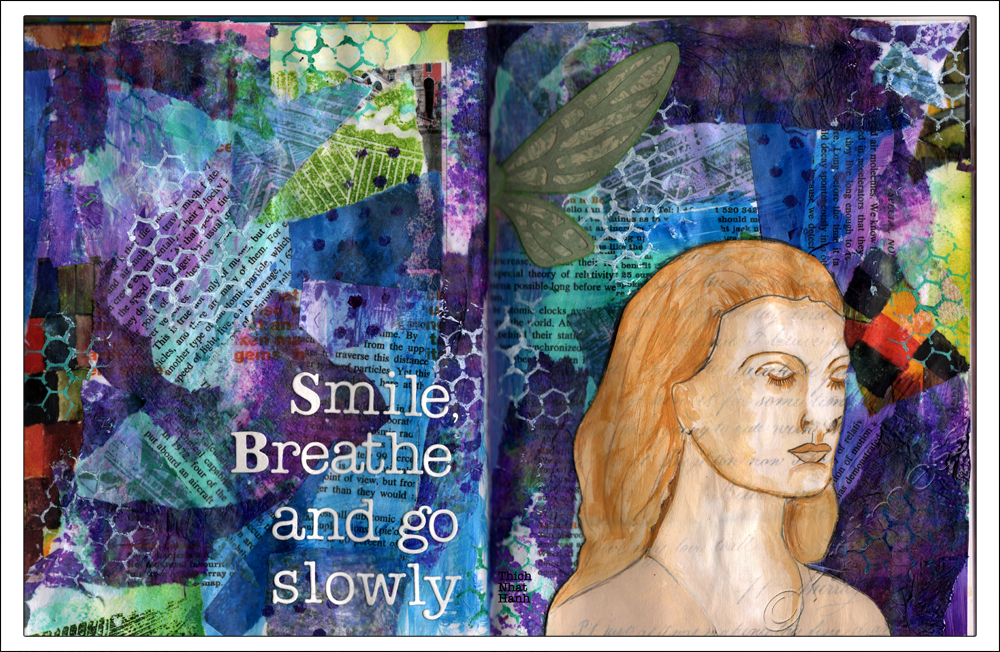
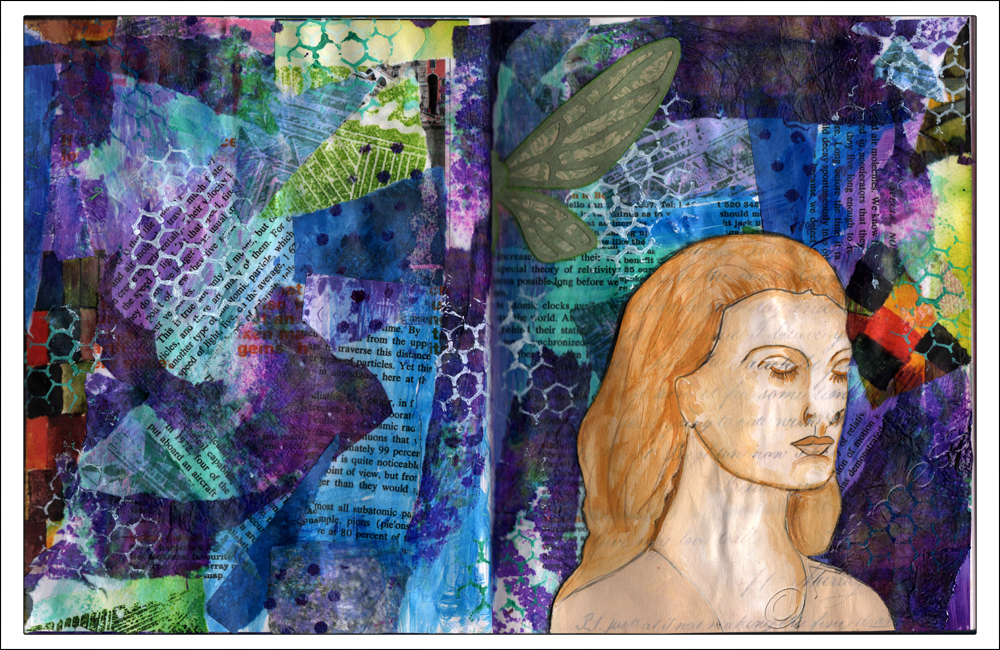
At Last, I have finally finished last weeks Life Book 2013 lesson!
For the final touch I added the Thich Nhat Hanh quotation using die-cut letters.
Now I’m off to pack some more boxes!
![]()
More Layers!
I managed a few more layers last night and was hoping to add some text today but somehow the time eluded me! So here’s the next instalment…
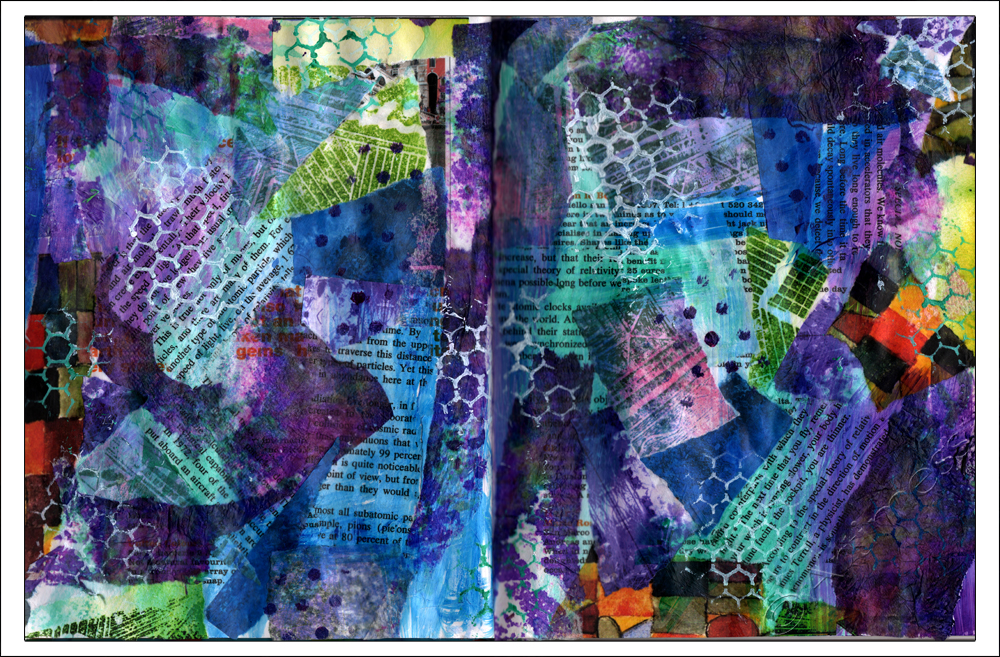
… first I added some layers of acrylic paint and some stencilling…
… then I collaged my meditating lady after painting her using acrylic paint and a die-cut dragonfly. It’s taking awhile, but I’m pleased with how it’s looking so far. Hopefully I’ll manage to finish it tomorrow!
Now I’m off to the shops to get some more boxes! Keep watching!
![]()
More Boxes!
As moving day approaches it’s getting more and more difficult to do much artwork as little by little my supplies are disappearing into more boxes! As you can see… the piles of boxes are growing nicely …
… but the artwork is not keeping up!
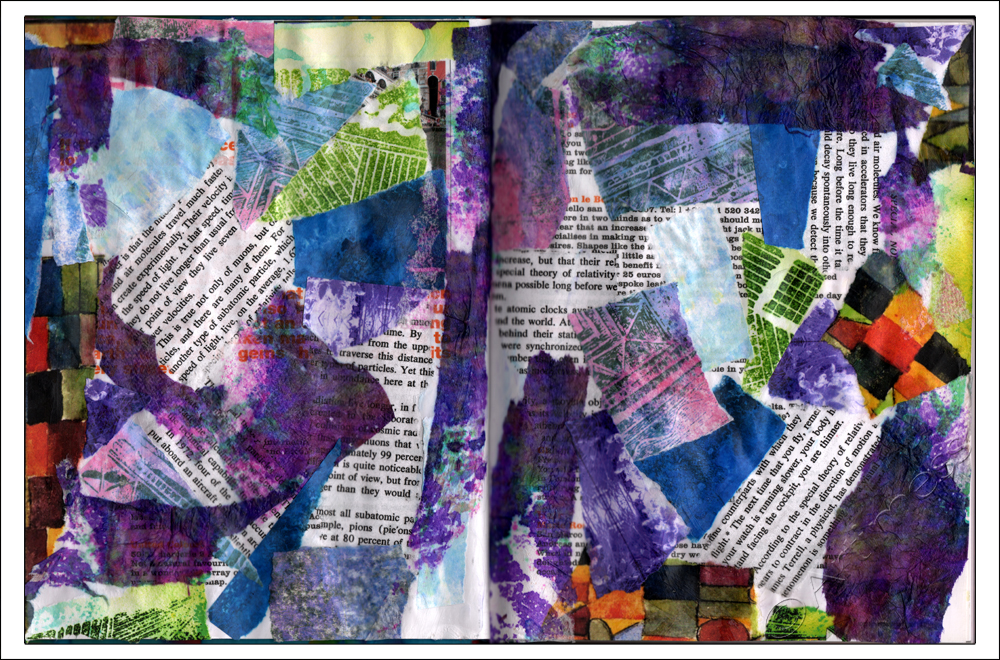
This is the first collage layer for last week’s Life Book 2013 class from Jeanette House. I’m hoping to get some more layers done later tonight – if I can find all the supplies I want to use!
Keep watching this space!
![]()
Blogalong with Effy!
I’ve not been blogging very regularly of late, so when I got effy’s newsletter today and saw that she was hosting a blogalong during August, I thought it would be a good idea to sign up in an attempt to complete thirty posts in thirty days!
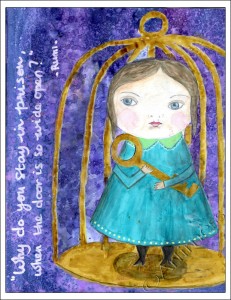
Meanwhile, I’ve been back to playing catch up with the Life Book 2013 lessons. I started with Danita’s great class entitled Key to Freedom. The class started with a link to this cool podcast from Tarah Brach
The theme of the lesson corresponded exactly with the July Rumi Project quote over at the Glitterhood, so I had to incorporate it!
“Why do you stay in prison,when the door is so wide open?”
I started out by drawing the girl and the cage in pencil, then painted them using masking fluid before journalling on the background using a white gellyroll pen. I then painted over everything using Twinkling H2O’s. When everything was dry, I peeled off the masking fluid, coloured the girl using neocolour crayons and painted the cage with Twinkling H2O’s. Lastly I wrote the Rumi quote using a white Uni Paint Marker.
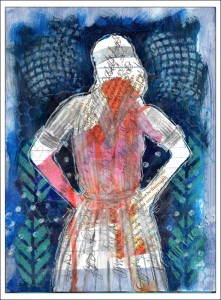
This week’s class was from Dina Wakley.
I started the page with a coat of white gesso then added some collaged book pages and old scanned artwork. Next I dripped some ink down the centre of the page and journalled across it, then placed a silhouette mask I created over the top and used acrylic paint to cover most of the page around the mask. I used stencils to add some interest to the background, and lastly, added some detail to the silhouette using a Stabilo All pencil and white acrylic paint. I found creating this page very therapeutic – thank you Dina.
![]()
Faces and Emotions
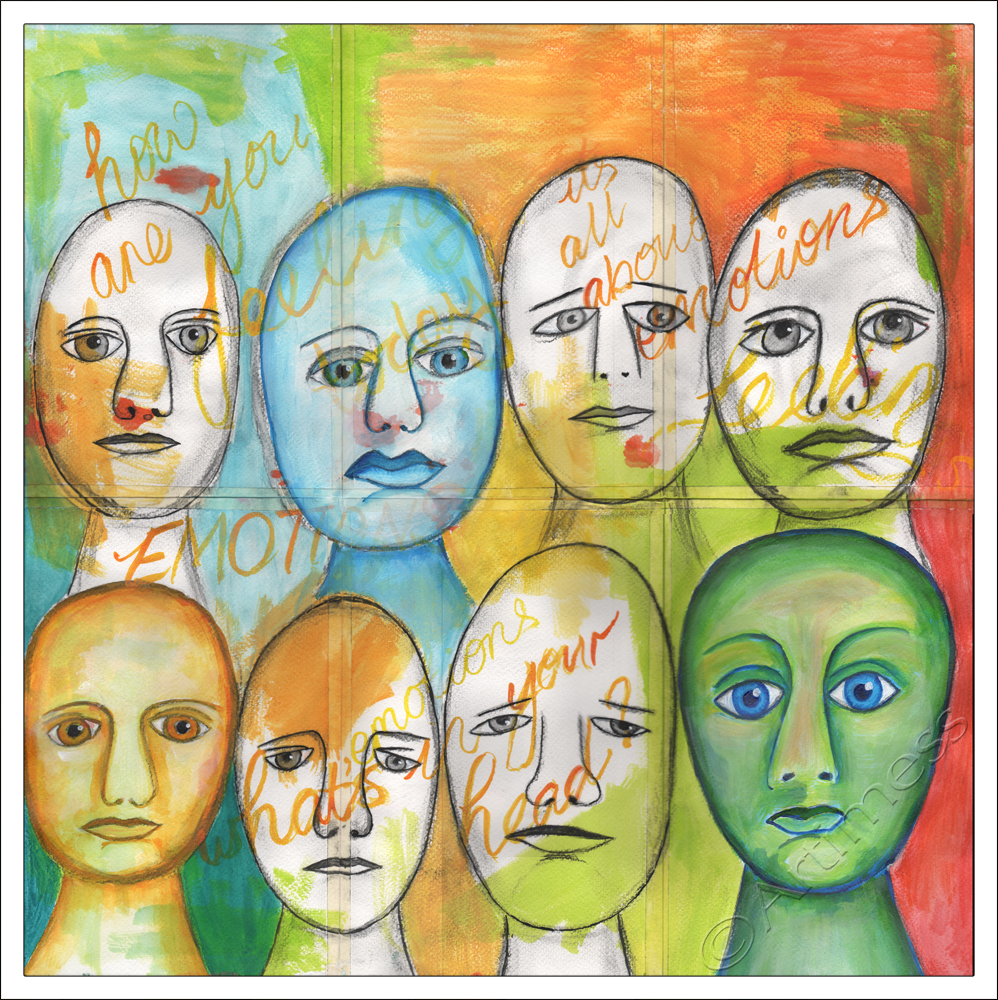
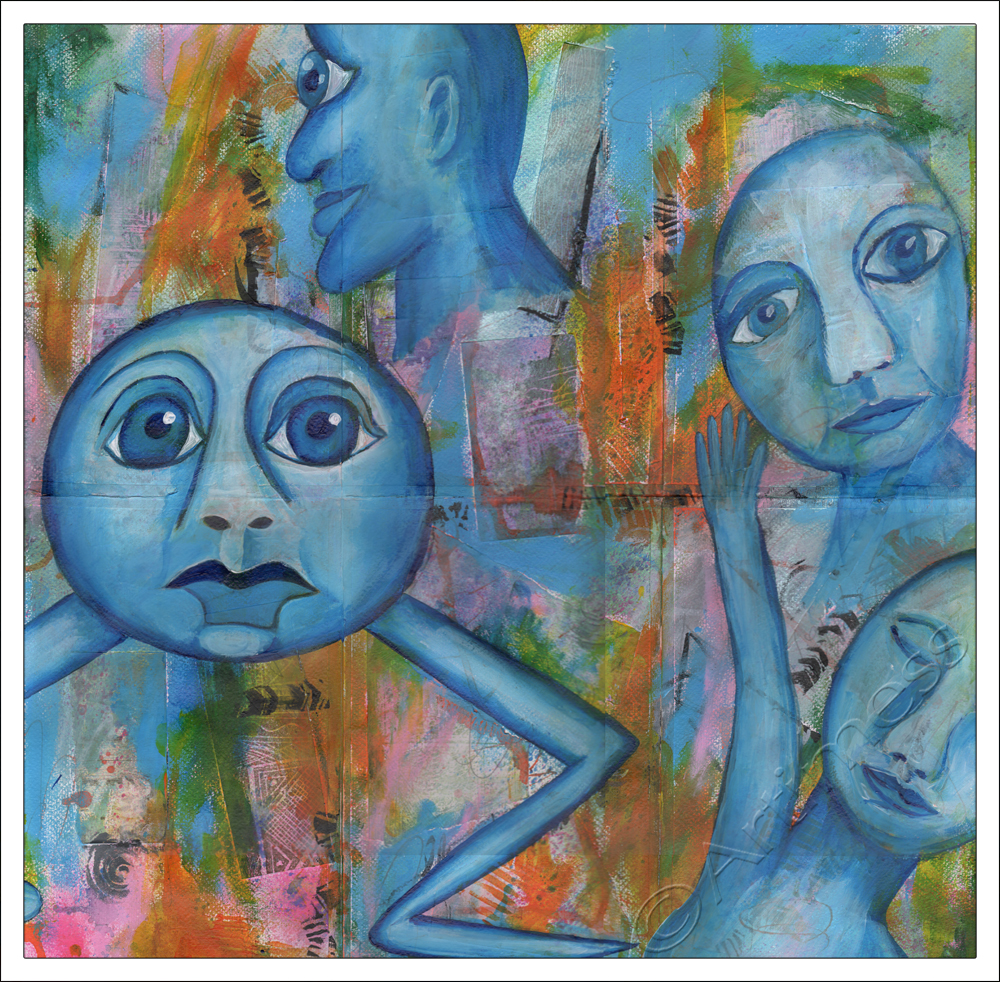
The last part of Misi B’s Life Book 2013 Class was to journal about emotions on the back of the page then to draw a group of faces showing different emotions. Not the easiest thing in the world for me – but I gave it a go!
I ‘wrote’ the journalling using acrylic paint, added some colour to the background, then drew the faces using a charcoal stick. I coloured some of the faces using acrylic paint, then coloured the remaining background using a mixture of acrylic paint and neocolour crayons. Finally finished! Wow – that was some class Mitsi – thank you so much – I learnt a lot!
![]()
Finding Faces
Today, I was very brave, despite serious doubts about my ability to do this, I sat down with a piece of charcoal and my acrylic paint and found the faces in my background. Very scary stuff!!
The first two faces on the right were easy to find. The third face top left took a little longer. Then I got stuck! I had this big space with nothing in it and I just couldn’t see another face. But I could see a rather strange looking leg. I didn’t have the courage to start drawing straight on the background, so I copied the leg onto the newspaper I was using to protect the table. The result was the little monster bottom left! Wow! – I’m quite impressed with how this turned out! What do you think?
![]()
Very Messy!
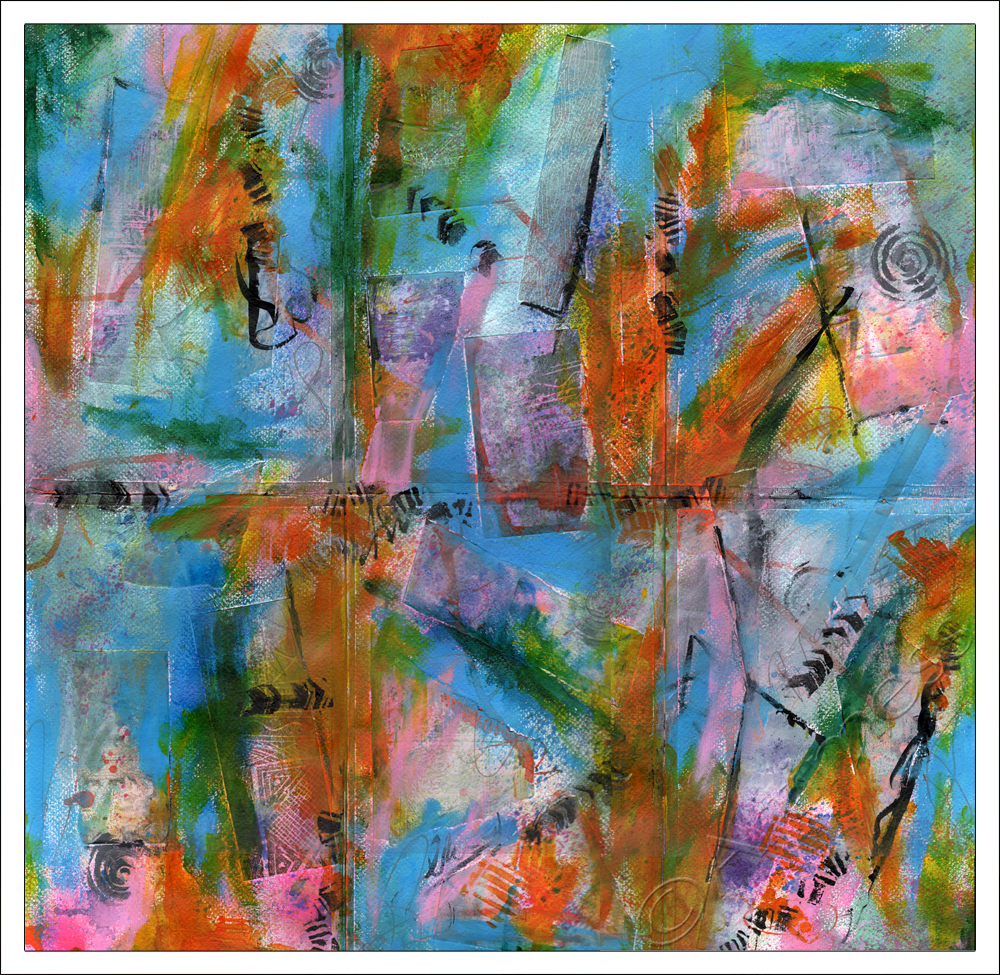
Late last night, about 1am, I decided to start Misi B’s Life Book 2013 lesson. I can always judge how much I’ve enjoyed something by the amount of paint I get all over me – I’m still picking the paint off my fingers now!! I only got as far as the first background, but I had so much fun and am really pleased with the result so far. So I scanned it to share with you.
I started with a collage of leftover bits of artwork prints then added some glitter sprays and ink sprays. Next I added several layers of acrylic paint using my hands and some hand made stamps – very messy!! The next step is to search for faces in the background and paint them in. I can see two at the moment – how many can you see? I’ll show you the result when I’m done – see you later!!
![]()
Collage Lady
As you may have noticed, I’ve got very behind with my Life Book 2013 classes. So I thought this week was time to rectify the situation and try to catch up a little! Rather than go back to where I got stuck, I thought I’d start with this weeks lesson from Joann Loftus and then move backwards in time!
I created the background using 3 layers of journaling, white gesso, an acrylic paint wash and a variety of stencils. Joann gave us the template for the lady silhouette which I covered in a collage of torn magazine images and stuck to the background using sticky pads. I added die-cut butterflies coloured using Twinkling H2O’s and a silver marker pen and added highlights and shadows using white paint pens and Pitt Artist pens. I really enjoyed the lesson and love how my lady turned out!
![]()
Let Your Light Shine!
The trouble with being signed up to two online courses at the same time, is that it’s easy to neglect one in favour of the other. But I just couldn’t resist trying this lesson, Let Your Light Shine, by Joann Loftus from the Life Book 2013 course. As with many of the lessons, I didn’t have all the suggested ingredients so I did a bit of improvisation – and I must admit – I’m loving the result!
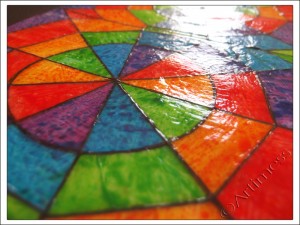
While the scan captures the colours beautifully, it doesn’t show the amazing shine on the finished ‘window’, so I’ve included this detail picture so that you can see how it shines!
I created the ‘stained glass’ using tissue paper, pva glue and acrylic paint- not quite what I was supposed to have used – but it seems to have worked! Cutting out all the pieces and sticking them down was a slow process, but it was cool watching the design come alive as each new colour was added. Next I added the ‘leading’ lines using Pitt Artist Pens (they didn’t like writing on the glue and kept drying up!), and lastly I coloured the border using black gesso.
I still have lots of the ‘stained glass’ left over so watch out for it in other projects! Now I really must get back to finishing the second half of Dion’s class. See you later!
![]()
More Quirky Birds!
Carrying on with this week’s Life Book 2013 lesson from Tamara, I got a bit carried away with drawing quirky birds. I drew four instead of two! – oops!!!
These are painted on the back of the other four and the whole image folds up like a concertina. Like the others, I created the background using spray inks and stencils, followed by neocolour crayons and acrylic paint and stencils. When it was all dry I covered it in clear gesso then drew the birds using pencil and coloured them using a mixture of acrylic paint, neocolour crayons, Edding 780 paint marker and unipin fine line pens.
I completely missed out the journalling part of the lesson!! I may add it later, or I may just skip it, I haven’t decided yet. I’ll let you know when I decide… keep watching this space!


