








Fairytale Blending
Whenever I create anything, I take scans of my work through all its stages, so that I can use the images for backgrounds and texture in future work. Today I took two of those intemediate scans of my last two projects and played digital blending with them.
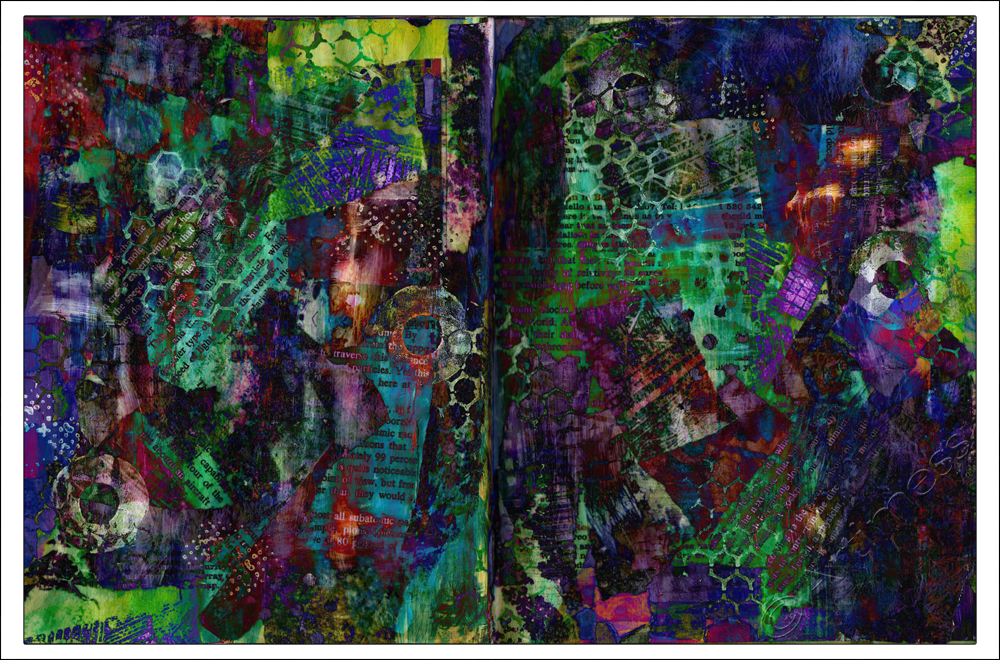
I think the result looks like the background of a fairytale story, and can imagine lots of quirky characters running around in the image. I might just print it out and have a go at adding some of them to it. What do you think?
Finally Finished!
At Last, I have finally finished last weeks Life Book 2013 lesson!
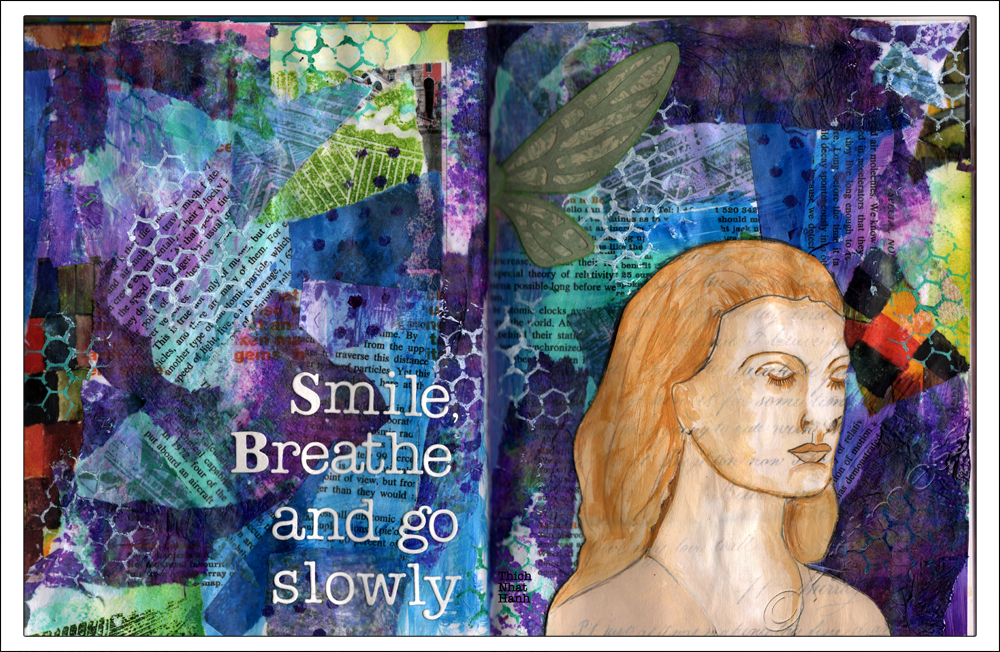
For the final touch I added the Thich Nhat Hanh quotation using die-cut letters.
Now I’m off to pack some more boxes!
More Layers!
I managed a few more layers last night and was hoping to add some text today but somehow the time eluded me! So here’s the next instalment…
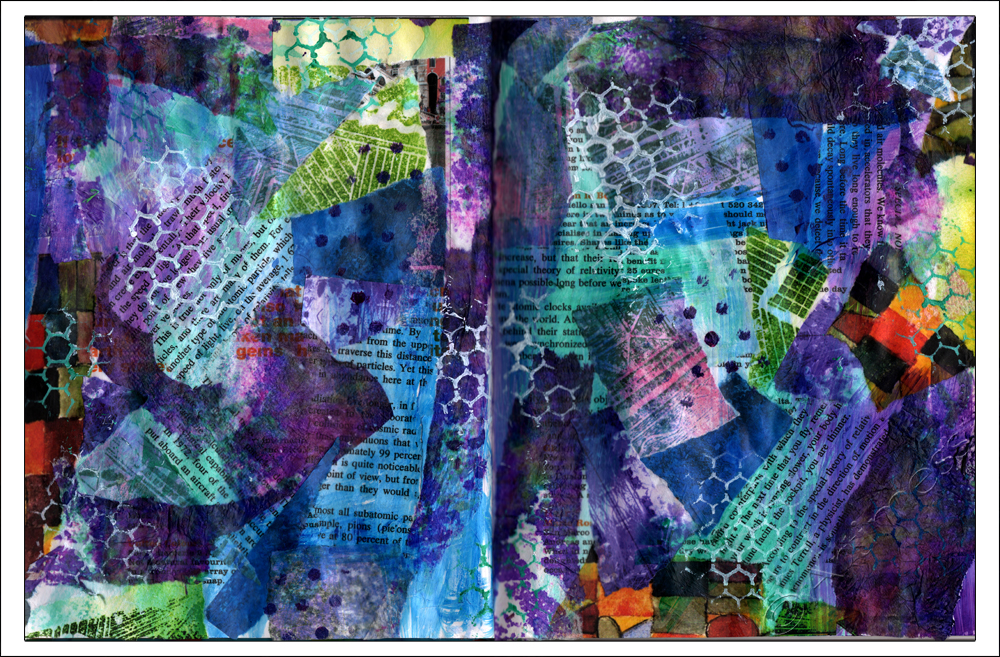
… first I added some layers of acrylic paint and some stencilling…
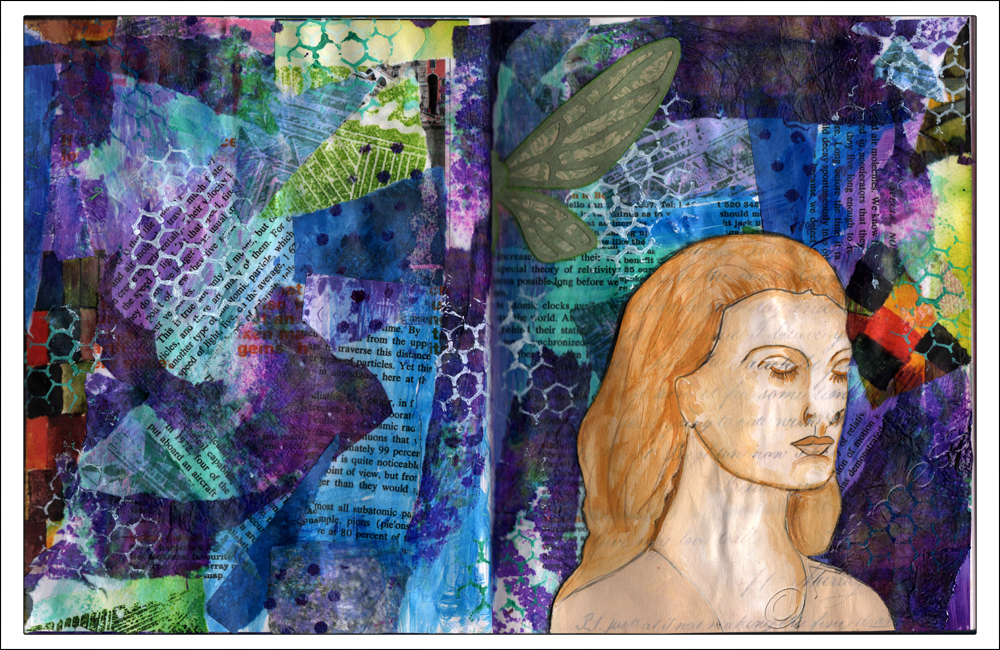
… then I collaged my meditating lady after painting her using acrylic paint and a die-cut dragonfly. It’s taking awhile, but I’m pleased with how it’s looking so far. Hopefully I’ll manage to finish it tomorrow!
Now I’m off to the shops to get some more boxes! Keep watching!
More Boxes!
As moving day approaches it’s getting more and more difficult to do much artwork as little by little my supplies are disappearing into more boxes! As you can see… the piles of boxes are growing nicely …

… but the artwork is not keeping up!
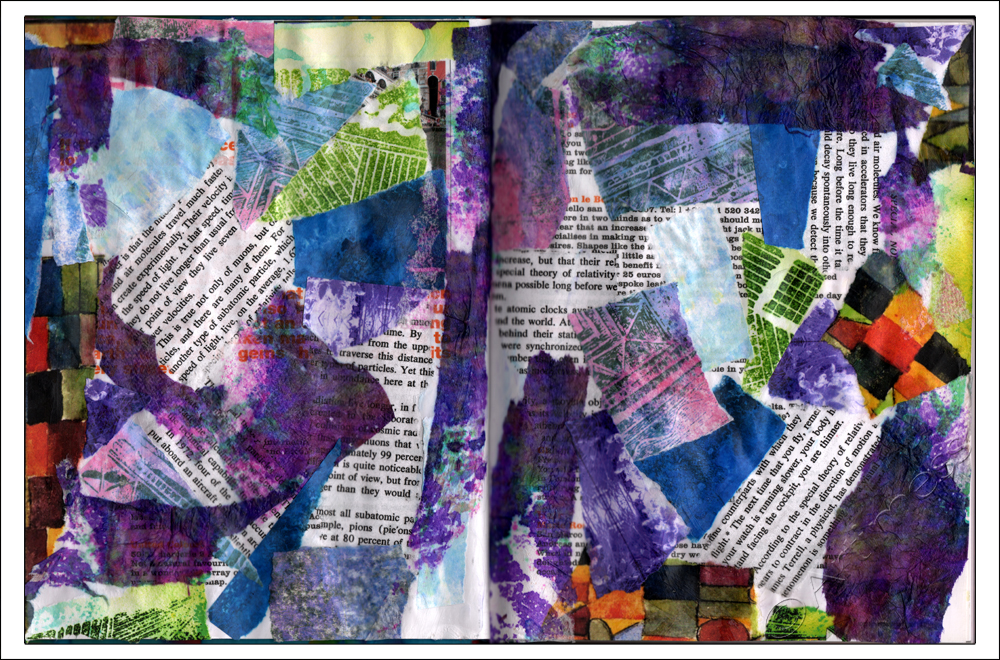
This is the first collage layer for last week’s Life Book 2013 class from Jeanette House. I’m hoping to get some more layers done later tonight – if I can find all the supplies I want to use!
Keep watching this space!
Blending Summer Feet!
The last few times I’ve been out, I’ve been snapping pictures of summer feet…. and true to form – I wondered what they’d look like if I played a spot of digital blending with them.

I took two of my photographs, added an artwork scan and whizzled the blending buttons. I rather like the result – what do you think?
I Begin…
The 1st of August has arrived bringing with it the start of Effy’s challenge to blogalong with her for 30 days in August. There’s still time to join in if you haven’t already, just click on the link below.
Being a little slow off the mark, I have just decided to join in Effy’s Inner Excavate Along where she is going through Liz Lamoreux’s book Inner Excavation. Effy has nearly finished, but I’m just starting …. O well as Effy says, I own the book so I can work through it whenever I like :).
Anyhow… after reading all the ideas and suggestions in chapter 1, I decided to create a word poem using a few of the words on the pages of my recycled journal. Originally I thought I’d add some joining words between the words on the page, but on reflection, I decided that would be overkill and have bravely left them stark and suggestive. I hope you like them.
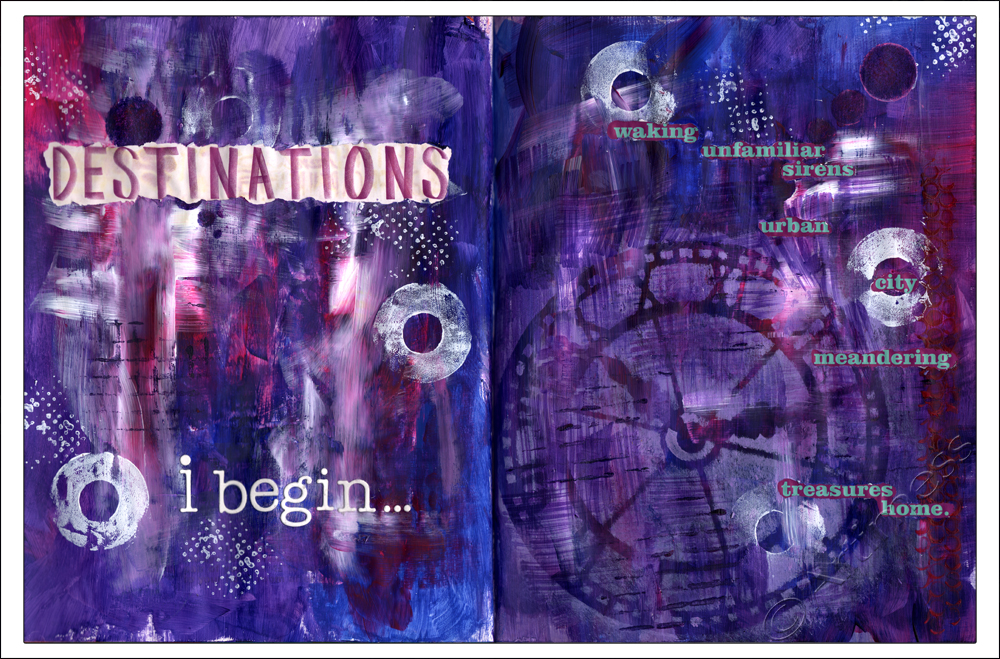
I started out by very careful covering the words I wanted to use in masking fluid. Once that was dry, I covered the pages with a thick layer of gesso, then started adding layers of acrylic paint, stencilling and stamping. When I was happy with the result, I carefully peeled off the masking fluid to reveal the words, then added my theme ‘I Begin…’ using die cut letters.
I’m off to see what everyone else has been up to now. See you tomorrow!
Finished Page!
At last all the layers have dried and it’s safe to scan the finished page.
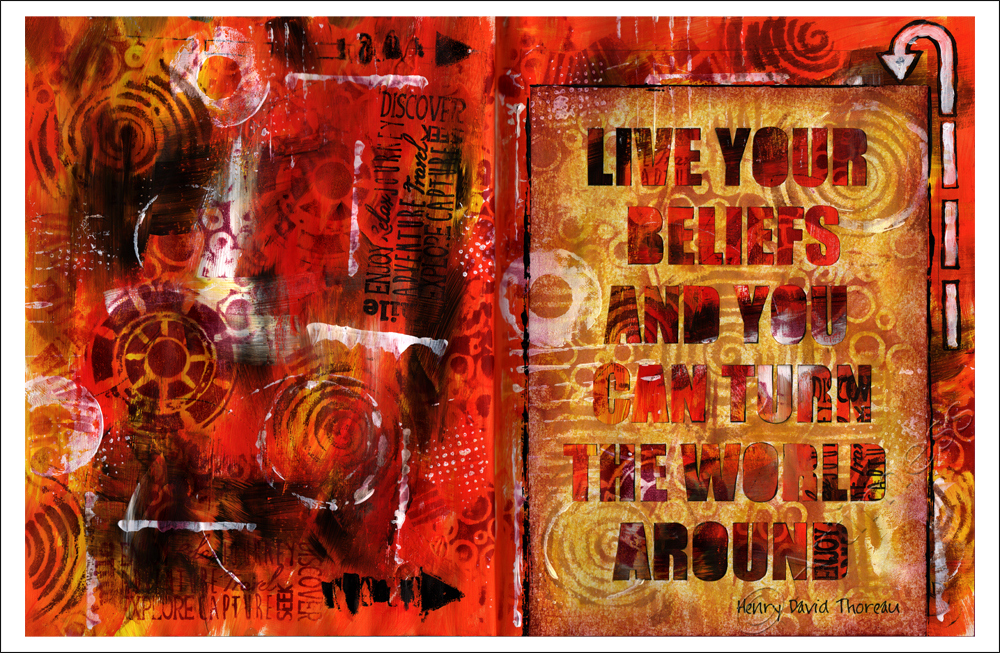
I love how the finished page turned out, and I had such fun making it. The only tricky part was managing the wet media on the thin pages of my new journal, but I managed that by starting with a thickish layer of white gesso and using the acrylic paint with a dry brush. What I love is that you can still see some of the original pages through the layers in places!
Just for a change my ‘ingredients’ list is quite short! I started with white gesso, added layers of acrylic paint, and stamped using various clear and homemade stamps with a staz-on ink pad and some distress ink pads. I printed the quotation onto plain white copy paper then cut out the letters by hand, leaving me with a stencil affect. I coloured this using distress ink pads, then stuck it to the page using a glue stick. Lastly I added some more acrylic paint using an assortment of household items!
Recycled Journal

Ever since I saw Rae Missigman’s ‘Go Green’ class on 21 Secrets 2013 I have been longing to have a go at making a recycled journal following her instructions. I have been an avid recycler for many years and have made use of many books in art projects, but I have never before taken one apart and reconstructed it, so this was a new adventure for me! My first step was a trip to my local Charity Shop to find a suitable hard back book to turn into my journal. These are the before and after pics!.
As usual I couldn’t quite bring myself to follow all the instructions…

… plus I didn’t have all the recommended ingredients, so I improvised a bit! The biggest change I made was to the binding. Because I had 7 signatures and my pages were quite heavy, I thought it better to use a different binding format to the one Rae taught. I used this brilliant tutorial from Sarah to learn how to do the binding the way I wanted.
But I digress! Having chosen and purchased my book for the princely sum of £1, the first task was to very carefully take it apart, removing all the signatures. Next came the fun part of decorating the cover, followed by the much trickier part of reassembling it into a book again! I started the decorating process with lots of layers of gesso, clean and painty tissues, and coloured inks dripped and sprayed. Once I was happy with that I added some scraps of material which I machine stitched very carefully to the cover – I only broke one needle in the process! Then came the embellishments which I added using hot glue and a material wrap to keep it closed. I am always envious of my American peers who seem to be able to purchase waxed bookbinding thread in assorted colours quite easily. I always end up waxing my own thread – and getting melted wax all over my cooker! With most of the book pages safely restitched within the covers I moved to inside the book.
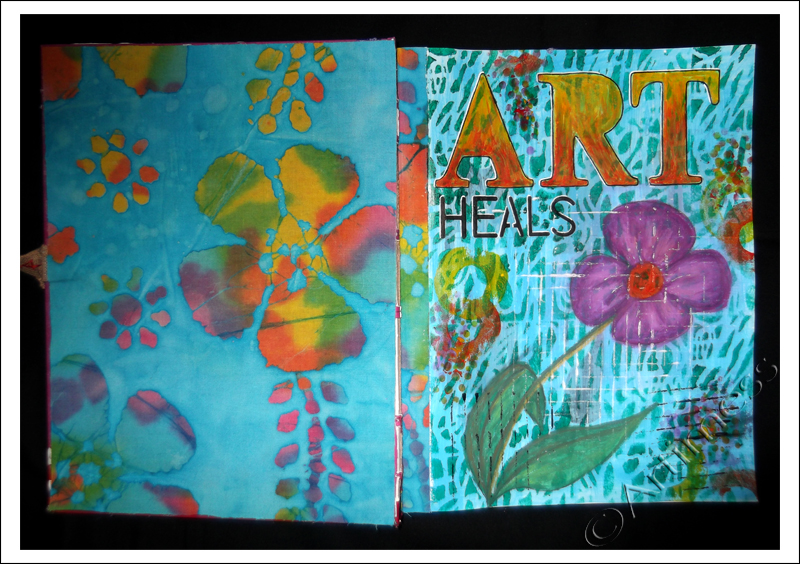
I covered the inside of the covers back and front with fabric which I stuck in using iron on fabric glue, then set to work creating a title page for the book. I started off with a layer of gesso, then added several layers of acrylic paint using a mixture of stencils and assorted stamping implements. I used letter stencils to create the titles and neocolour crayons to draw the flower.
I’m really pleased with the way the book has turned out and can’t wait to work on some more pages! Thank you Rae for a really inspiring Class.
Faces and Emotions
The last part of Misi B’s Life Book 2013 Class was to journal about emotions on the back of the page then to draw a group of faces showing different emotions. Not the easiest thing in the world for me – but I gave it a go!
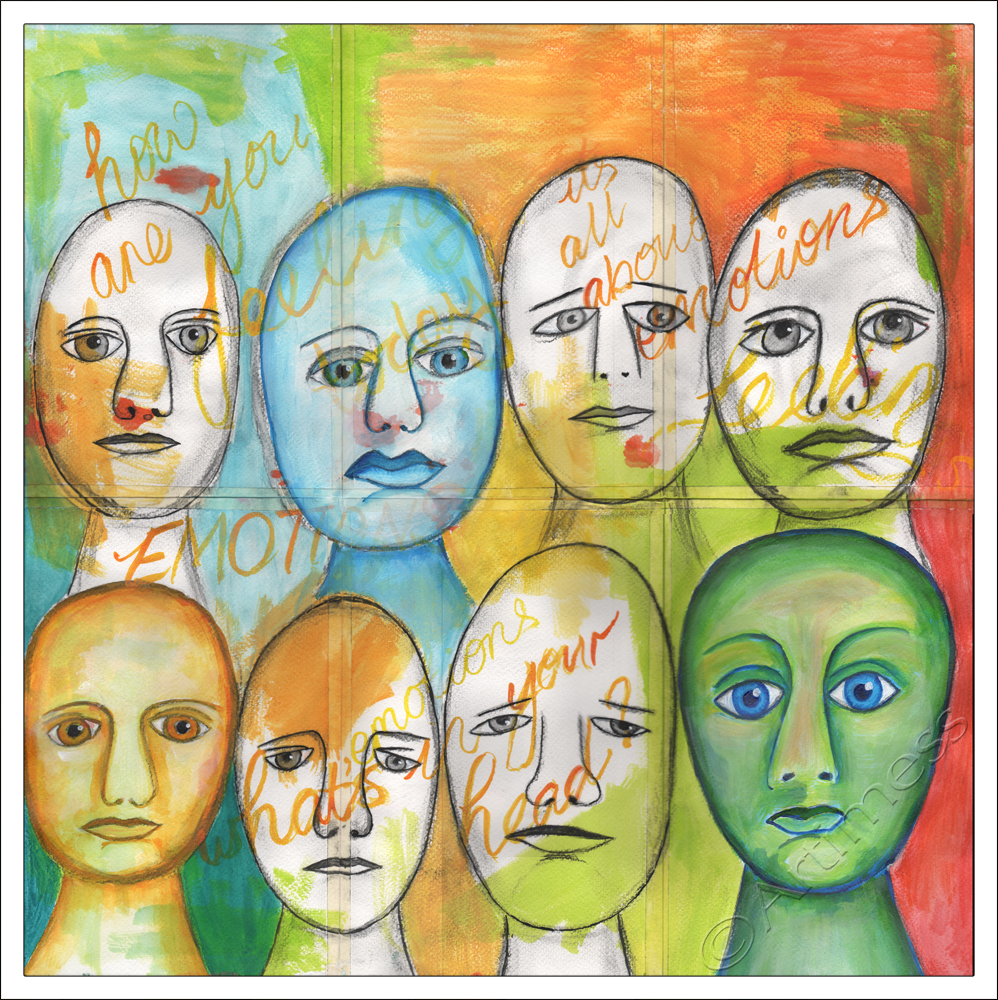
I ‘wrote’ the journalling using acrylic paint, added some colour to the background, then drew the faces using a charcoal stick. I coloured some of the faces using acrylic paint, then coloured the remaining background using a mixture of acrylic paint and neocolour crayons. Finally finished! Wow – that was some class Mitsi – thank you so much – I learnt a lot!
Finding Faces
Today, I was very brave, despite serious doubts about my ability to do this, I sat down with a piece of charcoal and my acrylic paint and found the faces in my background. Very scary stuff!!
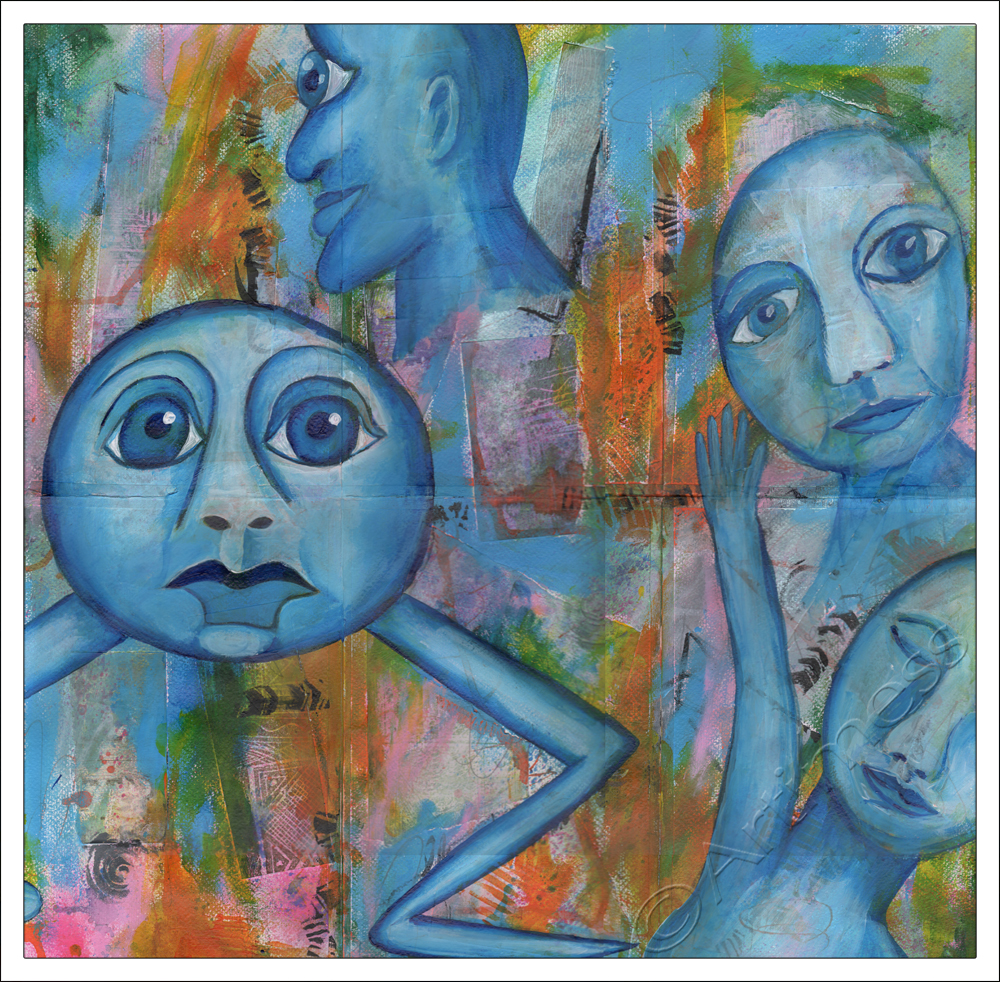
The first two faces on the right were easy to find. The third face top left took a little longer. Then I got stuck! I had this big space with nothing in it and I just couldn’t see another face. But I could see a rather strange looking leg. I didn’t have the courage to start drawing straight on the background, so I copied the leg onto the newspaper I was using to protect the table. The result was the little monster bottom left! Wow! – I’m quite impressed with how this turned out! What do you think?