








Having fun!
Today I’ve been having fun trying out some new techniques and ideas.
I found this first technique in the latest copy of Craft Stamper magazine.


As usual I didn’t have all the suggested ingredients, so I improvised! I started by gluing a piece of baking foil to a piece of recycled packaging card, then coloured the foil white using a Uni Paint Marker. When the white marker was dry I dripped spots of different colours of alcohol ink onto the white then added white marker spots on top of the colours. As you can see – some of my spots spread a little! When all of that was dry, I embossed it using an embossing folder then sanded the edges of the embossed edges to allow the foil to shine through. Mine’s not quite as dramatic looking as the example in the magazine, but I’m still impressed with the result.
The inspiration for my second piece came from these two posts (Dimensional Paper Cut Cards and Watercolored Dimensional Paper Cut Cards) from Julie Fei-Fan Balzer. I have always loved creating pop-ups but have normally made them as add-ons to the page. The idea of cutting them directly from the page seemed too intimidating. Seeing Julie’s beautiful work inspired me to have a go.

After a few rather disastrous efforts where the middles fell out altogether or the design folded into strange places, I finally got it worked out! I drew the design using pencil, then cut it out very carefully using a pair of tiny, very sharp pointed scissors. I chose a red card to back it and stuck them together using low tac double-sided tape. I didn’t erase the pencil lines as I couldn’t decide whether or not to outline the shapes. What do you think? I’m really pleased with how this first one turned out and am itching to try another one. As Julie says on her blog – they are very addictive!

Funky Blending!

The other weekend we went to York to visit a friend and were taken to visit the city’s nature reserve. Always on the look out for a photo opportunity, I noticed these unusual plants growing just behind a bench and had to get down in the dirt to photograph them. Later, playing on the computer, I thought they would make a good subject for some funky blending.
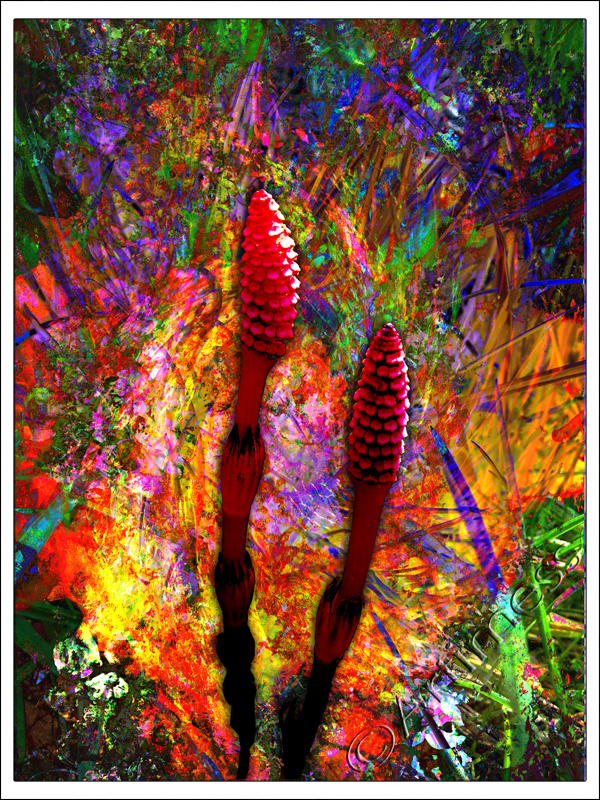
I started with the photograph of the plants, then blended lots of layers of a scan of some leftover paint. By this time it was looking very funky, but the plants had disappeared. So I cut them out, duplicated them on top of the pile, and added some colour and blending to make them fit in with the rest of the picture. I’m very pleased with the result. What do you think?
Glitter Web Complete!
Finally, at long last, my sparkling glitter web is complete!


The photo really doesn’t show just how sparkly it is, so I’ve included this detail shot. Click on it to see the sparkles! I love working with Twinkling H20’s, but I’ve never actually used them as watercolour paints before – I must admit I struggled a bit with that! But overall I’m quite pleased with the result.
I created the background using a mixture of Twinkling H2O’s and Inktense water colour pencils; the spiders web using bleach, a glue pen and holographic glitter. Oh, and I nearly forgot the salt – but I only used a little bit of that! It sounds so simple doesn’t it – I suppose it was, I was just terrified something would go wrong!
There’s still one more part of Dion’s class to go (this lady believes in giving value for money!) – but as I don’t have any of the ingredients at the moment – it will have to wait awhile. Thank you so much Dion, it’ been brilliant so far – I’ll come back later for the last bit!
Sidetracked Again!
Ooops! – I got sidetracked again! But this Life Book lesson from Dawn DeVries Skol was just so much fun!

I started by painting the background using acrylic paint. I decided that I wanted the self-portrait to be transparent so I printed it on overhead projector film then cut it out and stuck it down using gel medium. It has left me with a slightly streaky face, but I like being able to see the background through the image. Next I added the journalling and doodling using Pitt Artist pens and coloured the large letters and doodles using neocolour crayons. Lastly I inked round the edges of the pages with a distress ink pad. Thank you Dawn for a really great lesson!
Now I really am going to get back to Dion Dior’s 21 Secrets Lesson!
Let Your Light Shine!
The trouble with being signed up to two online courses at the same time, is that it’s easy to neglect one in favour of the other. But I just couldn’t resist trying this lesson, Let Your Light Shine, by Joann Loftus from the Life Book 2013 course. As with many of the lessons, I didn’t have all the suggested ingredients so I did a bit of improvisation – and I must admit – I’m loving the result!


While the scan captures the colours beautifully, it doesn’t show the amazing shine on the finished ‘window’, so I’ve included this detail picture so that you can see how it shines!
I created the ‘stained glass’ using tissue paper, pva glue and acrylic paint- not quite what I was supposed to have used – but it seems to have worked! Cutting out all the pieces and sticking them down was a slow process, but it was cool watching the design come alive as each new colour was added. Next I added the ‘leading’ lines using Pitt Artist Pens (they didn’t like writing on the glue and kept drying up!), and lastly I coloured the border using black gesso.
I still have lots of the ‘stained glass’ left over so watch out for it in other projects! Now I really must get back to finishing the second half of Dion’s class. See you later!
And More Glitter!
I have never been a great one for glitter, although I have recently become quite addicted to twinkling H2O’s. So when I read the introduction to my next 21 Secrets 2013 class I was a little nervous. Glitter – and more glitter!
Entitled Sparkle-Arkle, Dion Dior’s class promised lots of light catching paint and glitter. Wow! – so many new techniques wrapped up in one class – and this is just part one!


Much glitter later (I’m still covered in it and so are my scanner and my laptop)… here is the final result. I’ve included a detail photo as the scan really doesn’t do justice to the amazing lustre of the final piece. The list of ingredients I used is long: water colour paint, tissue paper, Twinkling H2O’s, gloss gel medium, glitter, stencils, stamps, acrylic paint, matt gel medium, gold thread, gilding flakes, pva glue, glue pen, and perfect pearls. I didn’t have a lot of the suggested products so I had to improvise, but it was great fun!
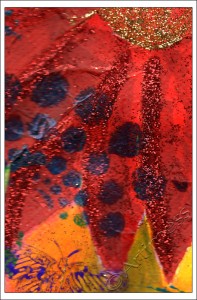
I’m not going to attempt to describe the process – you need to sign up for the course for that, I’ll just show you this sneak peek of the underpainting.
Now if you’ll excuse me, I’m off to start part two of Dion’s class. More glitter!
Playing Games
I’ve been busy altering tins and making game cards for Diana Trout’s class on the 21 Secrets 2013 course.

I took two old cough lozenge tins, sanded them and primed them with gesso, then painted them with acrylic paint. It was not a success – the paint started to flake off! So I covered the paint with tissue paper glued on with gel medium. Success! I still wasn’t happy with the way they looked, so I added several more layers of acrylic paint in different colours and another layer of gel medium. Once I was happy with the tins I created their labels using a stamped flower and a digital label. I coloured both of these using Twinkling H2O’s. I made the game cards from double-sided scrapbooking paper, then used the same stamped flower and digital label for the instructions.
I found this class to be quite a challenge, but I’m glad I did it – I learned a lot. Thank you Diana.
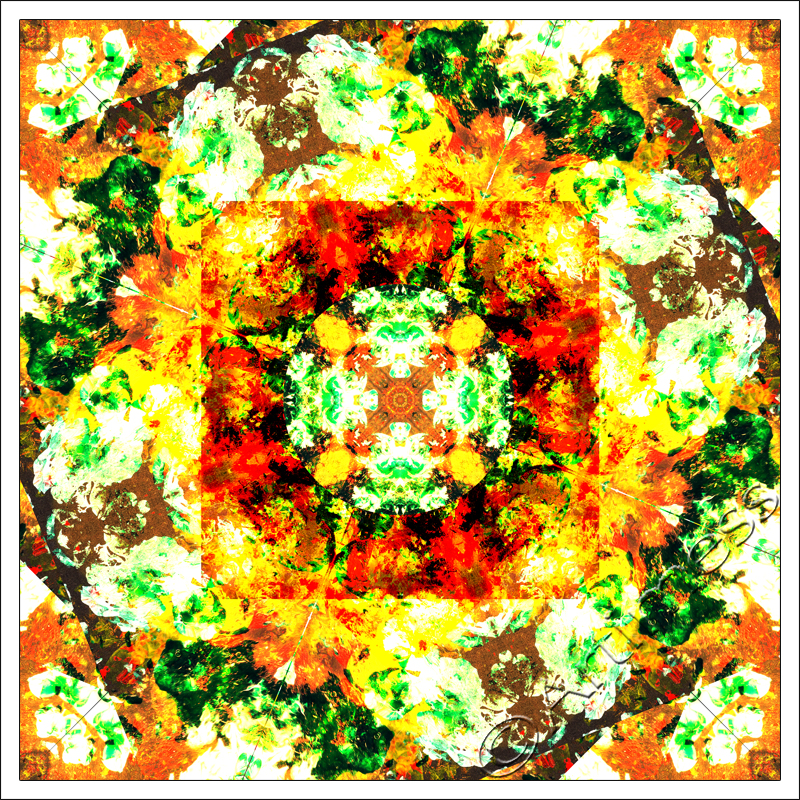
About a week ago I posted this blended image and said I didn’t think I was quite finished with it yet. This is why – I just turned it into a kaleidoscope! I love the colours and all the faces in the patterns. How many faces can you find? I keep losing count!
Snow White Kite
Wow – I’m impressed! The finished painting actually looks more or less as it did in my head! This is the final version of my painting for Danielle Daniel’s class (part of the 21 Secrets 2013 course). Thank you for the tip about the ‘Stabilo All’ pencils Danielle – worked like a dream! They have this amazing ability to be able to write on almost any surface – they certainly worked on my glossy gel medium! The title for the piece, ‘Snow White Kite’, is taken from the Simon Dupree & The Big Sound song ‘Kites’ which was a hit way way back in the mists of time!

I initially ‘saw’ the girl in the background paint and used the Stabilo All pencil to sketch in the details. I painted her using acrylic paint and used a Uniball sign pen and an Edding 780 paint marker to outline the kite. Lastly, I used a Pilot gold marker to write on the kite.
I am really enjoying the 21 Secrets 2013 Course – thank you Connie! It’s not too late to come and join the fun. I’m off now to see what the next class has in store for me – see you later!
Getting Messy!
Today I’ve been working on Danielle Daniel’s class, part of the 21 Secrets 2013 course. I had great fun and got very messy creating this background.
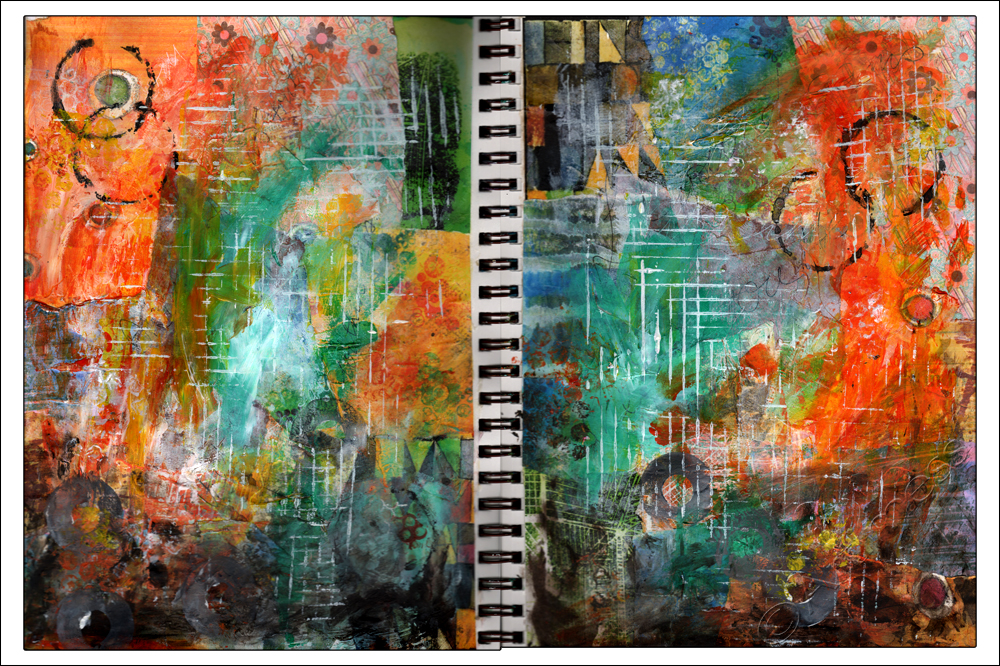
I started out with a collage of printed papers from my earlier artwork, then added acrylic paint using a variety of techniques. Next I added journalling followed by more acrylic paint! I still have more to do to finish – there’s at least one person waiting to be painted – but I really like how it looks right now, so I thought I’d share it with you.
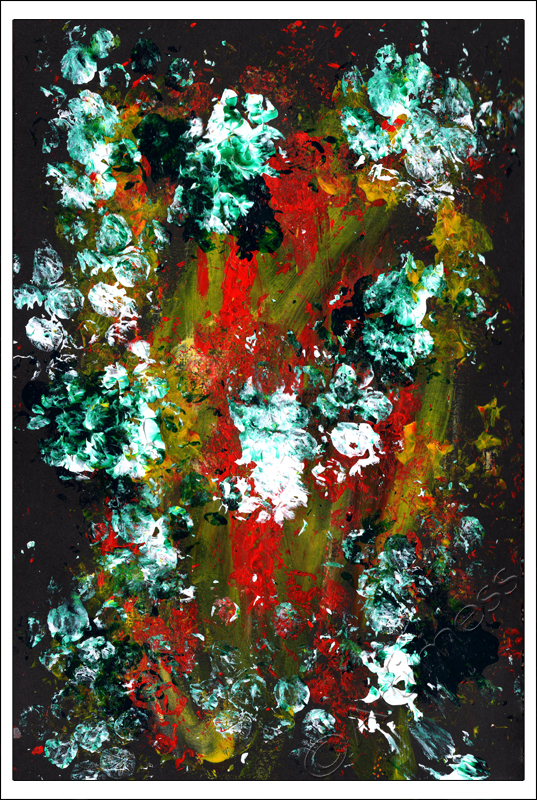
When I finished painting, I had rather a lot of leftover paint on my palette, so I created this in my notebook.

Then I decided to see what it looked like with a bit of digital blending. I quite like how it turned out so far, but I have a feeling I’m not finished with it yet!
Bloom Like Flowers
“The most precious gift we can offer others is our presence. When mindfulness embraces those we love, they will bloom like flowers.”
I thought this quotation from Thich Nhat Hanh was very appropriate for my journal spread inspired by Cathy Bluteau’s class on the 21 Secrets 2013 course.

Why is it that whenever you want a specific sort of image in a magazine you can never find what you want? I ended up sourcing my flowers online from Five5Cats who very kindly allows her images to be used for private artwork. Thank you Cindy!
I collaged the background using old papers and flowers, then added doodling using Pitt Artist Pens. I coloured my doodles using Inktense pencils and filled in with more collage using various tapes and pieces of old artwork. I created the quotation using digital text and finished off by adding details with Pitt pens, an Edding 780 paint marker, neocolour crayons and distress ink pads.
I’ve never done anything quite like this before, but I really enjoyed it and will definitely do some more pages using these techniques. Thank you Cathy for a great class!