


New Blooms
Ever since Tam published this week’s Life Book 2013 Lesson from Christy Tomlinson, every spare minute I’ve had has been devoted to getting messy playing with the new techniques Christy taught us.

Along the way I had some leftover paint which I used with a flower stencil to create an image. I scanned this together with the sheet I prepared for making the flowers in the main project, then blended them. It’ll make a good background for something one day!

Finally – the finished product! I had so much fun! I started by creating a mixed media collage background using newspaper, old magazine inserts, bits of old envelopes, washi tape, white acrylic paint, inks, stamps and marker pen for the words. Then came the fun part of making the flowers. You’ll have to do the course if you want to know how, but I used kitchen roll, tissue paper, very runny acrylic paint, stencils, stamps, kitchen foil and lots of gel medium. I had to adapt some of the ingredients as I didn’t have everything on Christie’s list! It was great fun, and very messy! – Thank You, Christie!
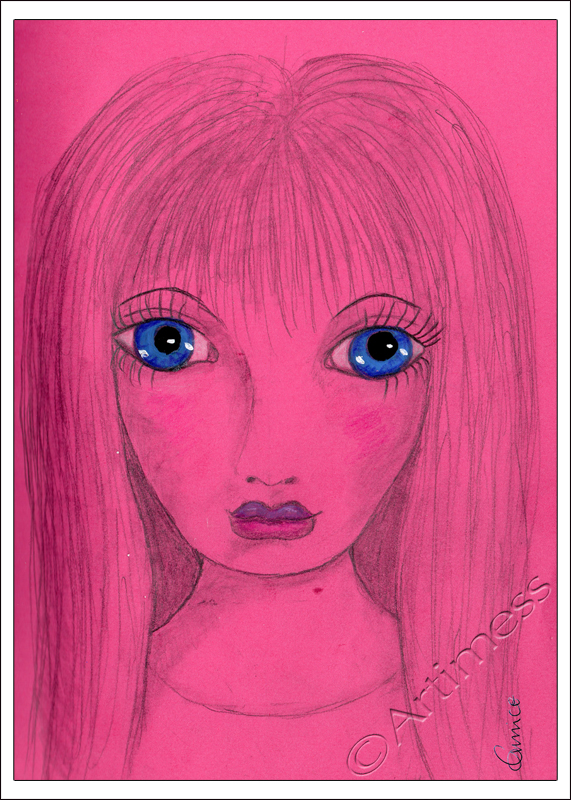
I’ve really been missing drawing this year, so today I drew the Pink Lady! I wasn’t going to colour her at all, but then I had an accident over her right eye with my white marker. So she now has blue eyes! Not a bad cover up job!
![]()
Getting Messy!
Once again I’m playing catch-up! I’ve been having so much fun getting messy, I just haven’t had the time to post the images!
On Friday I played with some embossed flowers, trying to colour them using a couple of ink pads. It didn’t work quite as I planned. Instead of nice clean colour on the raised areas, I ended up with a very dirty, grungy looking image (and a very dirty grungy me, covered in ink!). Not being one to let these things deter me, I stuck the image to a page in my notebook and created a grunge border round it using acrylic paint and an old credit card (getting covered in paint this time!). I think it looks alright now. What do you think?

Yesterday I finally got around to completing this week’s Life Book Lesson from Monica Zuniga. I was a bit apprehensive when I watched the video, but once I got started I had so much fun (I got covered in paint and glue with this one!)! I started by creating a painted background, but once I created my doll and put her on it she disappeared, so I decided to use a plain black background. I created the doll using a collage of a mixture of stamped and embossed images, with the exception of the face which I scanned from a magazine and altered digitally, then coloured her using watercolour pencils. I’m really pleased with the way she turned out. Do you like her?

Today I thought I’d play digital and mess free! I started with a photograph of sand patterns I took last week, then added a scan of an acrylic paint background I made a while ago and blended them together.

I really love how the colours draw you into the image.
![]()
Foam Embossing
Still playing catch up with Life Book 2012, Jodi Ohl showed us how to make these embossed foam embellishments – really cool!

They really are very simple and cheap to make and can be made into simple embellishments, buttons or anything else you can dream up! Heat up the foam with a heat gun and then press a rubber stamp into it to emboss the pattern. You need to press very hard, and the foam is quite hot so I don’t think it will work with clear stamps (they don’t like heat, and tend to go all squadgy if you press too hard). If you don’t like the result just heat and try again. When you are happy with the result you can colour them any way you want. I used a mixture of acrylic paint, perfect pearls and gel medium to give a nice glossy finish and seal them.
Like the backgrounds, I’m not sure what I’m gong to use them for yet … but keep watching … they’ll turn up on something soon!
![]()
Playing with Stencils!
Yesterday, Christmas came early! I got these Texture Stencils from “artistcellar” in the post! So much fun!

I started out by adding colour washes with Inktense pencils to some watercolour paper to create an under layer to the stencils. I used the Inktense pencils because once they’ve been activated they become permanent. When the colour wash layers were dry I got out the acrylic paint and started playing with the stencils! It was very messy – but the stencils are great!
I have no idea at the moment what I’ll use these backgrounds for, they’ll probably get obscured by additional layers of something else, but for now I’m just enjoying them as they are!
![]()
More Winter Flowers!
It must be the effect of all the dull winter days at the moment, I just keep wanting to play with flower images, so here are some more winter flowers!

I started off by stencilling the big flowers onto the watercolour paper using acrylic paint – messy, but fun! Then I added some more flowers using clear stamps and a mixture of Staz-on ink pads and distress ink pads. Lastly I scanned the image into the computer, added some more greenery with digital brushes and some more background colour using gradients and blending.
![]()
Tree of Life
Browsing through blog posts in my rss reader a while ago, I came across a beautiful image called ‘Ablaze’ by Kathryn Dyche Dechairo. I was totally inspired!

This is where the inspiration took me! I started with a torn magazine collage on watercolour paper. I covered that with a sheet of crumpled tissue paper stuck down with lots of semi-gloss gel medium. When that had dried I used my neocolour crayons to add some colour to the mix. Next I drew the outline of my tree using water soluble graphite pencils and coloured it in using the trusty neocolours. The next part involved covering the tree with hot glue! The last bit was adding the text using letter stamps which I then embossed.
I toyed with the idea of adding some collaged leaves, but decided to keep it as a winter tree for now. Maybe I’ll try adding some digital leaves later!
![]()
Making a Mess!
Making a mess and not trying too hard always seems to produce the best artwork!

Today’s piece of work started as a way of using up some leftover paint. I added some gel medium transfers to it, but they went wrong and came out as grey squares. Finally I thought I’d try out a paper stencil I made using a border punch – the footprints. As you can see the stencil wasn’t a brilliant success – the paper was far too flimsy and let too much paint through! But taken overall, I think my catalogue of disasters looks quite good. I may add some words to it later.
![]()
Magic!
This piece has magic built into every part of it from the background to the magical font making app.

First of all there’s the magic of the water-soluble neocolour crayons and the way the colours blend together when you add water. There’s the magic of what happens to those wet colours when you add sea salt crystals and leave them to dry. Then there’s the magic that happens when you add digital elements and start playing with blending options!
But do you know what the biggest magic of all is? This iPad app at iFontMaker that enabled me to create my own font. A big thank you to Elsie from A Beautiful Mess who blogged about it last week. I was so excited when I read her post – I bought the app and sat up till 3 O’clock in the morning playing with it! It was so much fun!
If you like the font in the image click on the link Funtime font to download it.
Altogether a truly magical piece!
![]()
Celebrating!
I really enjoyed this weeks Life Book lesson with Samantha Kira Harding. Each layer had its own special meaning and took courage to cover and move on. But I’m so glad I did – the finished piece has so much depth.
 - Life Book 2012, Week 42")
This is the first scan taken after the first three layers. Layer one was journalling done using Derwent inktense pencils. This was followed by a layer of white Gesso which made all the journalling colours run and blend together creating a lovely soft background colour. Layer three was a mixture of alcohol inks shaken from the bottles to create nice ink splodges which I swooshed around with a tissue to spread the colour further, and a lino cut which I stamped over the top using distress inks.
 - Life Book 2012, Week 42")
This next scan – done on my lovely new A3 scanner – was taken after the next two layers. It took a while for me to pluck up the courage to add a layer of Gesso to everything and even more courage to start doodling over the top of it, but I’m glad I took the plunge! The doodling on the right page was done using graphite pencil and neocolour crayons followed by a flower collage and face outline drawn in pencil.The left page got a collage of tissue paper.
 - Life Book 2012, Week 42")
The final scan shows the finished piece. The face on the right page was painted using neocolour crayons. The left page had a machine stitched border added and journalling done with a gel pen. It took a few days to complete, but I’m really pleased with the end result. Thank you so much Samantha!
![]()
Collage Lady
Being without any internet for the past few days, I have had more time to get messy with paint and gel medium! Collage Lady is another catch up from the Life Book Course.

Loosely following Mystele’s week 22 lesson I created a collage from torn magazine pages using a picture of a woman as the central focus. I then used a mixture of pastels, gel medium, neocolour crayons, journaling and acrylic paint to add colour and depth to the work. I must add that the painted lady bears virtually no resemblance to the collaged image underneath!
I had great fun making this piece. Thanks for the lesson Mystele and for the new techniques I learnt!