


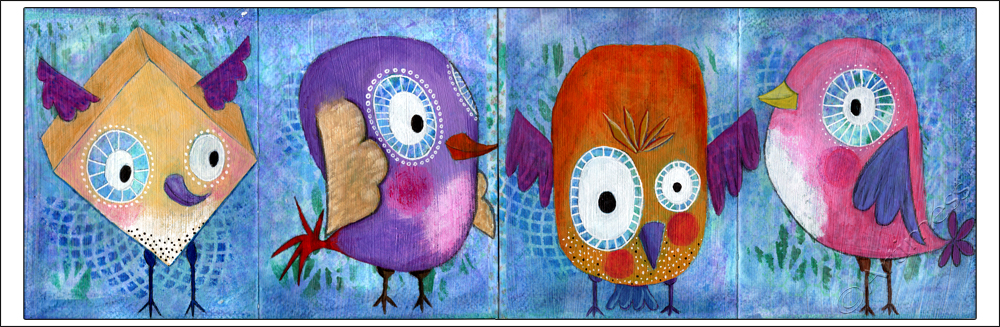
More Quirky Birds!
Carrying on with this week’s Life Book 2013 lesson from Tamara, I got a bit carried away with drawing quirky birds. I drew four instead of two! – oops!!!

These are painted on the back of the other four and the whole image folds up like a concertina. Like the others, I created the background using spray inks and stencils, followed by neocolour crayons and acrylic paint and stencils. When it was all dry I covered it in clear gesso then drew the birds using pencil and coloured them using a mixture of acrylic paint, neocolour crayons, Edding 780 paint marker and unipin fine line pens.
I completely missed out the journalling part of the lesson!! I may add it later, or I may just skip it, I haven’t decided yet. I’ll let you know when I decide… keep watching this space!
Quirky Birds!
In this week’s Life Book 2013 lesson from Tamara she taught us how to draw these quirky birds. They were so much fun!
I created the background using spray inks and stencils, followed by neocolour crayons and acrylic paint and stencils. When it was all dry I covered it in clear gesso. I drew the birds using pencil, then coloured them using a mixture of acrylic paint, neocolour crayons, Edding 780 paint marker and unipin fine line pens.
I haven’t finished the lesson yet, so I’ll post some more pictures when I’m done.
![]()
Gratitude!
Still playing catch up with Life Book 2013 classes, today I finished this piece for Tam’s week 10 lesson.

I decided to add my own twist to the lesson by folding my paper in half and cutting a heart shape in the front half to make a heart door. After cutting the door, I started the background using acrylic paint, then added a collage of printed tissue paper, washi tape, and paper ribbon. Next I used Caran d’Ache neocolour crayons and stamping with a staz-on ink pad to add more colour, then finished the front using die cut letters. Once it was all dry, I taped in the ribbon ties and stuck the two halves together.

On the inside, I covered the back of the door with torn tissue paper and gel medium, then set to work making the mini scrolls for the centre from a mixture of torn magazine pages and digital design prints, decorating some of them with stamping. I filled the heart shape with gel medium, and arranged the scrolls on top. Lastly, I made the ‘Gratitude” banner by sticking some die cut letters on a scrap of digital design paper.
I had great fun with this lesson – thank you so much Tam!
![]()
Monster Pop-Up!
I have always loved pop-up cards so this Life Book lesson from Mitsi B really appealed to me, and I loved every bit of the process of making it.

I started by journalling over both sides of the paper using a water soluble graphite stick, then activated it to stop it bleeding. I added big blocks of colour using acrylic paint, then splattered and dripped a bit over it all.

Next I made the pop-ups for the inside of the card. Owing to my inability to listen to/read instructions, my card is slightly smaller than instructed so I had to modify the rainbow pop-up to make it fit! I painted the shapes using acrylic paint, stuck them in and added more journalling using calligraphy pens from Asda and an Edding 780 paint marker to outline the letters.

Finally I painted my monster on the front cover using acrylic paint. Don’t you think she’s lovely? I think this has been one of my most favourite lessons so far this year. Thank you so much Michelle!
![]()
Connections!
I’ve got a bit behind with the Life Book 2013 Classes, so I was quite pleased when I managed to finish Mindy Lacefield’s lesson today. I had great fun with it, but was a little unsure of how the whimsies would turn out using Mindy’s draw in paint technique!

I started out by writing 7 quotations about connections on the right hand page, then used various stencils with homemade ink sprays to create a background and partially hide the journalling. Next I used various stamps with distress ink pads to add some more detail to the background and did some acrylic finger painting. Lastly, I painted the whimsies with acrylic paint and used a pilot gold marker to add belts to their skirts.
This is my first ever attempt at drawing people using paint, pretty scary, but I’m quite pleased with the result!
![]()
Finally finished!
Yes! – I have finally finished my game board for last weeks Life Book lesson from Kelly Hoernig.
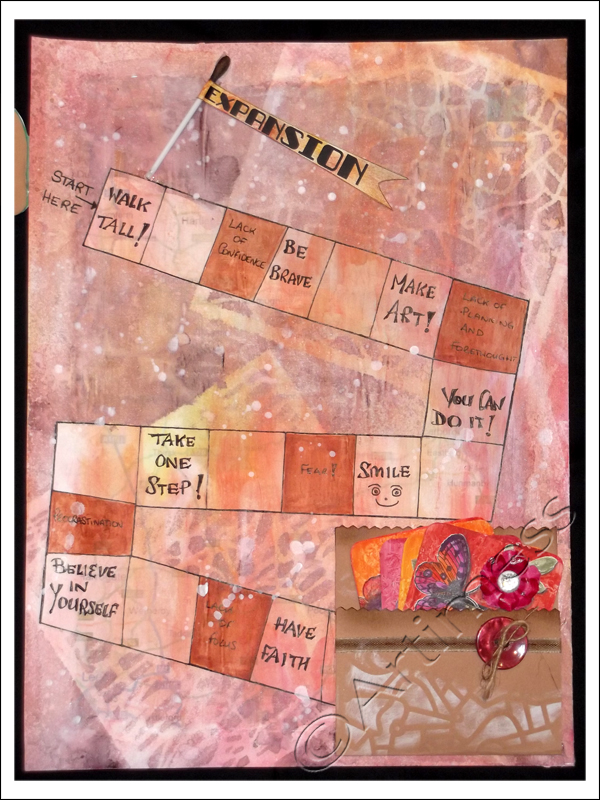
I ran out of space on my board to glue my car, so I attached it to a hinge so that it could be flipped to see the board underneath.

I may add some flowers to the roadside later – I can’t decide at the moment!
Meanwhile the ingredients list! I used collage, white gesso, acrylic paint, Artist Cellar stencils, a home made mask, some ribbon, a button, a little jute, a uniball eye pen, some digital text, most of a cotton bud, plus some ink and hot glue.
I really enjoyed making this – thank you Kelly for a great lesson.
![]()
Time Flies!
Doesn’t the time just fly by! I can’t believe it’s a week since I last posted here. In between a very special birthday, the celebration of which got delayed by snow over the entire country, followed by a nasty tummy bug which laid me out for a day, I’m only just catching up with myself now!

It all began when I had some leftover paint from creating cards for this week’s Life Book lesson. As usual I painted a page in my notebook with what was left of the paint. Then the postman brought me some very special paint that I’ve been coveting for a very long time – some Golden fluid acrylic paint! Well – I just had to try that out didn’t I? Isn’t it lush!

With two pages of abstract paint marks scanned I just had to play digital! So much fun and such beautiful colours!
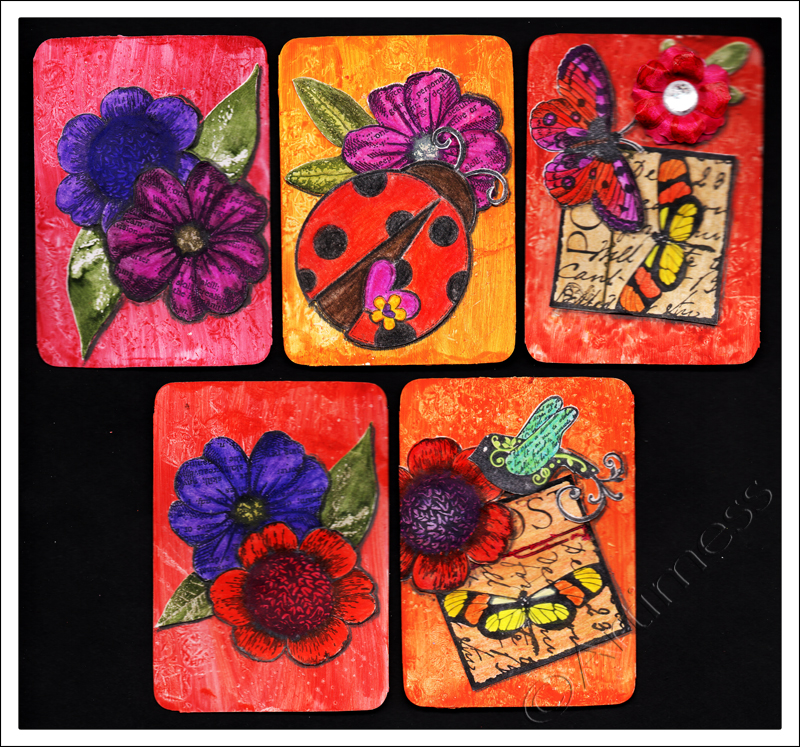
Today I finally finished my game cards, the first part of Kelly Hoernig’s Lesson from Life Book this week.

I created my own playing card size cards using glossy white card, then painted them using acrylic paint (the old paint!). I used collages of stamped images coloured using watercolour pencils to decorate the front of the cards, and luggage tags coloured using distress ink pads to write my goals on the back. I obscured the titles of a couple of them as I am not ready to share them at the moment.
So now I’d better get back to completing the rest of Kelly’s Lesson! I hope to be able to post it in the next day or so.
![]()
Celebration of Light
I’ve been a bit caught up in the mechanics of website maintenance for the last few days and have been neglecting my mess-making creativity! Thank goodness for the Monday Life Book lesson from Dion Dior this week – it was just what I needed to get back into mess making again!

Starting with a piece of black paper, I drew a handprint and mini mandala using a white watercolour pencil, then shaded between two using an assortment of dry white media which included a neocolour crayon, a soft pastel and a jelly roll pen. It was great fun and I think I’ll be playing with this concept some more over the next few days!
Just to add a bit of colour to the post, I had to show you this.
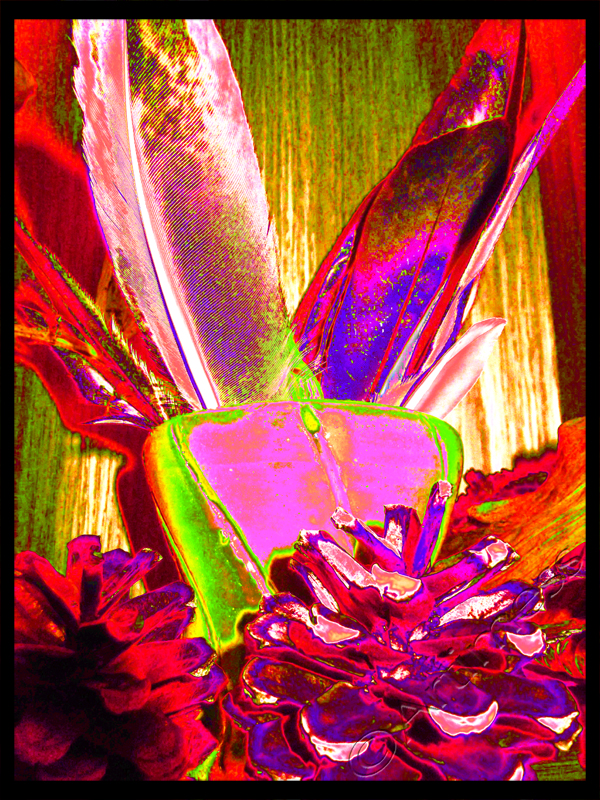
It happened when I was preparing this image for uploading yesterday. I accidentally pressed a few extra buttons … well maybe I did mean to press them … but it looks rather pretty, don’t you think?
![]()
New Blooms
Ever since Tam published this week’s Life Book 2013 Lesson from Christy Tomlinson, every spare minute I’ve had has been devoted to getting messy playing with the new techniques Christy taught us.

Along the way I had some leftover paint which I used with a flower stencil to create an image. I scanned this together with the sheet I prepared for making the flowers in the main project, then blended them. It’ll make a good background for something one day!

Finally – the finished product! I had so much fun! I started by creating a mixed media collage background using newspaper, old magazine inserts, bits of old envelopes, washi tape, white acrylic paint, inks, stamps and marker pen for the words. Then came the fun part of making the flowers. You’ll have to do the course if you want to know how, but I used kitchen roll, tissue paper, very runny acrylic paint, stencils, stamps, kitchen foil and lots of gel medium. I had to adapt some of the ingredients as I didn’t have everything on Christie’s list! It was great fun, and very messy! – Thank You, Christie!
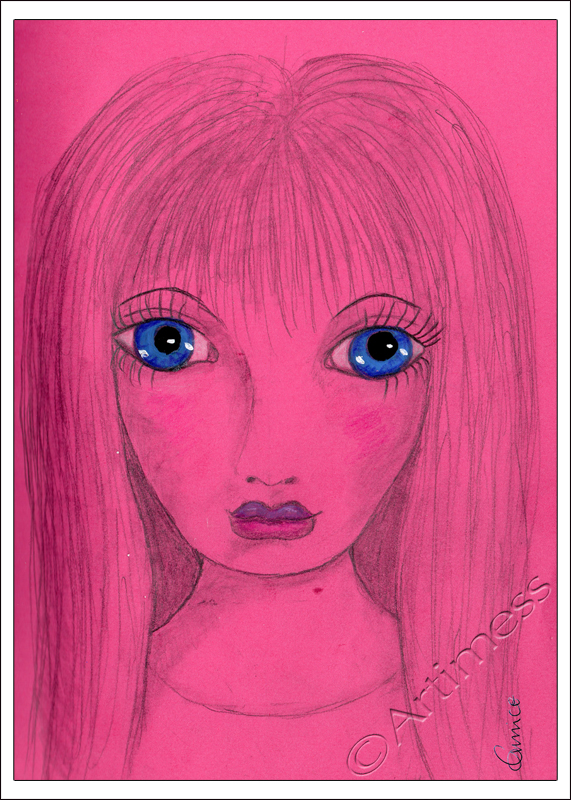
I’ve really been missing drawing this year, so today I drew the Pink Lady! I wasn’t going to colour her at all, but then I had an accident over her right eye with my white marker. So she now has blue eyes! Not a bad cover up job!
![]()
Getting Messy!
Once again I’m playing catch-up! I’ve been having so much fun getting messy, I just haven’t had the time to post the images!
On Friday I played with some embossed flowers, trying to colour them using a couple of ink pads. It didn’t work quite as I planned. Instead of nice clean colour on the raised areas, I ended up with a very dirty, grungy looking image (and a very dirty grungy me, covered in ink!). Not being one to let these things deter me, I stuck the image to a page in my notebook and created a grunge border round it using acrylic paint and an old credit card (getting covered in paint this time!). I think it looks alright now. What do you think?

Yesterday I finally got around to completing this week’s Life Book Lesson from Monica Zuniga. I was a bit apprehensive when I watched the video, but once I got started I had so much fun (I got covered in paint and glue with this one!)! I started by creating a painted background, but once I created my doll and put her on it she disappeared, so I decided to use a plain black background. I created the doll using a collage of a mixture of stamped and embossed images, with the exception of the face which I scanned from a magazine and altered digitally, then coloured her using watercolour pencils. I’m really pleased with the way she turned out. Do you like her?

Today I thought I’d play digital and mess free! I started with a photograph of sand patterns I took last week, then added a scan of an acrylic paint background I made a while ago and blended them together.

I really love how the colours draw you into the image.
![]()