Getting Messy!
Once again I’m playing catch-up! I’ve been having so much fun getting messy, I just haven’t had the time to post the images!
On Friday I played with some embossed flowers, trying to colour them using a couple of ink pads. It didn’t work quite as I planned. Instead of nice clean colour on the raised areas, I ended up with a very dirty, grungy looking image (and a very dirty grungy me, covered in ink!). Not being one to let these things deter me, I stuck the image to a page in my notebook and created a grunge border round it using acrylic paint and an old credit card (getting covered in paint this time!). I think it looks alright now. What do you think?
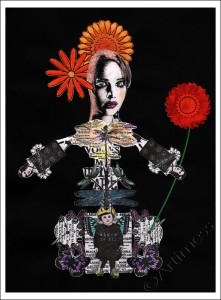
Yesterday I finally got around to completing this week’s Life Book Lesson from Monica Zuniga. I was a bit apprehensive when I watched the video, but once I got started I had so much fun (I got covered in paint and glue with this one!)! I started by creating a painted background, but once I created my doll and put her on it she disappeared, so I decided to use a plain black background. I created the doll using a collage of a mixture of stamped and embossed images, with the exception of the face which I scanned from a magazine and altered digitally, then coloured her using watercolour pencils. I’m really pleased with the way she turned out. Do you like her?
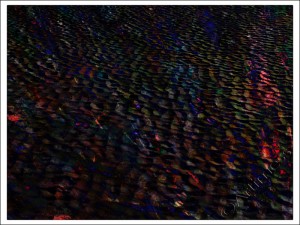
Today I thought I’d play digital and mess free! I started with a photograph of sand patterns I took last week, then added a scan of an acrylic paint background I made a while ago and blended them together.
I really love how the colours draw you into the image.
![]()
Catching Up!
I’m playing catch up today – it’s been a really busy week!
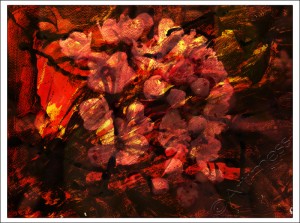
On Tuesday, I created a couple of backgrounds using a mixture of acrylic paint and ink. I scanned them both into the computer then added a photograph of some flowers and blended them to create this image.
On Wednesday I followed a video from Doll Dreams teaching us how to draw these cool doll birds! I tried it out in my everyday notebook using a uniball eye pen, then did the doodle later using my rapidograph pen while I was on the telephone! I didn’t plan for them to go together, but I think they do anyway! Do you agree?
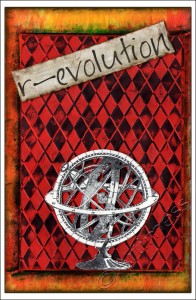
Today I had fun playing with all sorts. I started by colouring the page with neocolour crayons, then collaged an embossed sheet which I had coloured with distress ink and the stamped image of the globe which I cut out. Next I added the text which I printed on the computer and coloured using a watercolour pencil and a gold marker pen. Finally, after scanning, I added a bit of digital shading and distressing. I really like how it turned out. What do you think?
![]()
Celebration Journey!
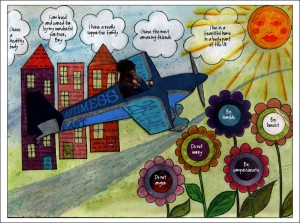
I have finally finished part two of Life Book Week 1! I had so much fun creating this – thank you Tam for such a great lesson! I chose an aeroplane as my mode of travel as I have have only just got my passport and have never yet flown. I intend to take my first flight in 2013!
I created my background using watercolour paint and rock salt, then added a collage of the plane, which I coloured using neocolour crayons, combined with a picture of me. I created the flowers using circles punched from old magazines then added the details using a uniball eye pen and watercolour pencils. Having already stuck the plane to the page, I then decided I wanted some buildings behind it! Nothing like planning for getting things in the right order! I photocopied a book drew the buildings using the uniball eye pen, then coloured them using watercolour pencils. Then I had to cut them to fit round the plane! Next came the clouds, using the uniball pen and white gesso, and the sun using the uniball pen, yellow acrylic and neocolour crayons. Lastly I added the text digitally after scanning.
Phew! All done just in time to start Week 2. Roll it on!
![]()
Hope Fairy
Phew! – that was one busy week!
But I’m back now and still playing catch up on the Life Book 2012 course – I’d better get a move on as I’ve just signed up for the 2013 course!
This is my interpretation of Adriana Almanza’s Hope Fairy lesson from Week 31. I had so much fun – I hope you like her!
I drew the fairy in pencil then outlined her using a permanent marker pen. Next I painted the background using acrylic paint. I coloured the fairy using a mixture of Caran d’ache watercolour pencils, acrylic paint and white paint markers. I stamped the flowers onto white paper using a black staz-on ink pad and coloured them using Caran d’ache watercolour pencils, cut them out and collaged them into the picture. Lastly, I added the text digitally after scanning the picture.
![]()
Lady Rosina
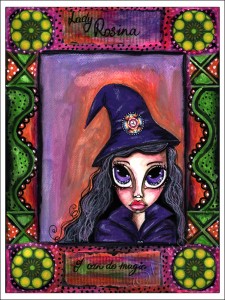
After the tension of posting something new every day it was nice to take things at a bit more leisurely pace when following last weeks Life Book 2012 lesson with Adriana Almanza. I was a bit apprehensive about it before I started because I’ve never been good at stylised faces like these – but I surprised myself and had a ball. Thank you for a great lesson Adriana, I learnt a lot!
Adriana provided us with a template to use for the face, but I decided it would be much more fun to draw my own. My witch has a much longer face than the one Adriana supplied – but that’s how you learn! I coloured her face using ordinary water colour pencils (the Intense one’s would’ve been a bit bright) then blended the colours using white acrylic paint – something I learnt from Adriana. I used acrylic paint to colour her clothes and neocolour crayons to colour the central background. I created the border using a mixture of collage, acrylic paint and marker pens.
I’ll definitely be having a go at some more of Adriana’s classes.
![]()
Made it ….
Yeah! – I made it through the month …. and to celebrate I created this poster!
I coloured the background using Derwent Inktense Pencils, then drew, cut out and stuck the large ‘Made It’ letters to the background. I drew the rest of the letters, outlined them using a uniball eye pen, and coloured them using the Inktense pencils. Lastly I inked the edges using distress ink pads and stuck on some snowflake and star confetti.
It’s been a fun month. I’ve really enjoyed being inspired by everyone’s amazing work. A great big thank you to Leah for providing the opportunity, and a special thank you to everyone who has visited and left me comments.
![]()
Digital Wizardry!
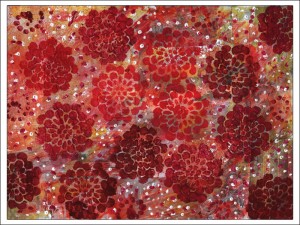
Today I started out by sticking a mixture of all kinds of paper to a sheet of watercolour paper. I followed this with a light brayering of white acrylic paint to blend everything together. Then decided I would play some more with the flower stencil I used yesterday and ended up with this image.
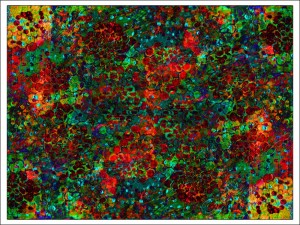
I couldn’t decide what to do with it next. So I scanned it into the computer and stated playing. This was my favourite of all the blends I came up with.
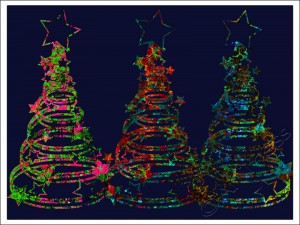
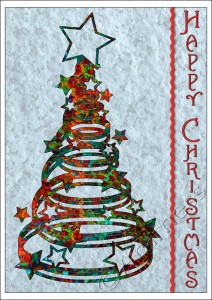
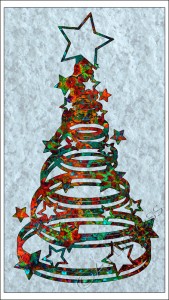
I liked it, but I wanted to take it further. It occurred to me that it would look cool as the pattern on a christmas tree shape, so I set off on a hunt for some Christmas tree brushes. I found some beauties here at Photoshop Graphics
Of all the Christmas Tree shapes in the brush set, this was my favourite! But I still wasn’t finished!I decided to create my first Christmas card of the year – well two actually! I think I prefer the one without the writing on the front. What do you think?
Quite a productive day really from one simple piece of artwork!
![]()
Monochromatic!
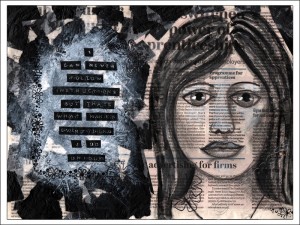
I got a bit behind with the Life Book 2012 classes and have only just finished Rhomany’s monochromatic lesson from last week.
One of the disadvantages to having given away most of my craft supplies at the end of last year (read more about that here) is that I don’t have a lot of the supplies that Rhomany used, but I’m very good at improvisation!!
I started off with a collage of newspaper pages then drew the face using a black biro. I didn’t have any ink so I used a mixture of graphite pencils and neocolour crayons to colour and define the face. I used a tiny bit of white gesso for the highlights.
On the left hand side of the page Rhomany used black and white scrapbook paper. As I didn’t have any of that I used layers of black and white tissue paper to create my pattern. Then I used white gesso to create a lighter area on which to add my words which I created using my dymo machine, black paper and a white oil pastel.
Lastly I added some stamping using a Staz-on ink pad.
![]()
Moving Forward
Today I played catch up with my Life book 2012 classes. I completed Lesson 29 from Jodi Ohl. The lesson started with a positive letter to my younger self which I then tore up and used as the basis for the piece. For the next layer I added some printed tissue paper followed by a thin wash of white gesso. Then I stamped a border using home-made foam stamps and acrylic paint – messy!
When it was all dry I drew the face using pencil and coloured it using a mixture of acrylic paint, gesso, Inktense pencils, uniball pen and pencil. Finally I added a set of positive affirmations around the edge.
I had so much fun making this and found the personal development element very useful – thank you Jodi!
![]()
Tree of Life
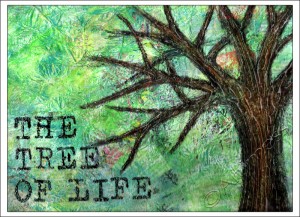
Browsing through blog posts in my rss reader a while ago, I came across a beautiful image called ‘Ablaze’ by Kathryn Dyche Dechairo. I was totally inspired!
This is where the inspiration took me! I started with a torn magazine collage on watercolour paper. I covered that with a sheet of crumpled tissue paper stuck down with lots of semi-gloss gel medium. When that had dried I used my neocolour crayons to add some colour to the mix. Next I drew the outline of my tree using water soluble graphite pencils and coloured it in using the trusty neocolours. The next part involved covering the tree with hot glue! The last bit was adding the text using letter stamps which I then embossed.
I toyed with the idea of adding some collaged leaves, but decided to keep it as a winter tree for now. Maybe I’ll try adding some digital leaves later!
![]()


