


More Link Love!
It’s Friday again, and I’m joining with Tammy from Daisy Yellow on her link-love mission.
Today Tammy suggests we link to 5 of our favourite topics… so here goes.
Healing and Natural Living:
I love reading Rose’s blog Walk in the Woods and looking at all her beautiful photographs of the things that she makes. Rose has a home-based holistic wellness practice and creative studio, and blogs about her daily life.
Inspiration
The Tiny Buddha site run by Lori Deschene is a wonderful place to get daily inspiration and encouragement.
Hand Made Books
Robin creates the most amazing hand made books and journals – wonderful inspiration if you’re a compulsive bookmaker like me!
Journalling and Mixed Media
Rhomany’s blog is a wonderful and constant source of information and inspiration on all aspects of journalling and mixed media artwork.
Self-Care and Inner Exploration
Liz is a teacher, author and artist. I’m currently working through her book, ‘Inner Excavation’, for which she has blog posts and videos from a free read along she hosted last year here. Brilliant!
I’ve already had a sneak peek at some of the other links out there, but I’m off to have a proper look now. See you tomorrow!
![]()
Mail Art!
I’m never quite sure what qualifies as ‘Mail Art’. Does it have to be something you make to send through the post, or can it be recycling something that has already been sent through the post? I’m sure someone will enlighten me, but in the meantime, I’m calling what I created today ‘Mail Art’!
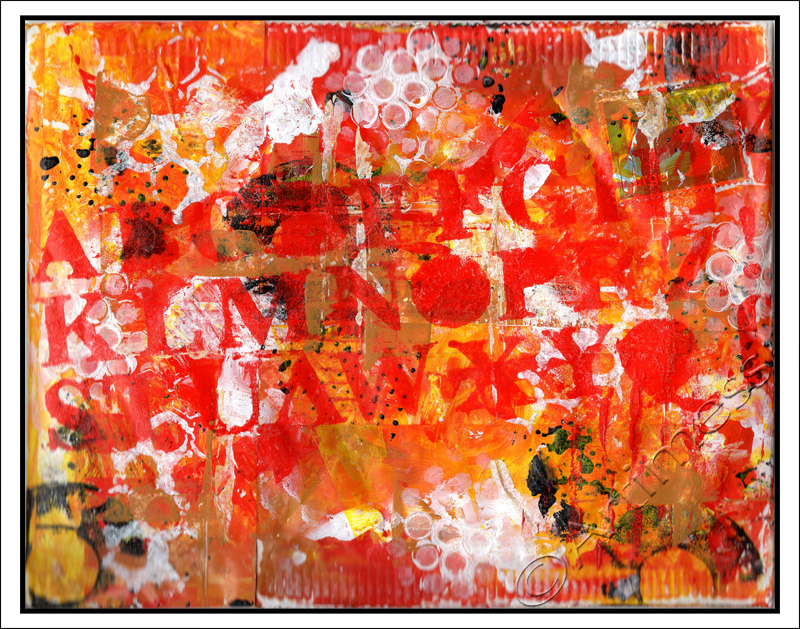
We received it in the mail a couple of days ago when it contained some computer memory for a computer Bry is currently repairing. Knowing my acquisitive habits, he gave it to me for recycling. I originally intended to put it with my collection of padded envelopes, but it never got that far. It’s been sitting in a pile on my desk, and this evening when I was wanting to paint something small, it seemed the obvious choice of canvas.
I decorated it using acrylic paint applied with my fingers and an assortment of my recycled ‘stamps’ (sequin waste, old cards, creamer sealers, washers, etc). I finished it off using the waste from a die-cut alphabet as a stencil. I really like how it turned out – maybe I’ll re-use it as an envelope now it’s finished!
![]()
Fairytale Blending
Whenever I create anything, I take scans of my work through all its stages, so that I can use the images for backgrounds and texture in future work. Today I took two of those intemediate scans of my last two projects and played digital blending with them.
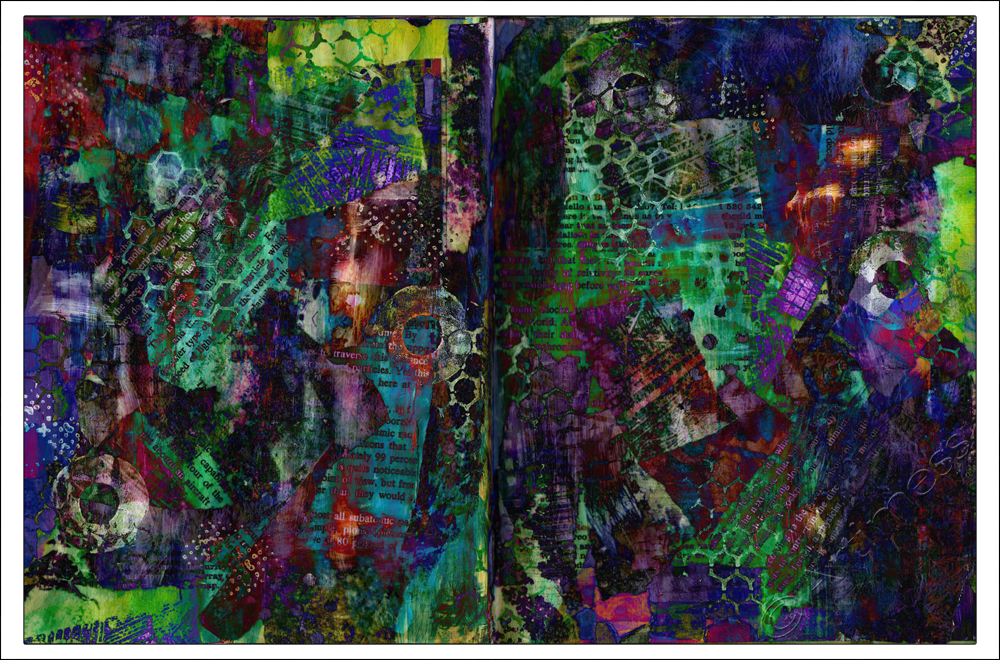
I think the result looks like the background of a fairytale story, and can imagine lots of quirky characters running around in the image. I might just print it out and have a go at adding some of them to it. What do you think?
![]()
Finally Finished!
At Last, I have finally finished last weeks Life Book 2013 lesson!
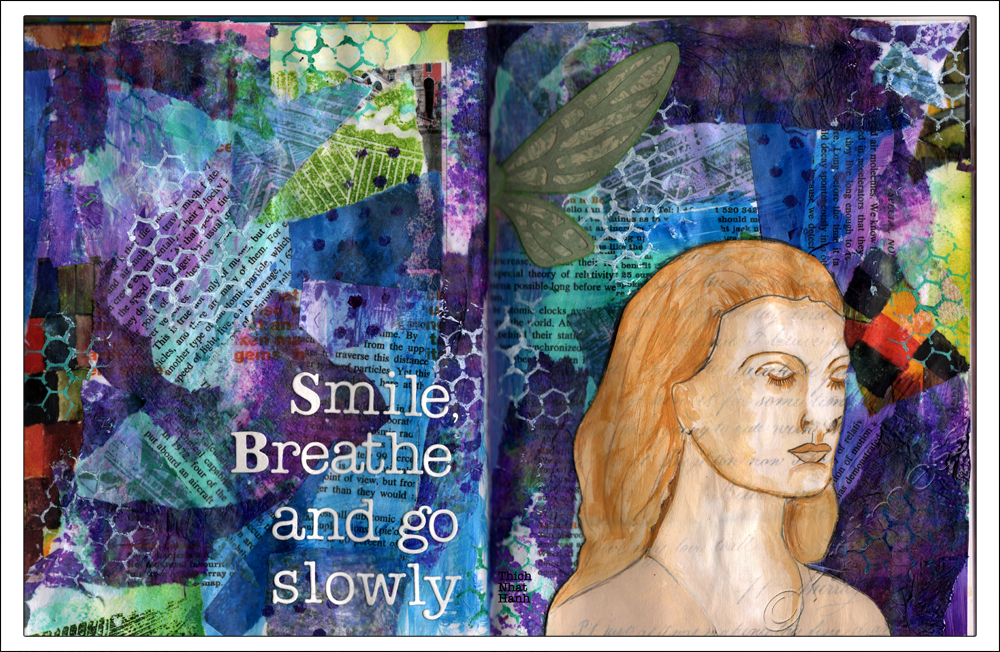
For the final touch I added the Thich Nhat Hanh quotation using die-cut letters.
Now I’m off to pack some more boxes!
![]()
More Layers!
I managed a few more layers last night and was hoping to add some text today but somehow the time eluded me! So here’s the next instalment…
… first I added some layers of acrylic paint and some stencilling…
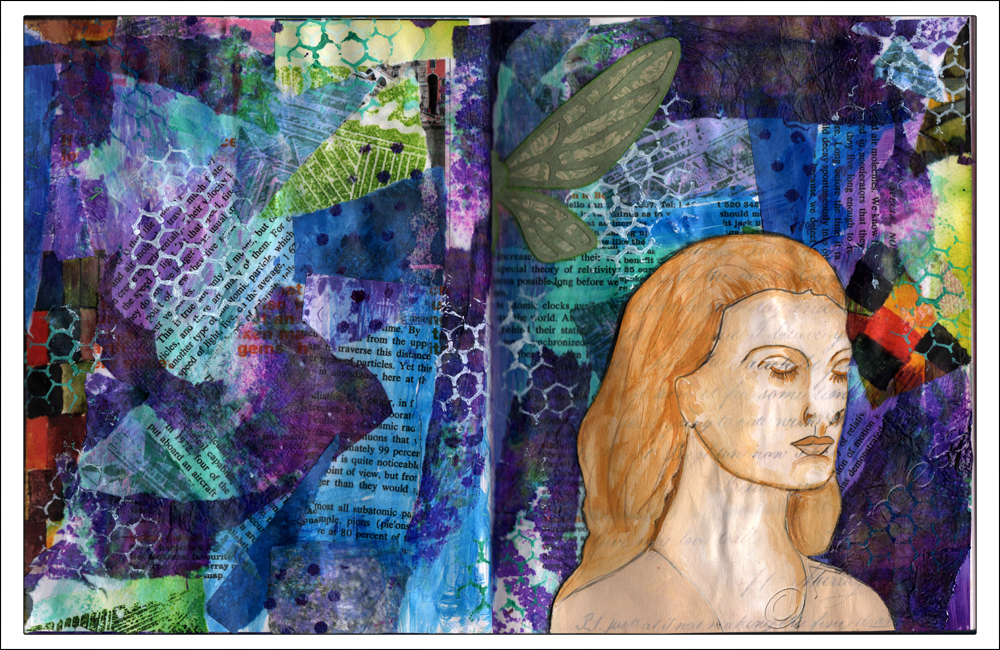
… then I collaged my meditating lady after painting her using acrylic paint and a die-cut dragonfly. It’s taking awhile, but I’m pleased with how it’s looking so far. Hopefully I’ll manage to finish it tomorrow!
Now I’m off to the shops to get some more boxes! Keep watching!
![]()
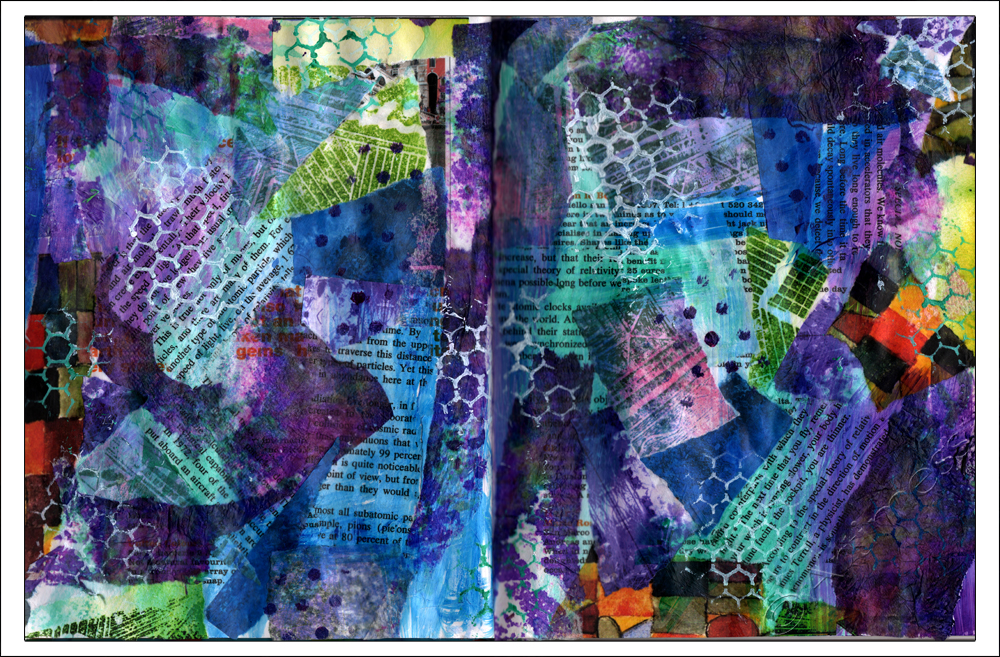
More Boxes!
As moving day approaches it’s getting more and more difficult to do much artwork as little by little my supplies are disappearing into more boxes! As you can see… the piles of boxes are growing nicely …

… but the artwork is not keeping up!
This is the first collage layer for last week’s Life Book 2013 class from Jeanette House. I’m hoping to get some more layers done later tonight – if I can find all the supplies I want to use!
Keep watching this space!
![]()
Blending Summer Feet!
The last few times I’ve been out, I’ve been snapping pictures of summer feet…. and true to form – I wondered what they’d look like if I played a spot of digital blending with them.

I took two of my photographs, added an artwork scan and whizzled the blending buttons. I rather like the result – what do you think?
![]()
Link Love!
I finally decided to take the plunge and join Tammy from Daisy Yellow on her link-love mission.
Today Tammy suggests we link to 5 of our favourite tutorials… so here goes.
Julie’s blog is a constant source of inspiration and she has so many cool tutorials that it was difficult to choose just one, but I love the clever way this book is made from one folded sheet of canvas.
Folded Canvas Book from Julie fei-Fan Balzer at Balzer Designs
I love Effy’s raw honesty and the energy in her creative work. This journal is really cool, and so simple to make!
Bookbinding 101 from Effy Wild
I adore Kaleidoscopes, and this tutorial from iHannah is just so simple to follow. Give it a try!
How to Create a Digital Kaleidoscope Mandala from iHannah’s Blog
I just love the concept of this apron – combining the best of two aprons to make an amazing new creation!
Creating an Apron of Inspiration from Samie Harding at Journal Girl
I just found this really cool tutorial from Rae Missigman –
Plastic Fused Canvas and I can’t wait to give it a try!
I’m off to explore everyone else’s favourite tutorials now. I’ll be back with some new artwork tomorrow!
![]()
I Begin…
The 1st of August has arrived bringing with it the start of Effy’s challenge to blogalong with her for 30 days in August. There’s still time to join in if you haven’t already, just click on the link below.
Being a little slow off the mark, I have just decided to join in Effy’s Inner Excavate Along where she is going through Liz Lamoreux’s book Inner Excavation. Effy has nearly finished, but I’m just starting …. O well as Effy says, I own the book so I can work through it whenever I like :).
Anyhow… after reading all the ideas and suggestions in chapter 1, I decided to create a word poem using a few of the words on the pages of my recycled journal. Originally I thought I’d add some joining words between the words on the page, but on reflection, I decided that would be overkill and have bravely left them stark and suggestive. I hope you like them.
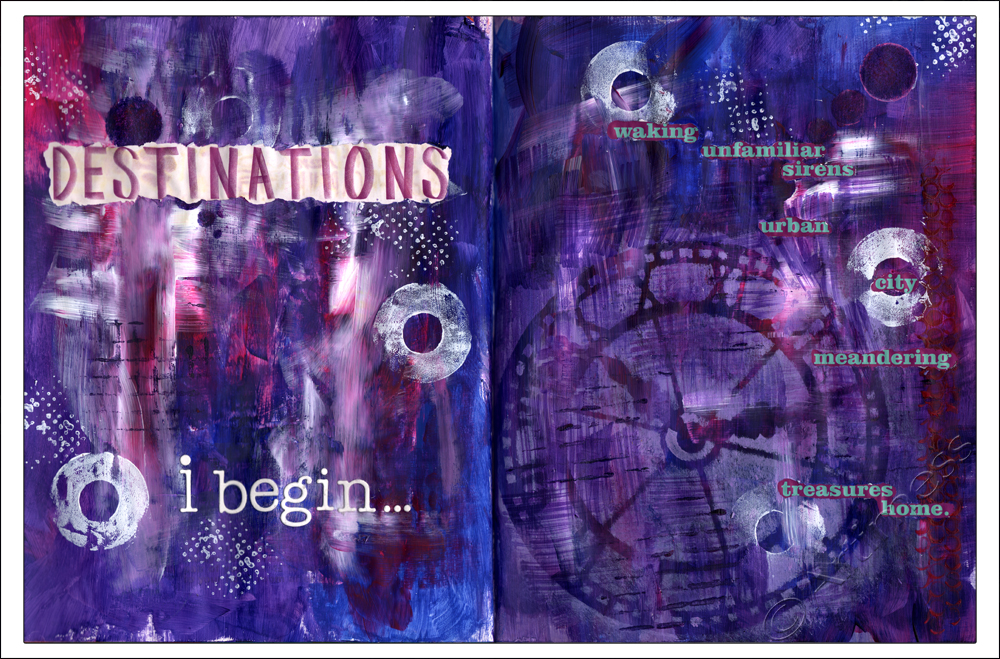
I started out by very careful covering the words I wanted to use in masking fluid. Once that was dry, I covered the pages with a thick layer of gesso, then started adding layers of acrylic paint, stencilling and stamping. When I was happy with the result, I carefully peeled off the masking fluid to reveal the words, then added my theme ‘I Begin…’ using die cut letters.
I’m off to see what everyone else has been up to now. See you tomorrow!
![]()
Blogalong with Effy!
I’ve not been blogging very regularly of late, so when I got effy’s newsletter today and saw that she was hosting a blogalong during August, I thought it would be a good idea to sign up in an attempt to complete thirty posts in thirty days!
Meanwhile, I’ve been back to playing catch up with the Life Book 2013 lessons. I started with Danita’s great class entitled Key to Freedom. The class started with a link to this cool podcast from Tarah Brach
The theme of the lesson corresponded exactly with the July Rumi Project quote over at the Glitterhood, so I had to incorporate it!
“Why do you stay in prison,when the door is so wide open?”

I started out by drawing the girl and the cage in pencil, then painted them using masking fluid before journalling on the background using a white gellyroll pen. I then painted over everything using Twinkling H2O’s. When everything was dry, I peeled off the masking fluid, coloured the girl using neocolour crayons and painted the cage with Twinkling H2O’s. Lastly I wrote the Rumi quote using a white Uni Paint Marker.
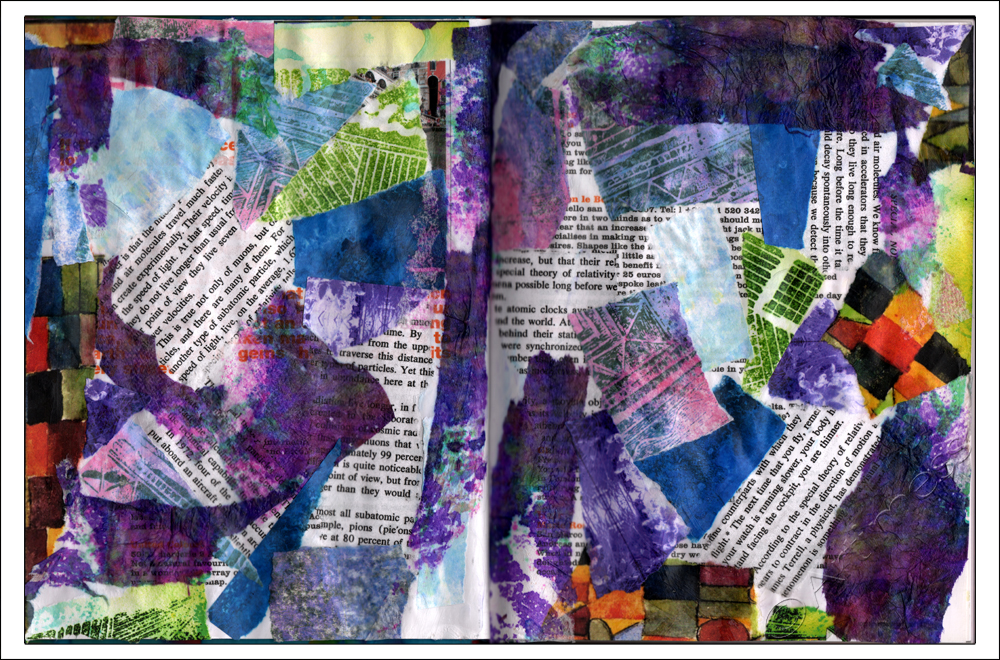
This week’s class was from Dina Wakley.
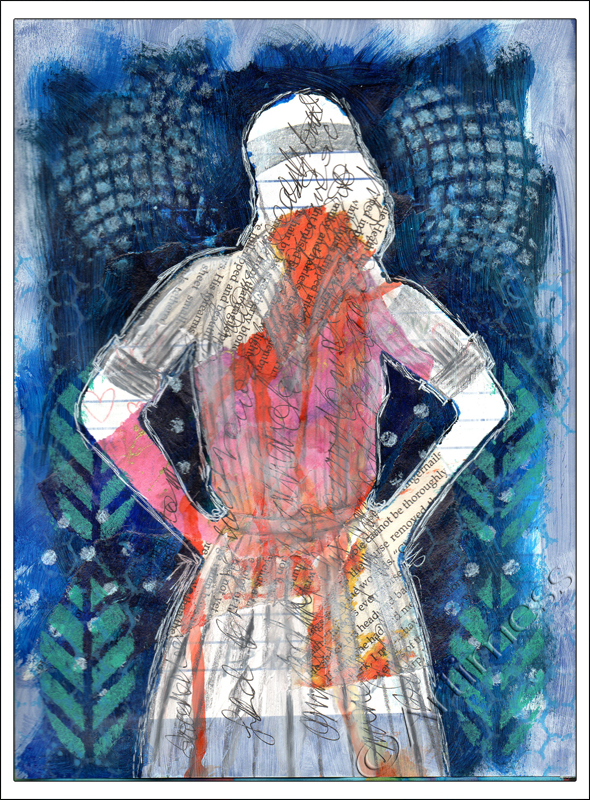
I started the page with a coat of white gesso then added some collaged book pages and old scanned artwork. Next I dripped some ink down the centre of the page and journalled across it, then placed a silhouette mask I created over the top and used acrylic paint to cover most of the page around the mask. I used stencils to add some interest to the background, and lastly, added some detail to the silhouette using a Stabilo All pencil and white acrylic paint. I found creating this page very therapeutic – thank you Dina.
![]()