Moving Forward
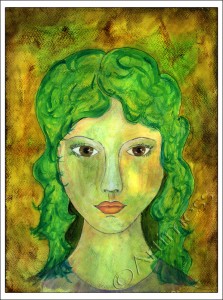
Today I played catch up with my Life book 2012 classes. I completed Lesson 29 from Jodi Ohl. The lesson started with a positive letter to my younger self which I then tore up and used as the basis for the piece. For the next layer I added some printed tissue paper followed by a thin wash of white gesso. Then I stamped a border using home-made foam stamps and acrylic paint – messy!
When it was all dry I drew the face using pencil and coloured it using a mixture of acrylic paint, gesso, Inktense pencils, uniball pen and pencil. Finally I added a set of positive affirmations around the edge.
I had so much fun making this and found the personal development element very useful – thank you Jodi!
![]()
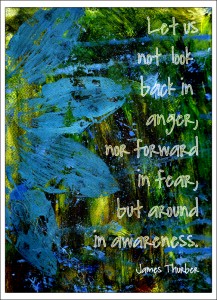
Let us not…
I’m still ploughing my way through my pile of leaf prints from the end of September. Today I decided to add a quotation using digital text to this one, and a bit of digital blending for good measure!
The original image had an acrylic paint background with acrylic paint leaf prints on top.
![]()
Digital Blending!
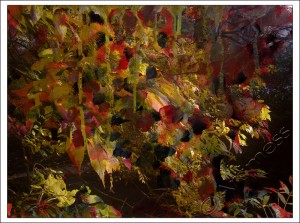
Today I felt like playing digital, so I started out with one of my leftover acrylic paint creations and a photograph I took showing the beautiful autumn leaf colours.
Then I played digital blending.
You really need to look at the big version to see the full effect of the final result, but I really like the result. Do you?
![]()
Peace
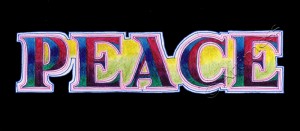
The other day I downloaded the latest free ebook from Cloth, Paper, Scissors magazine and was inspired by Lisa Engelbrecht to create this.
I hand drew the letters in pencil, then coloured them using Derwent Inktense pencils and outlined them using Stabilo point 88 pens. After I scanned the image into the computer, I tried out lots of different coloured backgrounds, but decided I preferred the original or plain black.
Which do you prefer?
![]()
Just Doodling…
Continuing on from yesterday, I thought I’d stay with the small size and doodle some zentangles. The inspiration for this came from the latest issue of Craft Stamper Magazine.
I created the border round the edges first, then stamped the mouse and text (very old freebies from a magazine), then filled the remaining space with doodles. I used my trusty Rotring Rapidograph pen for the doodling and a black Staz-on ink pad for the the stamping. I finished it off by colouring the mouse using neocolour crayons. I like the contrast the colour makes with the black and white of the doodles.
![]()
Working Smaller
Today I thought I’d have a break from working on water-colour paper and play with some glossy white card. I got some new distress ink pads and was itching to try them out!
I applied the ink to the card using a pad of tissue, then sprayed the card with water to blend and create runs. I then blotted it with a clean tissue to dry it which added texture to the colour. When I looked at the result I thought it looked like a tree on the left. The words were cut from an old clear sticker I found when rummaging through my cupboard for something else, but I thought they fitted nicely with the image.
![]()
Take Two…
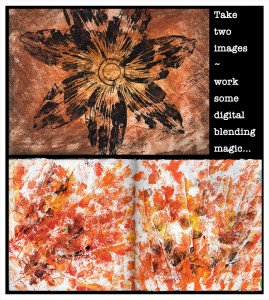
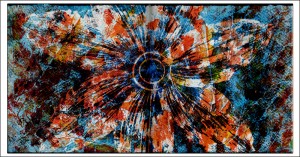
Take two images – in this case two leaf prints. Scan into the computer, then work some digital blending magic ….
…. et voila! – one new piece of art.
Both images have acrylic paint leaf prints on a background. The top background was coloured using neocolour crayons, the bottom background was painted with white gesso.
![]()
Celebrating!
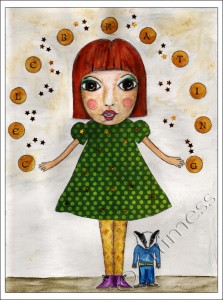
This weeks Life Book lesson is about celebrating the things we have achieved this year. I am very fortunate in having many things to celebrate – having given up my security to travel, successfully navigating the subsequent soul searching and releasing that went with it, resettling in a new location, studying and developing my spiritual life, completing the first two levels of Reiki training, and getting back into creating every day.
So it gave me great pleasure to create this whimsey with her animal totem, Badger. I drew her in pencil, then coloured her using neocolour crayons. I used some patterned paper to collage her dress and used letter stamps to create the word ‘celebrating’ in the balls I gave her to juggle with. I added golden stars using star confetti and coloured the background using a neocolour crayon. It looked good but I felt something was missing. So… I used a watercolour pencil to write words describing what I was celebrating around the balls, then blended them into the background using a damp brush. Although it more or less obliterated the words, the extra colour just completed the picture.
Thank you Tam for such an inspiring lesson 🙂
![]()
Digital Tree!
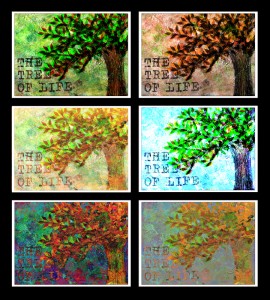
Today I just couldn’t resist adding some digital leaves to my tree of life. Then I got carried away playing with different blends!
I couldn’t decide which one I liked the best so I collected them all together. Which is your favourite?
![]()
Green Goddess
I started today by painting a couple of backgrounds using derwent watercolour pencils, a blue one and a yellow/green one. While I was waiting for them to dry I felt prompted to draw a female face on the yellow/green background. So here she is – my Green Goddess!
I drew her face in pencil, outlined it using a uniball eye pen, and coloured it using neocolour crayons, leaving quite a lot of the background colours still showing through. Lastly I darkened the background using distress ink pads.
I have no idea where her face came from, but I’m quite pleased with the finished result.
![]()


