


More Layers!
I managed a few more layers last night and was hoping to add some text today but somehow the time eluded me! So here’s the next instalment…
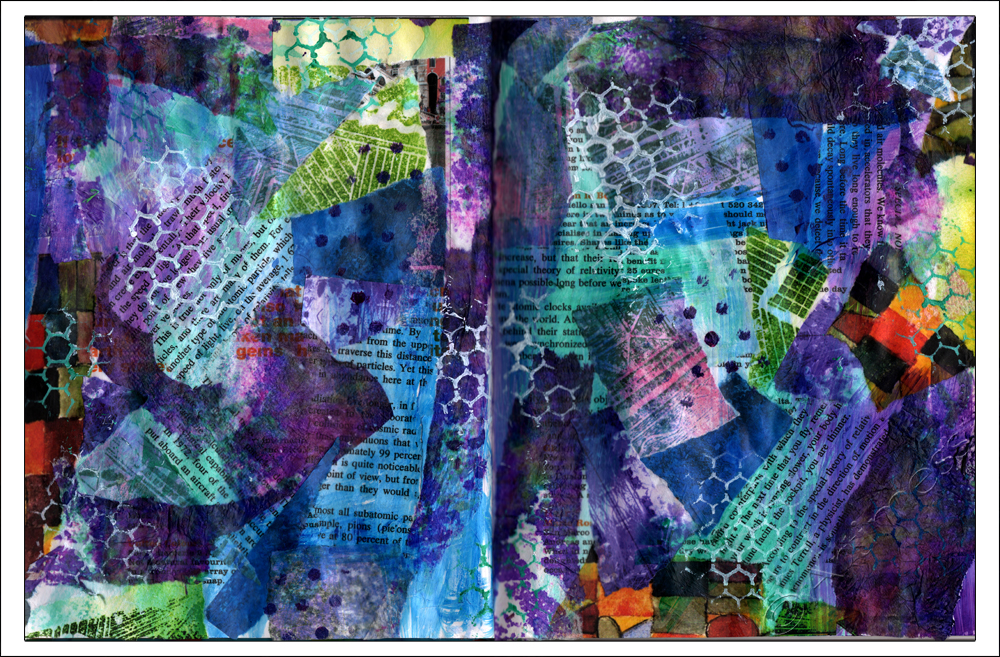
… first I added some layers of acrylic paint and some stencilling…
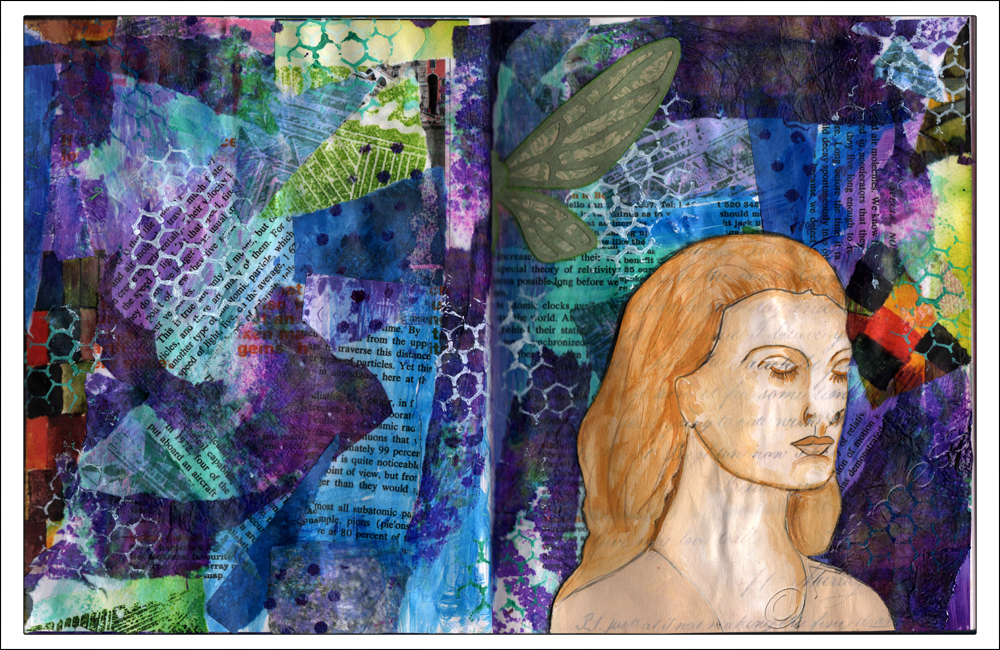
… then I collaged my meditating lady after painting her using acrylic paint and a die-cut dragonfly. It’s taking awhile, but I’m pleased with how it’s looking so far. Hopefully I’ll manage to finish it tomorrow!
Now I’m off to the shops to get some more boxes! Keep watching!
![]()
More Boxes!
As moving day approaches it’s getting more and more difficult to do much artwork as little by little my supplies are disappearing into more boxes! As you can see… the piles of boxes are growing nicely …

… but the artwork is not keeping up!
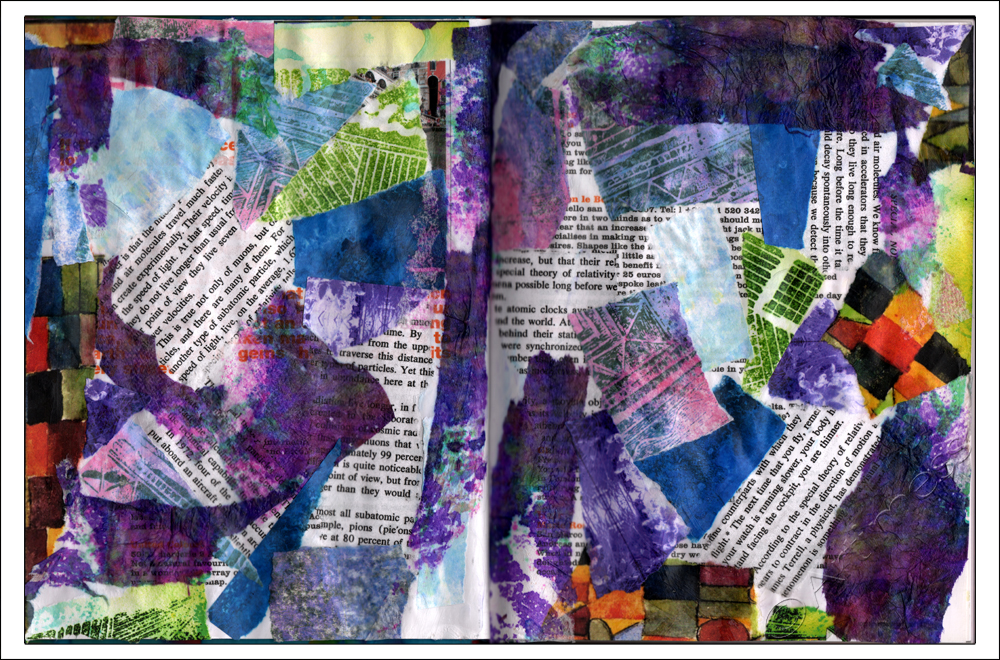
This is the first collage layer for last week’s Life Book 2013 class from Jeanette House. I’m hoping to get some more layers done later tonight – if I can find all the supplies I want to use!
Keep watching this space!
![]()
Mixed Media Madness!
I’ve been working on a mixed media piece in my new journal for the last couple of days and experimenting with the camera on my iPhone as well.
Inspired by this post from Julie Fei-Fan Balzer, I spent a while cutting out this quotation to use on my new page.

After I’d finished the cutting out, I downloaded the Snapseed app and took this photograph to play with on my new app!
Today I was working on the background, and scanned in the different stages to use as future collage material. As is often the case, I got sidetracked into doing some digital blending 🙂
This is the result – pretty colourful, yes? You’ll have to wait till tomorrow to see the finished page as the final layer is still drying at the moment!
![]()
Blogalong with Effy!
I’ve not been blogging very regularly of late, so when I got effy’s newsletter today and saw that she was hosting a blogalong during August, I thought it would be a good idea to sign up in an attempt to complete thirty posts in thirty days!
Meanwhile, I’ve been back to playing catch up with the Life Book 2013 lessons. I started with Danita’s great class entitled Key to Freedom. The class started with a link to this cool podcast from Tarah Brach
The theme of the lesson corresponded exactly with the July Rumi Project quote over at the Glitterhood, so I had to incorporate it!
“Why do you stay in prison,when the door is so wide open?”

I started out by drawing the girl and the cage in pencil, then painted them using masking fluid before journalling on the background using a white gellyroll pen. I then painted over everything using Twinkling H2O’s. When everything was dry, I peeled off the masking fluid, coloured the girl using neocolour crayons and painted the cage with Twinkling H2O’s. Lastly I wrote the Rumi quote using a white Uni Paint Marker.
This week’s class was from Dina Wakley.
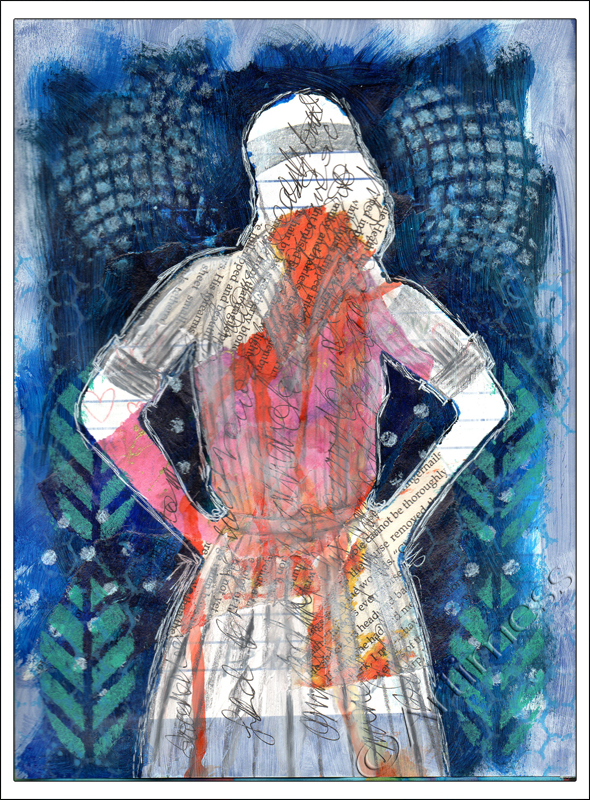
I started the page with a coat of white gesso then added some collaged book pages and old scanned artwork. Next I dripped some ink down the centre of the page and journalled across it, then placed a silhouette mask I created over the top and used acrylic paint to cover most of the page around the mask. I used stencils to add some interest to the background, and lastly, added some detail to the silhouette using a Stabilo All pencil and white acrylic paint. I found creating this page very therapeutic – thank you Dina.
![]()
Very Messy!
Late last night, about 1am, I decided to start Misi B’s Life Book 2013 lesson. I can always judge how much I’ve enjoyed something by the amount of paint I get all over me – I’m still picking the paint off my fingers now!! I only got as far as the first background, but I had so much fun and am really pleased with the result so far. So I scanned it to share with you.
I started with a collage of leftover bits of artwork prints then added some glitter sprays and ink sprays. Next I added several layers of acrylic paint using my hands and some hand made stamps – very messy!! The next step is to search for faces in the background and paint them in. I can see two at the moment – how many can you see? I’ll show you the result when I’m done – see you later!!
![]()
Collage Lady
As you may have noticed, I’ve got very behind with my Life Book 2013 classes. So I thought this week was time to rectify the situation and try to catch up a little! Rather than go back to where I got stuck, I thought I’d start with this weeks lesson from Joann Loftus and then move backwards in time!

I created the background using 3 layers of journaling, white gesso, an acrylic paint wash and a variety of stencils. Joann gave us the template for the lady silhouette which I covered in a collage of torn magazine images and stuck to the background using sticky pads. I added die-cut butterflies coloured using Twinkling H2O’s and a silver marker pen and added highlights and shadows using white paint pens and Pitt Artist pens. I really enjoyed the lesson and love how my lady turned out!
![]()
Finally!
Finally! I’ve at long last finished projects #5 and #6 in Kate Crane’s 21 Secrets 2013 class.

I started project #5 with a collage of printed artwork covered with acrylic paint. I used handmade stamps to add more depth then added a computer printed quotation and some grungeboard keys covered with metallic flakes. Lastly I added a metal key.

I just loved Kate’s acetate sandwich for project #6 but had great problems getting my sandwich contents to stay still. In the end I decided to use some double sided tape to keep everything in place! The quotation is handwritten on strips of cut up painted background and the leaves are cutout prints of handmade stamps. Great fun to do, and so effective!
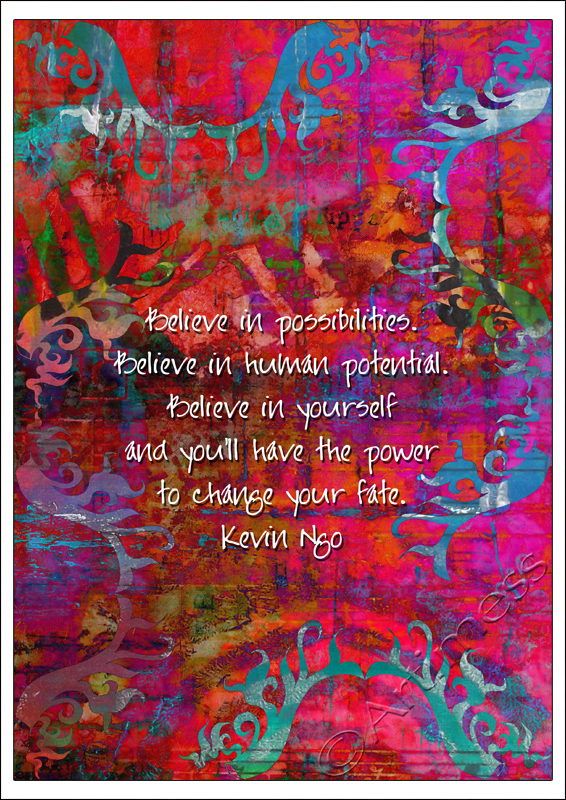
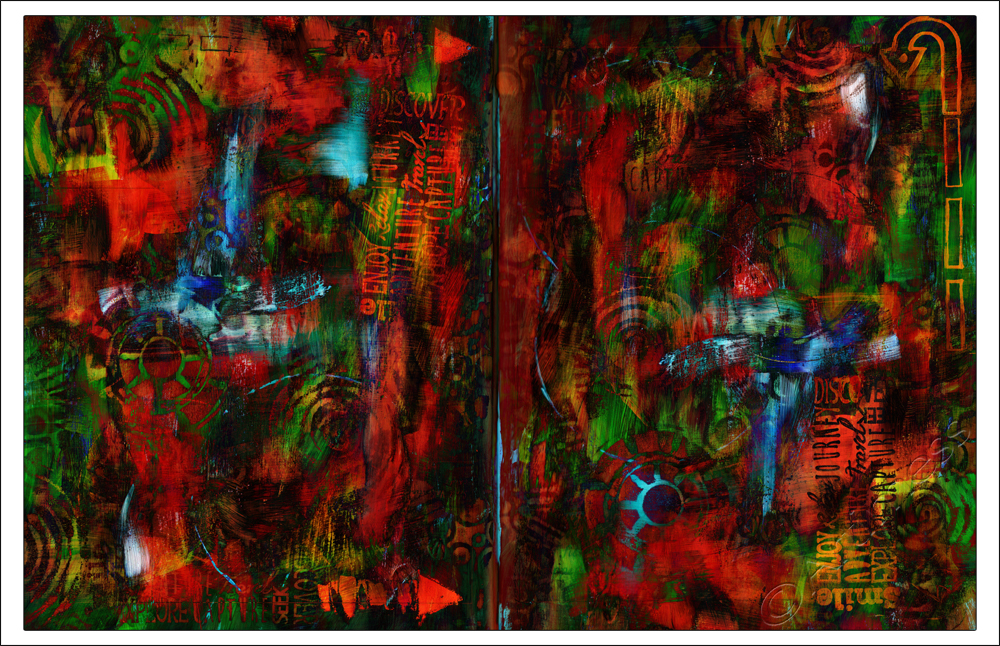
Last but not least, I thought it was time I played with digital blending again! The background is a digital blend of an artwork scan to which I added a blend of a digital brush I created from a hand drawn doodle. I really love this quotation – it’s so true!
![]()
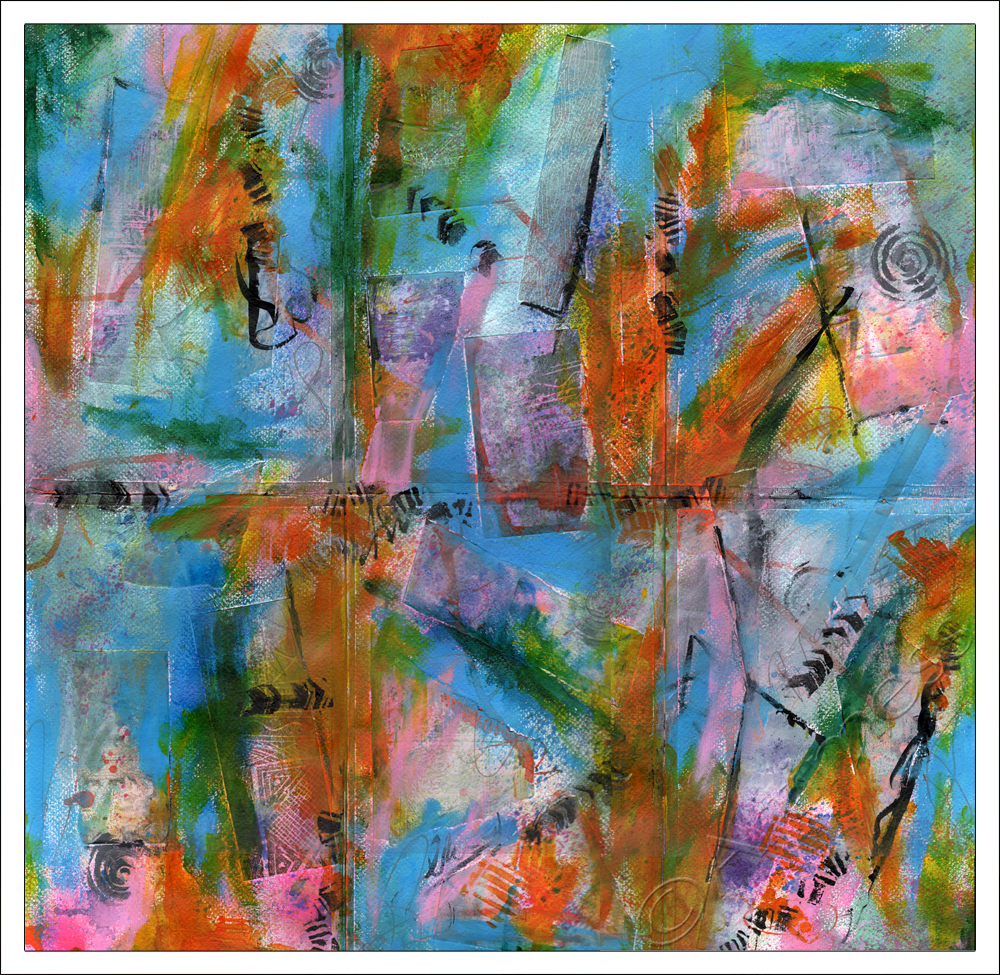
Playing with Ink!
Project #4 in Kate Crane’s 21 Secrets 2013 class is all about playing with ink! I managed to make quite a mess and had wonderfully coloured fingers for a day!

I started off with a piece of recycled cardboard and covered it with a patchwork of torn music squares then covered that with white gesso. Next came the messy part – spraying ink. It took several layers to achieve the look I was after and Kate showed us a really cool technique which disappointingly didn’t work with my homemade ink sprays. Still I was pleased with the result I got. For the next layer I used an assortment of background stamps with colour co-ordinated distress ink pads. I have yet to add acrylic inks to my supplies, so I thought I’d have a go at making my own using golden fluid acrylics and water. It took a bit of juggling, but I managed to get quite a pleasing result which I used in a dropper to draw circles on top of the stamping. For the final layer I used Pitt Artist pens and an alphabet stencil to create my caption, and collaged a quotation from Carl Jung that I printed on my computer.
Just two more to go now!
![]()
Recycled Packaging!
We seem to have bought a lot of books just lately, acquiring as a by-product lots of those cardboard sleeves that books come wrapped in. So when I looked at Kate Crane’s 21 Secrets 2013 Class and saw that it was about trying out lots of different techniques, I thought the book packaging would make an excellent base for these projects.

For the first project I started off using spray inks and stencils. Because I sprayed them directly onto the cardboard, the colour was not as bright as I was hoping for. I could have painted over with gesso and started again but I decided to go with it and see what happened. Next I added acrylic paint using a variety of stencils, bottle tops, cards and stamps (including one of my home made foam stamps). I decorated a “dinner money” envelope with strips of old scanned artwork and stitched it to the board then added some ribbon and some more stamping. Lastly I added some cut out quotations to the envelope, and stuck one of them to the card.

For the second project I started off with some old sheet music which I glued to the cardboard. I covered this with acrylic paint, then used a selection of hand made foam stamps to create more interest. I finished it off with a collage of a painted stamped image and a die cut butterfly joined using a tiny split pin, and a quotation which I outlined using a Pitt artist pen.
Four more projects to go – this is fun – I’m off to do some more. See you later!
![]()
Getting Messy!
Today I’ve been working on Danielle Daniel’s class, part of the 21 Secrets 2013 course. I had great fun and got very messy creating this background.
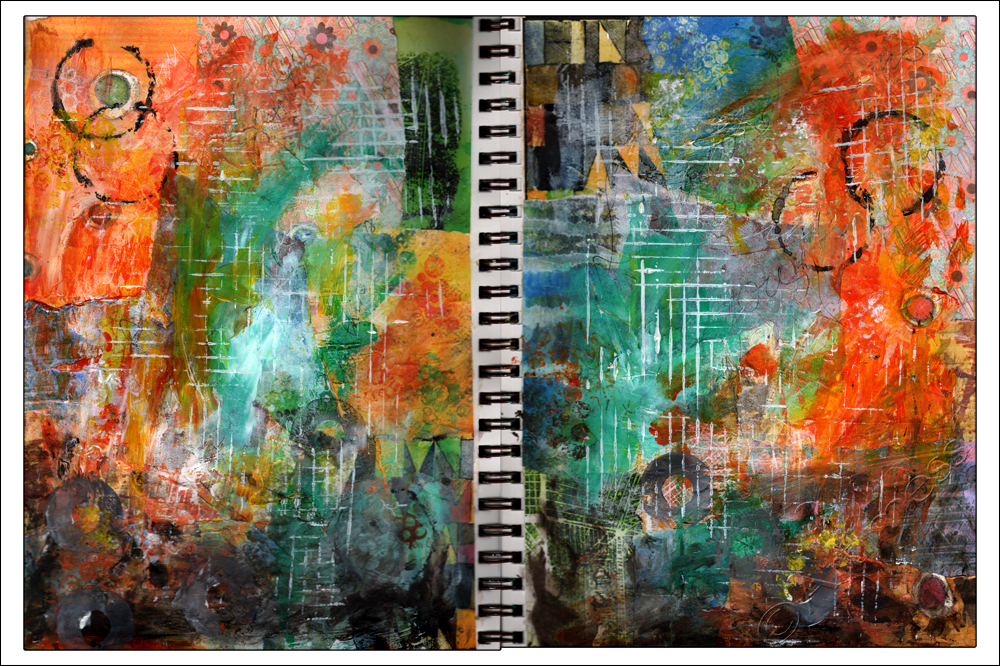
I started out with a collage of printed papers from my earlier artwork, then added acrylic paint using a variety of techniques. Next I added journalling followed by more acrylic paint! I still have more to do to finish – there’s at least one person waiting to be painted – but I really like how it looks right now, so I thought I’d share it with you.
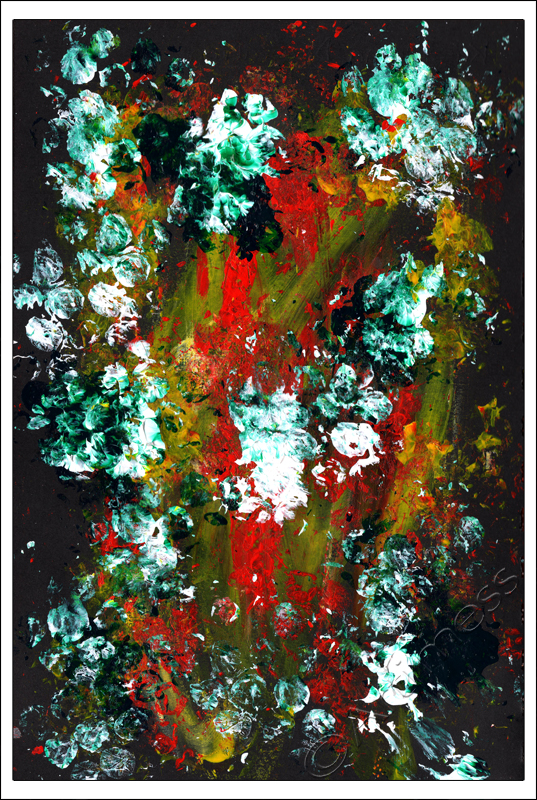
When I finished painting, I had rather a lot of leftover paint on my palette, so I created this in my notebook.

Then I decided to see what it looked like with a bit of digital blending. I quite like how it turned out so far, but I have a feeling I’m not finished with it yet!
![]()